
Construct X Group

East Finchley, N2 · Mid-terrace

A master suite in the loft to make space for a home office.

The homeowners’ teenage son needed more space to study, while both parents were working from home more often. We built a master suite in the loft and rearranged the first floor, giving their son the larger bedroom and creating a separate home office.

Space created
Loft suite and home office
Est. cost (inc. VAT)
£72,000+
Time taken
14 weeks
Added area
28 sqm
Project type
Rear dormer loft conversion & first-floor reconfiguration
Planning route
Permitted development + lawful development certificate

The transformation

How the home changed

The homeowners had lived in their East Finchley home for years. Their son was getting older and needed more room to study, while both parents were working from home more often.

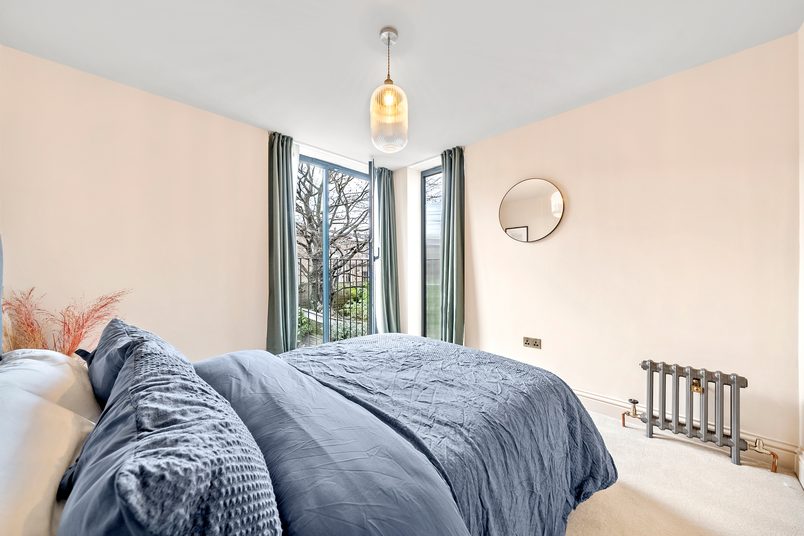
At the time, the parents had the larger front bedroom and their son was in the smaller room at the back. There wasn’t a spare room they could turn into an office.

Moving the parents into the loft would free up their bedroom for their son, but there were two things we needed to work around. The roof was too low for the bedroom they wanted, and the existing family bathroom was in the way of the new staircase.

Solving those problems meant changing the layout on both floors, rather than treating the loft as a separate room above the house.

Before

Two bedrooms, unused loft

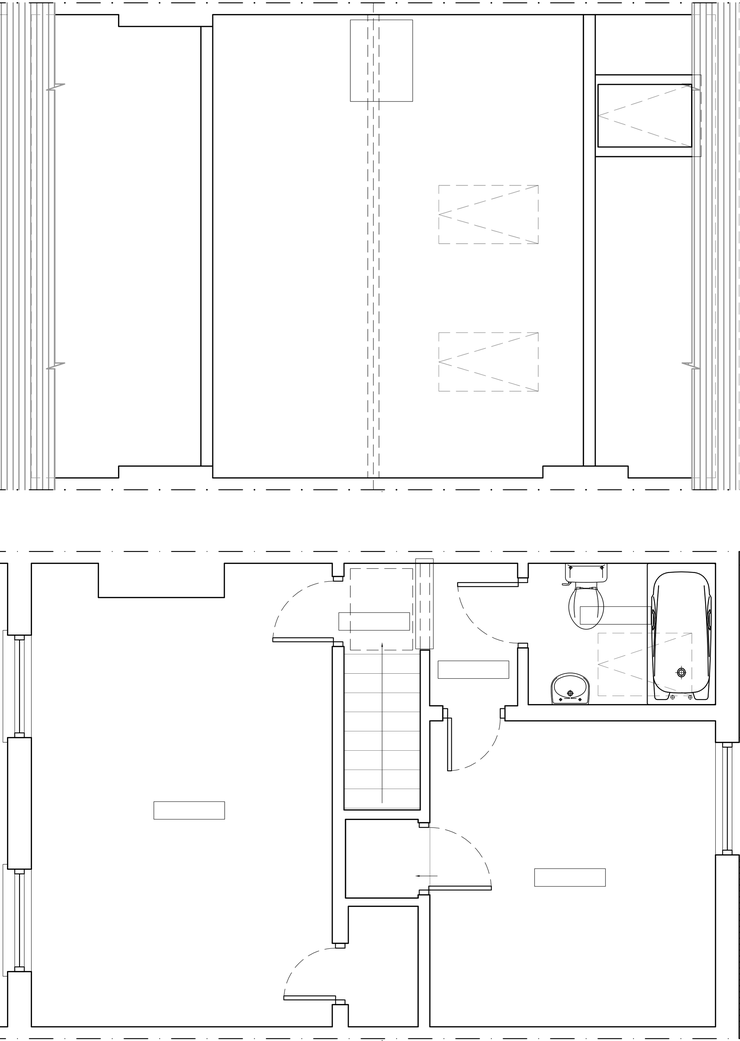
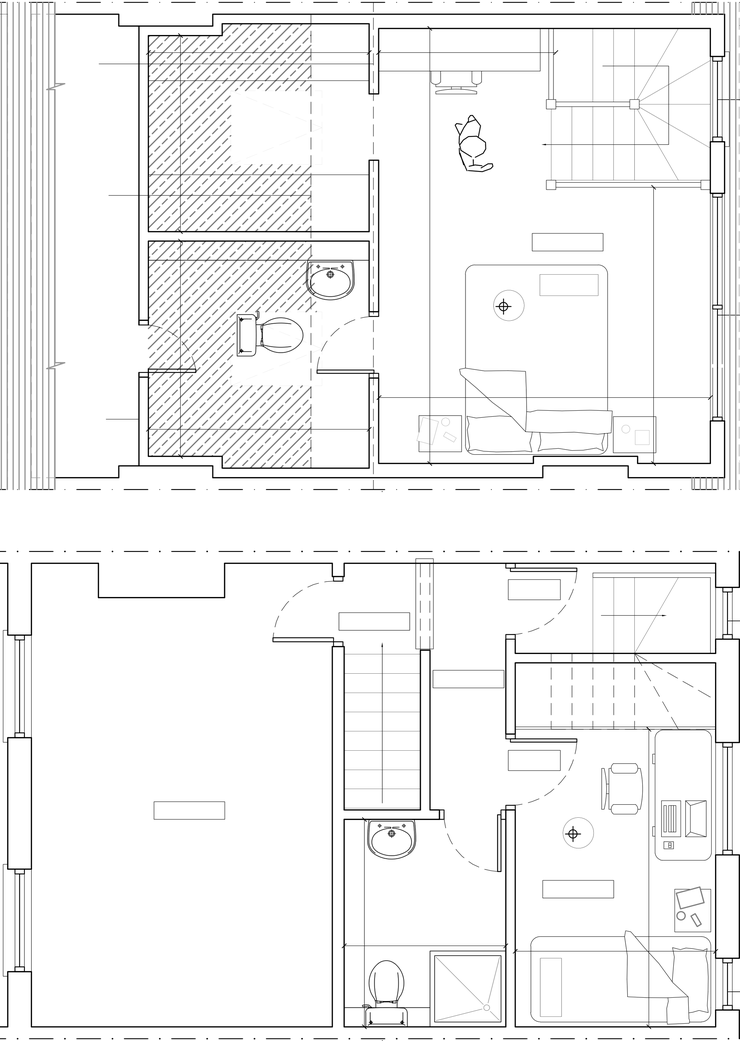
Existing loft and first-floor plans: the unused roof space above; below, the front bedroom, stairs, bathroom and smaller rear bedroom.
  1. Parents’ bedroom: The parents occupied the larger bedroom at the front of the house.
  2. Son’s bedroom: Their son used the smaller rear bedroom, which also needed to accommodate his study space.
  3. Family bathroom: The bathroom occupied the position needed for the new loft staircase.
  4. Unused loft: The existing roof space didn’t have enough headroom for the planned bedroom.

After

Loft suite and office

Proposed loft and first-floor plans: the loft bedroom, en-suite and stairs above; below, the new stairs, new bathroom, rear office and front bedroom.
  1. Master suite: The parents gained a bedroom and en-suite in the converted loft.
  2. New staircase: The stairs rise through the space previously occupied by the family bathroom.
  3. Relocated bathroom: A new family bathroom occupies part of the former rear bedroom.
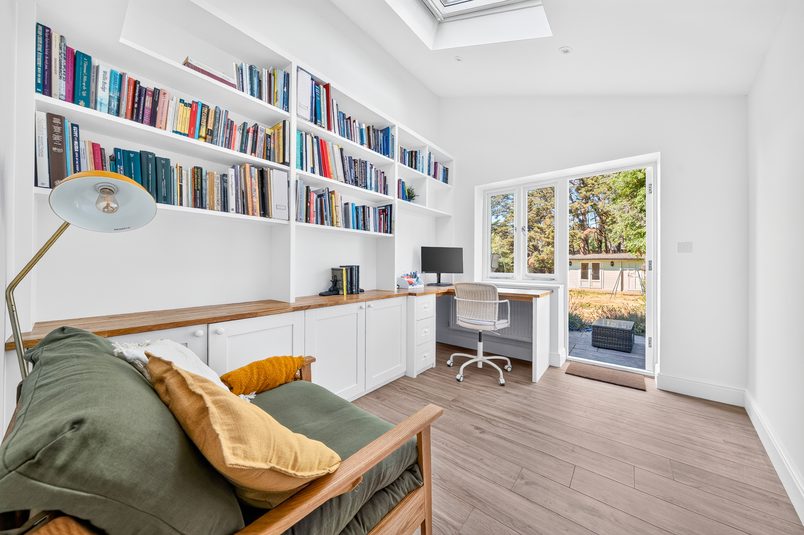
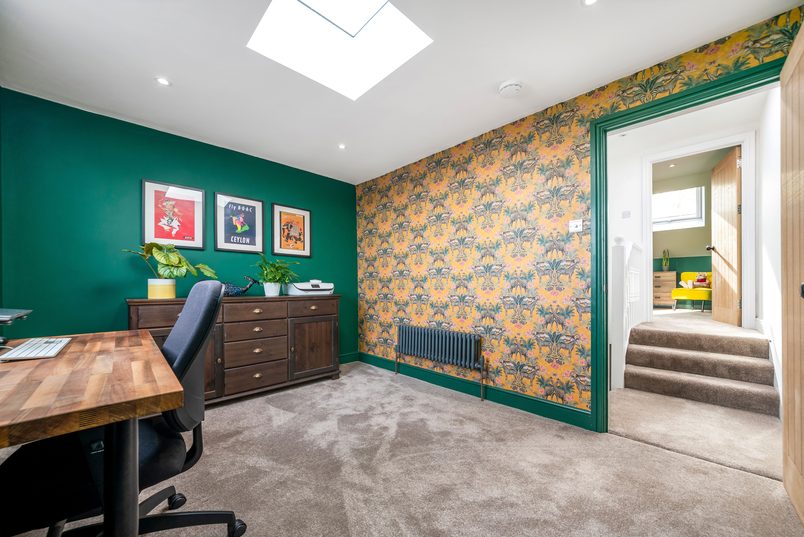
  4. Home office: The remaining part of that room became a separate workspace.
  5. Larger bedroom: Their son moved into the original front bedroom, giving him more room to study.

The family now has a bedroom and en-suite in the loft, a larger bedroom for their son, a separate office and a family bathroom on the first floor.

Design approach

Finding room for everything upstairs

Making the staircase fit

The staircase was one of the biggest decisions in the layout.

If we’d simply continued the existing stairs upwards, they would have taken up a large part of the loft bedroom. So instead, we used the space where the family bathroom had been.

This let us keep the staircase and landing below largely as they were, while leaving more room upstairs for the bedroom.

Of course, moving the stairs meant finding somewhere else for the bathroom.

We divided the former rear bedroom into two spaces, fitting a new bathroom with a bath and overhead shower in one part and leaving the rest as a home office. The sockets and spotlights were also repositioned to suit where the homeowners wanted their desks.

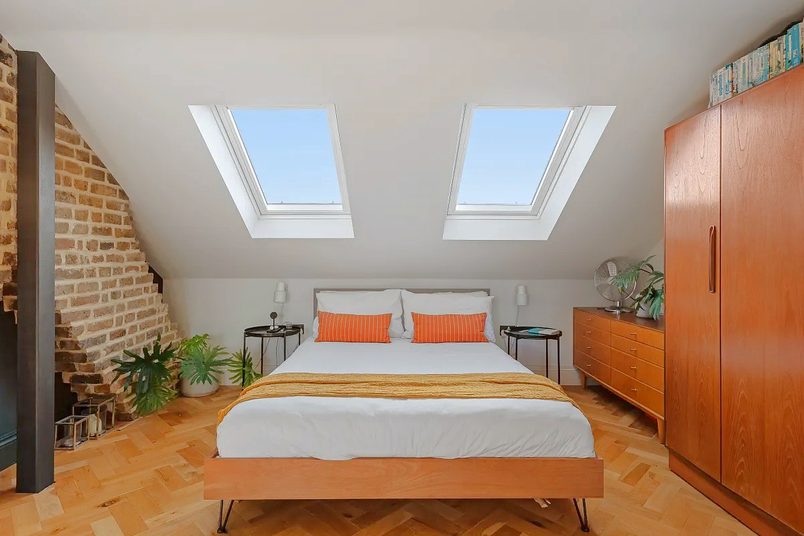
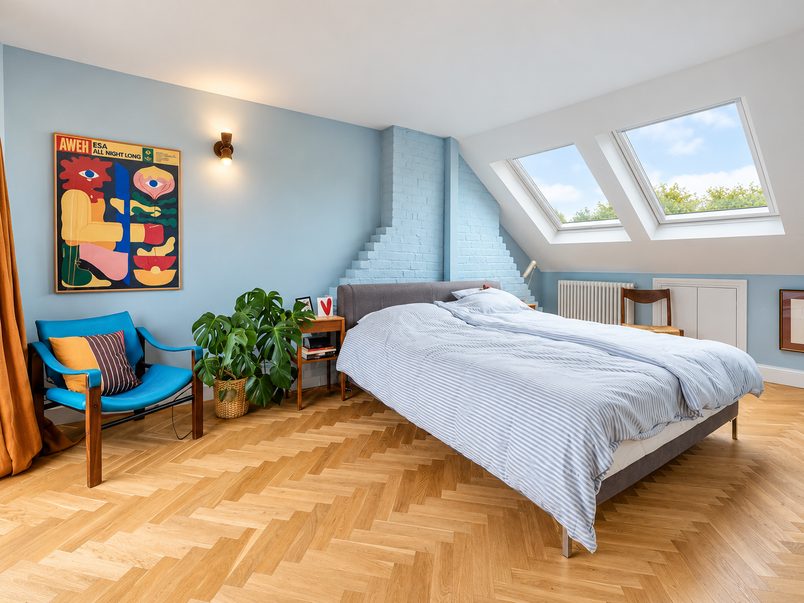
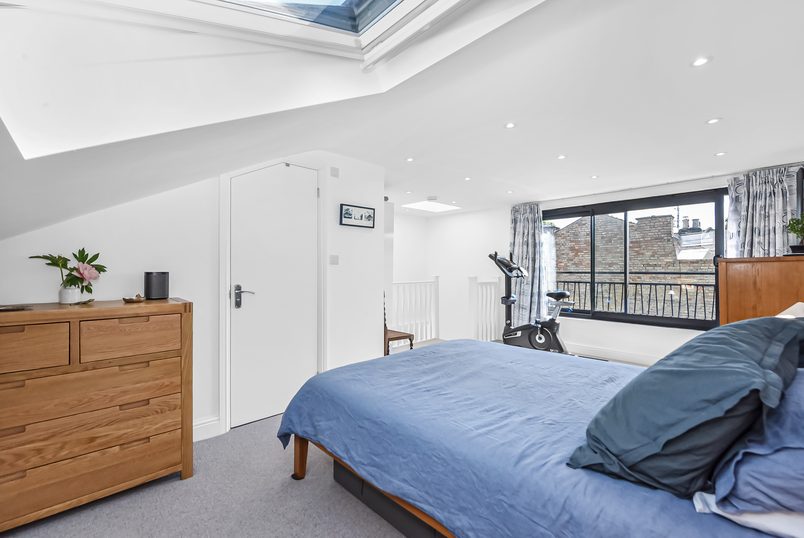
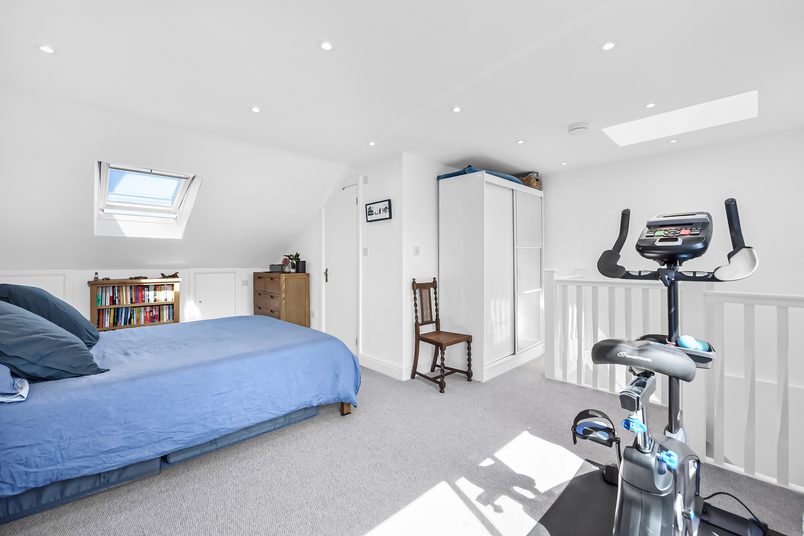
New staircase opening into the loft bedroom beneath a skylight.

Bringing light into the bedroom

The homeowners wanted plenty of natural light in their new bedroom.

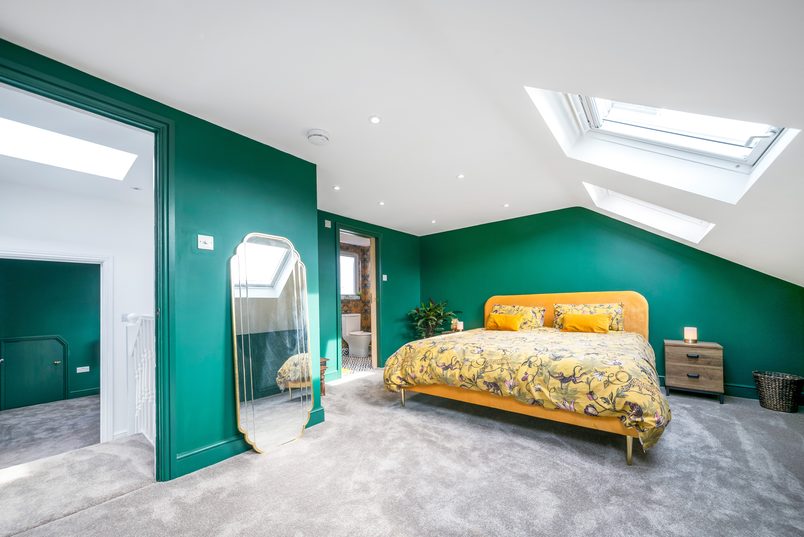
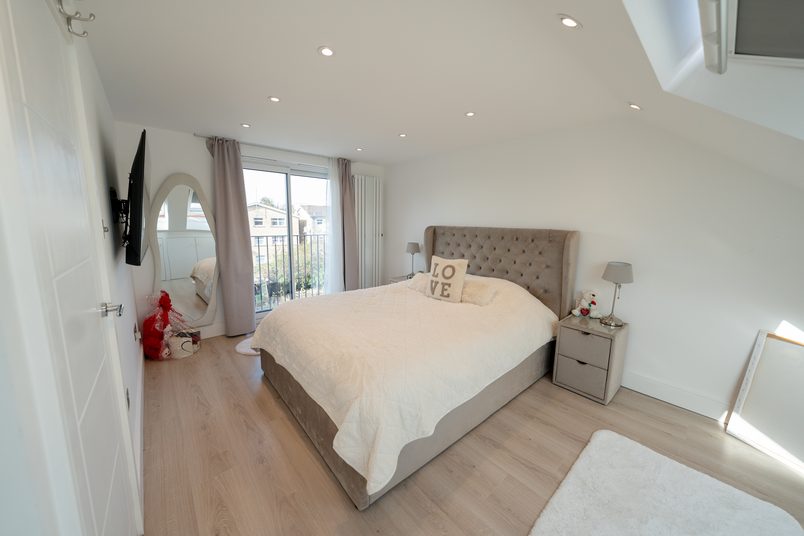
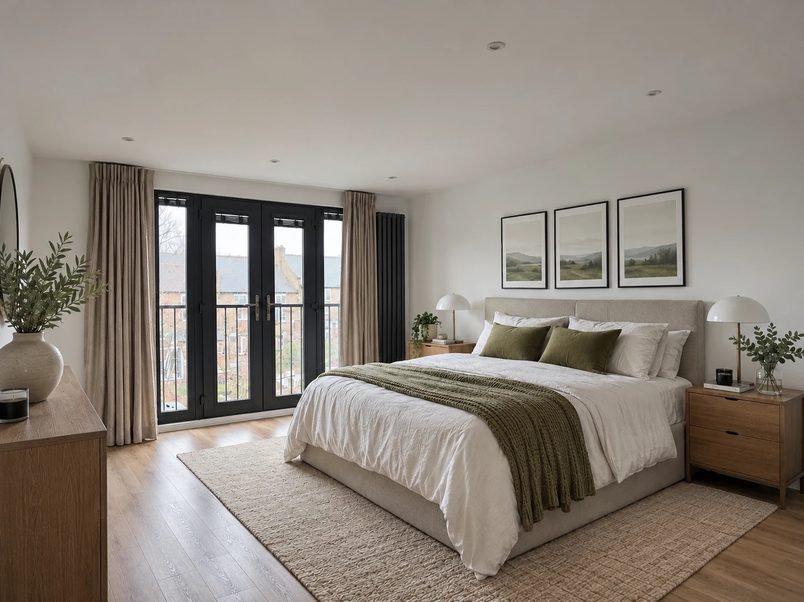
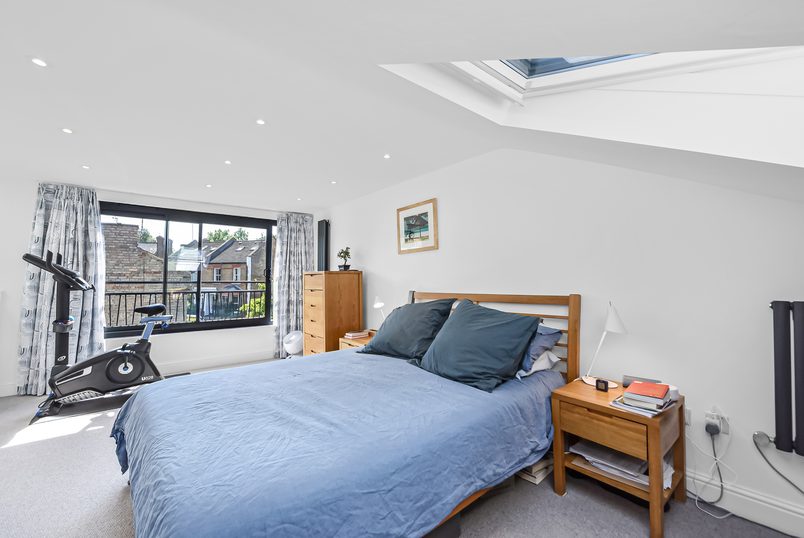
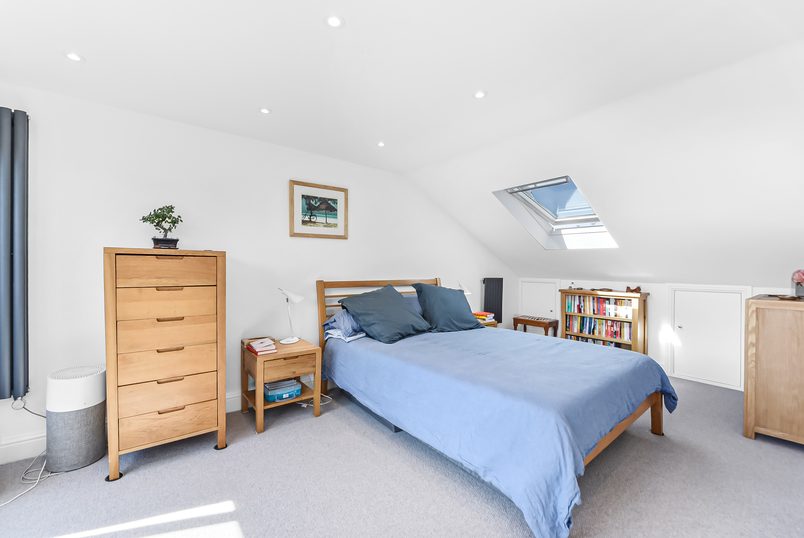
We fitted two Velux windows in the front-facing roof, while a large sliding door at the rear opens onto a Juliet balcony.

With windows at both ends of the room, they can let fresh air through during warmer weather. They chose this arrangement rather than installing air conditioning.

There was also a decision to make about lighting the new staircase.

The homeowners had originally considered a window in the rear wall. But the small flat-roof section above the staircase was already being rebuilt, so we suggested a skylight instead.

It brought light into the stairs and bedroom without the extra work of cutting through the rear wall and installing a new lintel.

The sliding door was supplied and fitted by a specialist glazing company. We prepared the opening, installed the safety balustrade and coordinated the work.

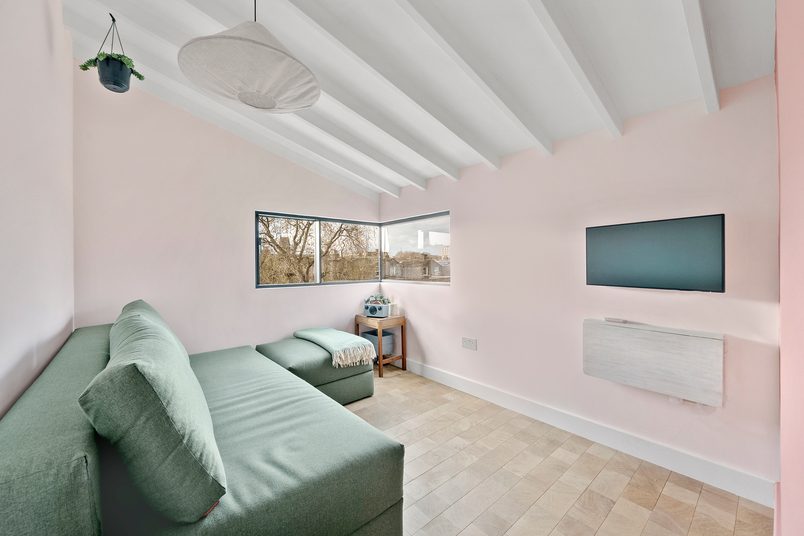
Rear dormer loft conversion bedroom in East Finchley, N2, with sliding doors to a Juliet balcony and a rooflight.

Fitting the en-suite without a macerator

The homeowners wanted an en-suite, but they didn’t want to use a macerator to deal with the toilet waste.

The problem was that a structural steel beam sat in the way of the most obvious drainage route.

Moving the toilet elsewhere wasn’t a simple answer either, because the pipe still needed enough slope for the waste to drain away naturally.

Our plumber worked through the layout with the homeowners and found a route for a standard waste pipe between the loft floor joists. The toilet position was adjusted, and the pipe could then run outside to connect with the existing drainage.

That avoided a pump and meant we didn’t need to box a large waste pipe through the rooms below.

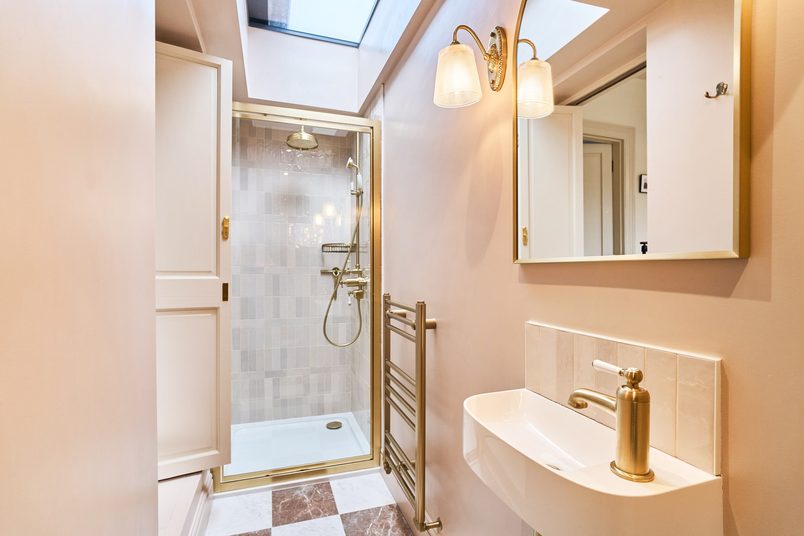
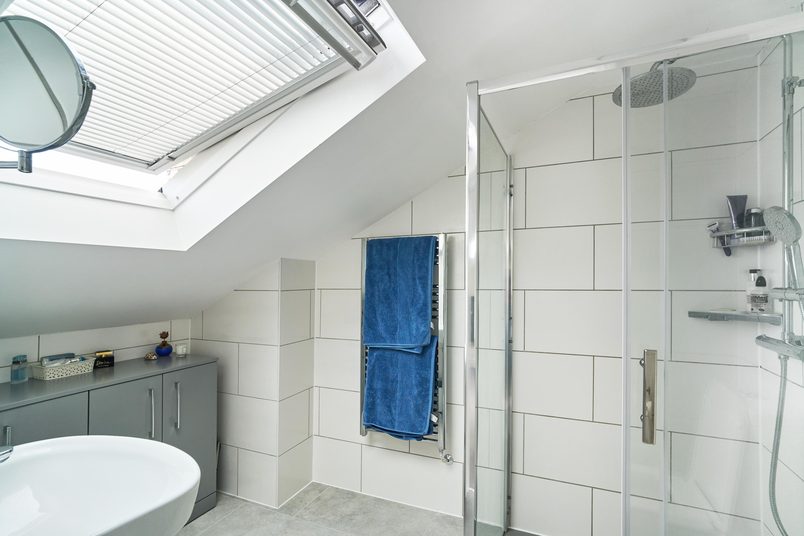
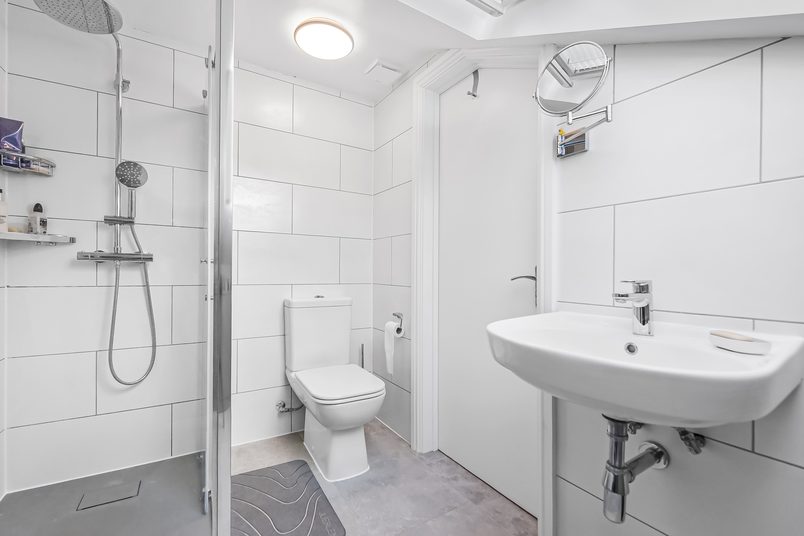
The shower was positioned beneath the highest part of the sloping roof, with a level shower floor and waterproofing beneath the tiles. An openable roof window and extractor fan provide ventilation.

En-suite shower room beneath the sloping roof of the loft conversion.

The build

Building the new floor

The roof was too low

The original roof didn’t have enough height for the loft bedroom the homeowners wanted.

To make it work, we needed to lower the ceilings on the first floor. That meant removing the old ceiling joists and building a new structural floor for the loft, which also formed the ceilings of the rooms underneath.

We retained most of the existing internal walls, adjusting them to meet the new ceiling height rather than rebuilding every room from scratch.

It’s a much more disruptive job than simply building a dormer above the existing house. The first-floor rooms had to be cleared, ceilings removed and the affected finishes made good afterwards.

We also discussed sound insulation with the homeowners while the new floor was being built. They chose an additional acoustic upgrade using 100 mm Rockwool insulation and acoustic tongue-and-groove floorboards to help reduce sound travelling between the two floors.

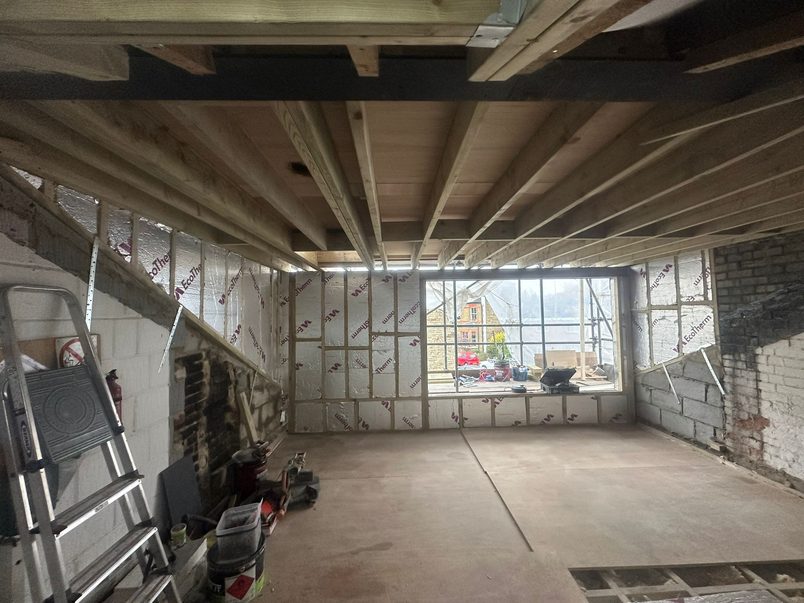
Loft during the build, with a steel beam and roof joists overhead, insulated dormer walls and the rear sliding-door opening.

Moving out for three weeks

We recommended that the family move out for four weeks while the ceilings were being lowered.

They could only arrange somewhere else to stay for three, so we planned the work around that.

When they returned, the relocated family bathroom wasn’t quite ready. They managed with alternative bathroom arrangements for another week while we prioritised finishing it.

It’s worth understanding how much work like this can affect the rest of a house. Even though the new bedroom was going upstairs, the most disruptive part of the build was happening in the rooms the family already used.

Keeping the house covered

We installed a temporary protective roof over the house while we worked on the new dormer and roof covering.

That allowed us to continue through periods of bad weather without leaving the property exposed.

The existing front roof also needed attention. Its covering and membrane were showing signs of deterioration, so we renewed them while the roofing work was underway.

We kept the existing rafters and fitted new membrane, battens, tiles and leadwork.

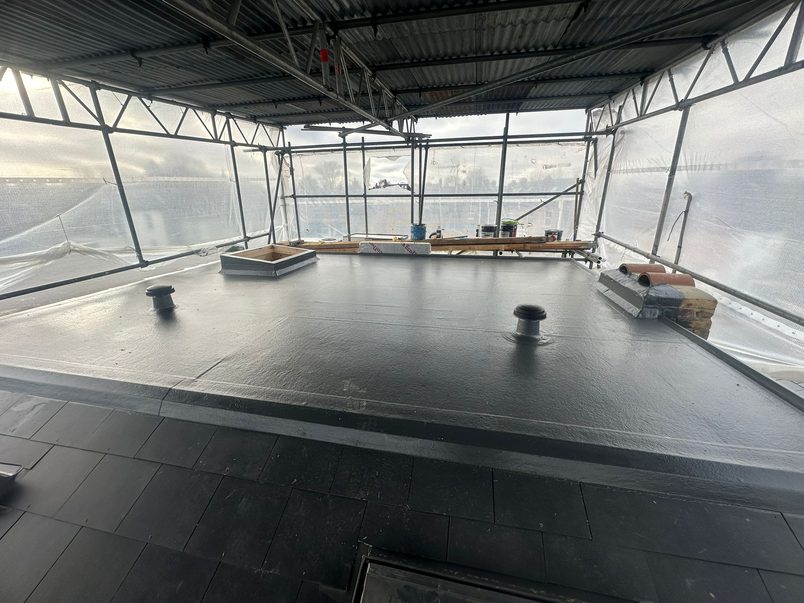
The new dormer’s flat roof and the front roof slates under the temporary scaffold roof that covered the house during the build.

Finishing the rooms

The homeowners supplied their own radiators for the loft bedroom, which we fitted along with a heated towel radiator in the en-suite.

We also completed the new family bathroom and adjusted the lighting and electrical sockets in the office to suit how the room would be used.

The homeowners arranged their own carpet contractor once the building work was finished.

The loft conversion and associated first-floor alterations took 14 weeks.

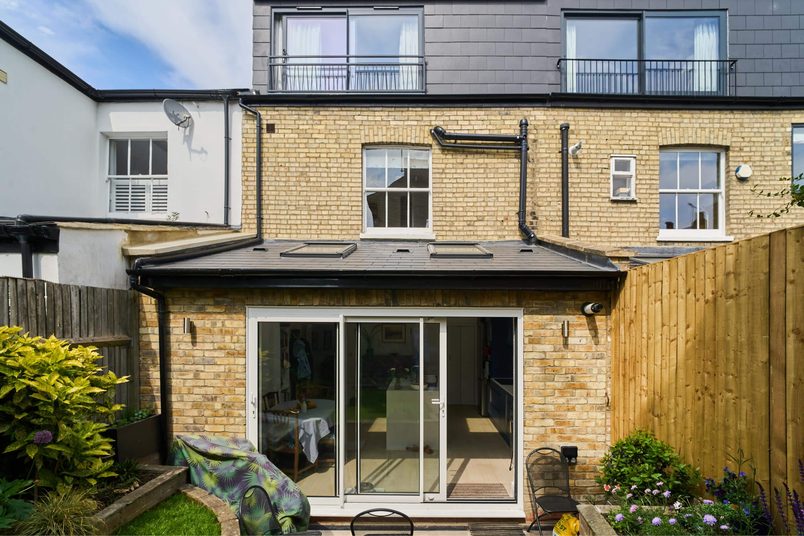
The wider renovation then continued with the rear extension downstairs.

Planning & approvals

What needed approval

Planning permission

Permitted development + lawful development certificate

The loft conversion was considered through the Lawful Development Certificate process.

A certificate is used to confirm whether proposed work is lawful under permitted development rights, rather than seeking full planning permission.

Party Wall

Arrangements with both neighbours

As this was a mid-terraced house, Party Wall arrangements were made with the properties on both sides.

The arrangements covered the wider loft and extension works and were completed without significant difficulty or delays.

Building Control

Completion certificate issued

Building Control inspected the loft conversion and first-floor alterations.

During the work, the inspector raised an issue with the fire escape arrangement in the original architectural design.

The homeowners’ architect worked with Building Control to agree an alternative involving a fire-mist system around the ground-floor staircase and living room.

We provided the electrical cable and water supply required by the homeowner-appointed specialist, who was responsible for installing and commissioning the system.

The loft staircase also has a fire door at its foot.

Building Control issued a completion certificate when the work was finished.

What is permitted development + lawful development certificate?

Permitted development allows certain changes to a home without applying for separate householder planning permission, provided the work meets the relevant rules.

A Lawful Development Certificate, or LDC, is the council’s formal confirmation that the proposed work is lawful.

What is party wall consent?

Some building work near or involving a neighbouring property falls under the Party Wall process. Before that work starts, the affected neighbours need to be formally notified and given the opportunity to agree or appoint a surveyor.

Read our party wall guide →

What does Building Control do?

Building Control checks that building work meets the relevant Building Regulations.

These include requirements for structural safety, fire safety, insulation and other aspects of construction.

It’s separate from planning permission.

Costs today

What this project costs

£72,000+

Estimated base cost today · Includes VAT

What the base price covers

The starting price covers the main work involved in creating a rear dormer loft conversion, including the structural changes, roofing, insulation and the work needed to turn the new floor into usable living space.

It also includes the labour and site management throughout the core build, together with our workmanship warranty. You can see the full breakdown of what’s included below.

What this home added

This loft involved more than the standard dormer build. We lowered the first-floor ceilings, moved the family bathroom and rearranged the rear bedroom to create a separate office. The homeowners also chose additional sound insulation between the floors.

We renewed the existing front roof while the roofing work was underway. The homeowners supplied or arranged several finished items separately, including the rear sliding door, radiators and carpets.

What’s included?

Rear Dormer

Typically £72,000+ including VAT

This starting price is based on a typical mid-terrace house, with a rear dormer around 5 metres wide, creating one bedroom and a shower room.

It assumes there’s enough roof height and no unusual structural work is needed.

What’s included

What isn’t included?

Bathroom fittings and tiles, final bedroom flooring and decorating are separate.

We can arrange the flooring and decorating if you’d like us to.

Design and statutory approval fees aren’t automatically included in the headline build price.

What can change the price?

Roof height

If there isn’t enough headroom, we may need to lower the ceilings on the floor below. This adds structural work and affects the existing rooms.

House size and access

A wider loft needs more materials, although small differences may not change the price. Some houses also need extra scaffolding or have restricted access.

Structural work

The structural engineer may specify additional steelwork, particularly where existing roof timbers or chimneys affect the design.

Where the staircase goes

If the new staircase can’t fit above the existing one, we may need to change walls or rooms on the floor below to make space.

The existing roof

Rotten timbers or damaged roof coverings may need replacing. You can also choose to renew the existing front roof while the scaffolding and roofing team are already there.

Weather protection

A temporary roof, known as a tin hat, helps protect the house while the existing roof is open. We strongly recommend one in wetter months and for L-shaped dormers. It may be included in your quote or priced separately.

Windows and rooflights

Additional windows, larger openings or specialist glazing can increase the materials and installation work.

Bathrooms and drainage

A second bathroom adds plumbing and installation work. Even one bathroom can cost more if the waste pipes can’t connect easily to the existing drainage.

Existing plumbing, heating and electrics

An existing boiler, water supply or electrical consumer unit may need upgrading to serve the new rooms safely and properly.

Fire safety in the existing house

Depending on the approved fire-safety design, some existing doors on the floors below may need replacing. These aren’t automatically included in the standard loft price.

Key takeaways

Key takeaways

A low roof doesn’t always rule out a loft conversion

The existing roof wasn’t high enough for the bedroom the homeowners wanted, but lowering the ceilings on the floor below made it possible.

It’s not suitable for every house. You need to consider the effect on the rooms underneath, including their finished ceiling heights, doors, windows and decoration.

In this case, the homeowners also needed to move out while the ceilings were being rebuilt. That’s a significant part of the decision, not just a technical detail on a drawing.

The staircase can change the whole layout

Continuing an existing staircase upwards might seem like the obvious solution, but it can take up a lot of the space you’re trying to create.

Here, putting the new staircase in the old bathroom gave us more room upstairs, although it meant finding a new position for the family bathroom.

It’s worth exploring the staircase position before settling on the rest of the loft layout.

A bathroom needs more than enough floor space

A toilet might fit perfectly on a plan, but the waste pipe still needs somewhere to go.

Structural beams, the existing drainage and the slope needed for the pipe can all affect where the toilet can sit.

Working that out early can help avoid a pumped toilet system or awkward pipework running through the rooms below.

Think about how the new floor will sound

Adding a bedroom above existing rooms can change how noise travels through the house.

If the floor is already being rebuilt, it’s worth discussing whether additional acoustic insulation would be useful.

It’s much easier to consider that while the structure is open than after the ceilings and flooring have been finished.

Mary’s full Google review

We are very pleased with the loft and kitchen extension to our house. They were very considerate builders and responsive to queries, communicating clearly re timelines and costs. The project was delivered within budget. We had some unexpected expenses due to problems identified during the work including a new roof and they gave us a fair and competitive quote. We had to stay onsite during the work and they made every effort to leave the site tidy at the end of each day and to work around our needs. The building work was done to a high standard. We would have no hesitation in recommending this company.

Mary Robertson Google review · · October 2026 Review of the loft conversion and the rear extension at the same property.

Photos and floor plans

Existing loft and first-floor plans: the unused roof space above; below, the front bedroom, stairs, bathroom and smaller rear bedroom.

Ready to get a clear plan for your project?

Get a realistic picture of what’s possible for your home, likely costs, timings, planning requirements and what the project would involve.

You’ll speak with Eddie

Managing Director

Delivered this project

Expert advice · No obligation

Keep exploring

See more transformations

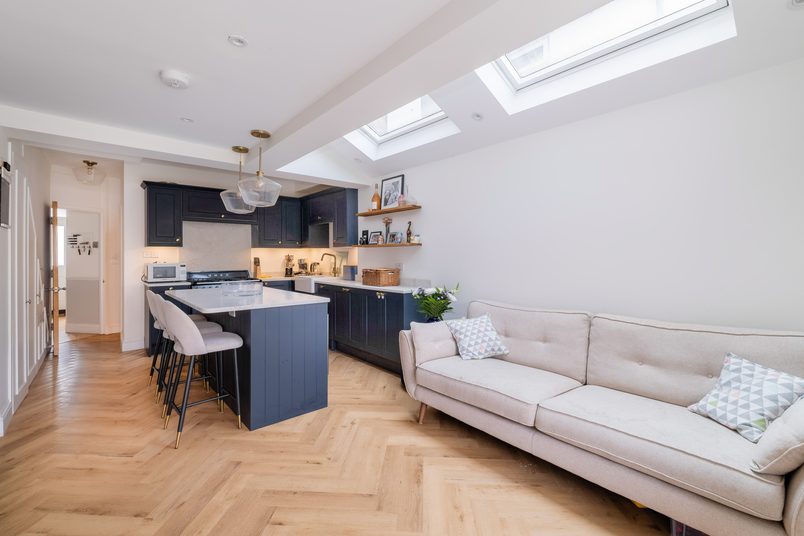
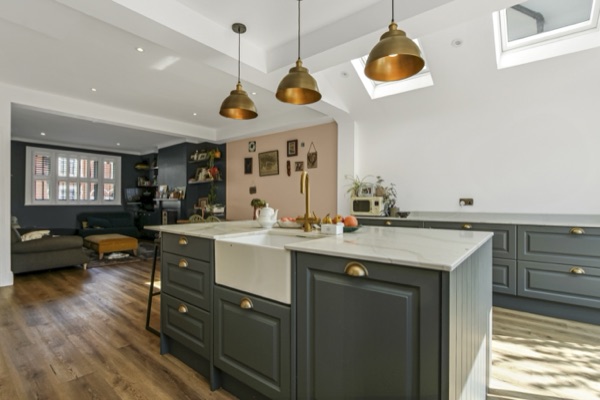
Side-return extension Side-return extension kitchen in Lewisham, SE6, with a grey island, butler sink, brass pendants and roof windows

Lewisham, SE6 · mid-terrace

An open-plan ground floor to reconnect a family.

Whoever was cooking was often cut off from the rest of the family. Opening up the kitchen, dining room and side return brought everyone together.

Est. cost
£74,000+
Time taken
12 weeks
Added area
11 sqm
Read the case study: An open-plan ground floor to reconnect a family.
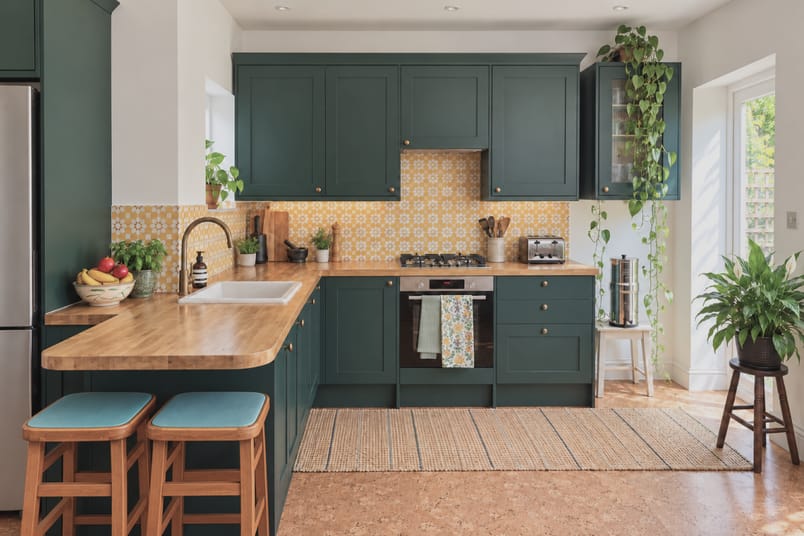
Side-return extension Side-return extension kitchen in Clapton, E5, with dark green units, a wood-topped peninsula with two stools and a yellow splashback.

Clapton, E5 · multi-floor FLAT

Moving a kitchen upstairs to create a family hub.

This family’s flat had limited space to begin with, and they needed their kitchen closer to the main living space and a bigger family bathroom.

Est. cost
£74,000+
TIME TAKEN
12 weeks
ADDED AREA
6 sqm
Read the case study: Moving a kitchen upstairs to create a family hub.
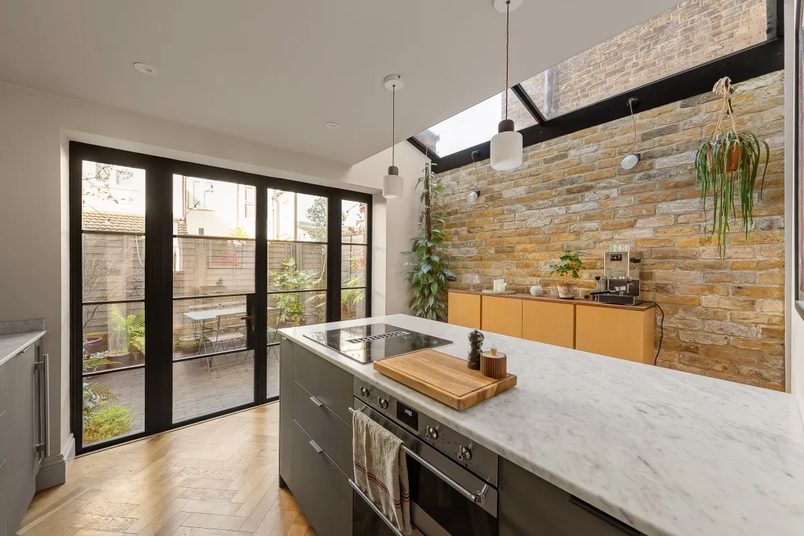
Side-return extension Completed side-return kitchen extension in Greenwich, SE10, with a central island, pitched glass roof and exposed brick wall.

Greenwich, SE10 · mid-terrace

Reworking the ground floor around a wider kitchen.

A side-return extension gave this narrow kitchen enough width for a central island, with a glass roof bringing daylight into the new space.

Est. cost
£74,000+
Time taken
12 weeks
Added area
5 sqm
Read the case study: Reworking the ground floor around a wider kitchen.
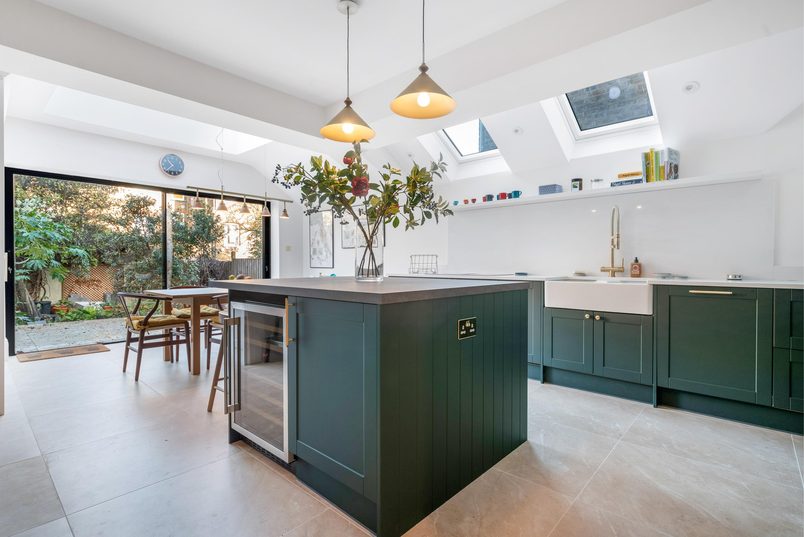
Wraparound extension Wraparound kitchen extension in Haringey, N4 with a dark green island, pendant lights, roof windows and sliding garden doors.

Haringey, N4 · mid-terrace

A kitchen big enough for family and friends.

The separate dining room rarely got used. We made space to eat in the extended kitchen, freeing up the old room for a playroom.

Est. cost
£117,000+
Time taken
16 weeks
Added area
19 sqm
Read the case study: A kitchen big enough for family and friends.
Wraparound extension Navy kitchen island looking towards the living area and garden doors in a wraparound extension in Lewisham, SE13.

Lewisham, SE13 · mid-terrace

Turning a small kitchen into an open-plan family hub.

The homeowners had a young baby and a small kitchen cut off from the rooms around it. This extension gave them a hub to cook, eat, relax & play together.

Est. cost
£117,000+
Time taken
11 weeks
Added area
14 sqm
Read the case study: Turning a small kitchen into an open-plan family hub.
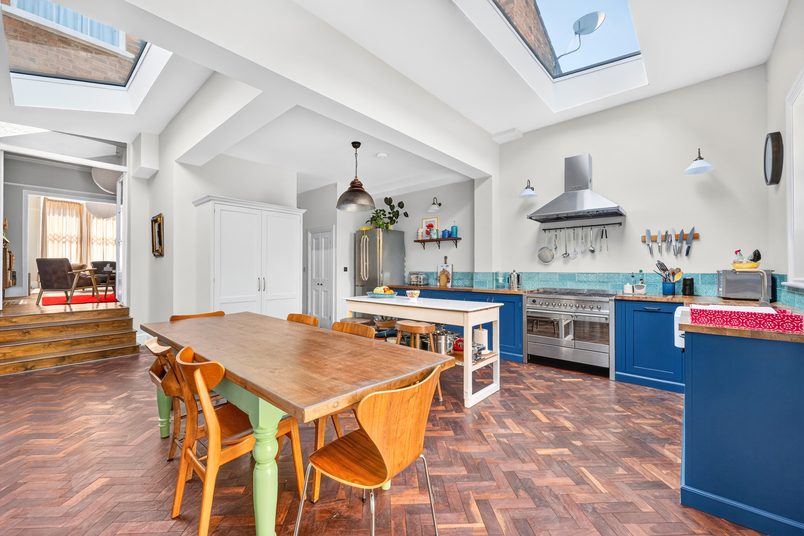
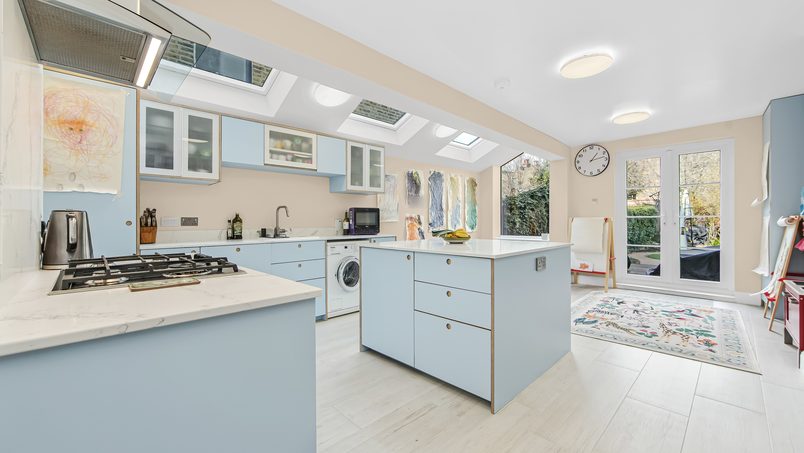
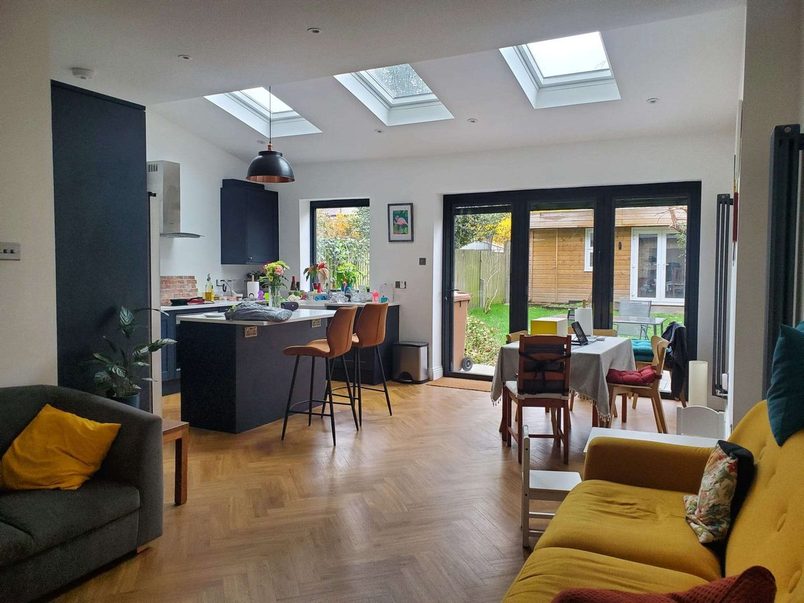
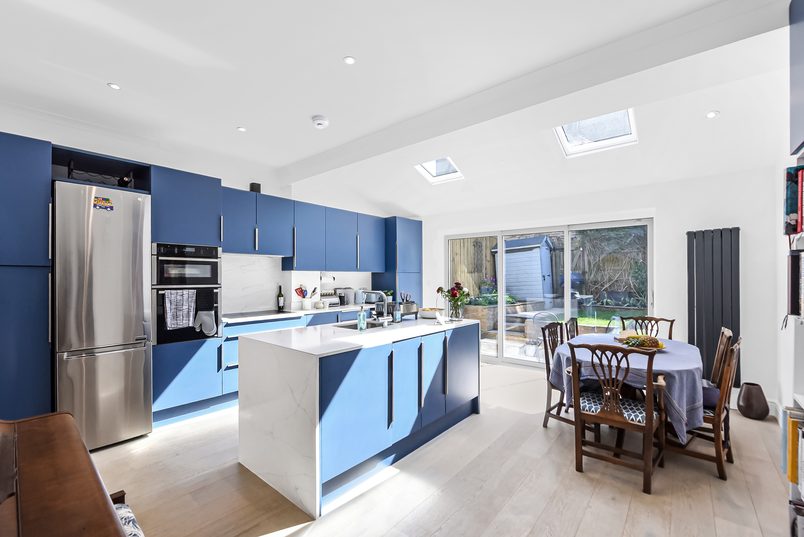
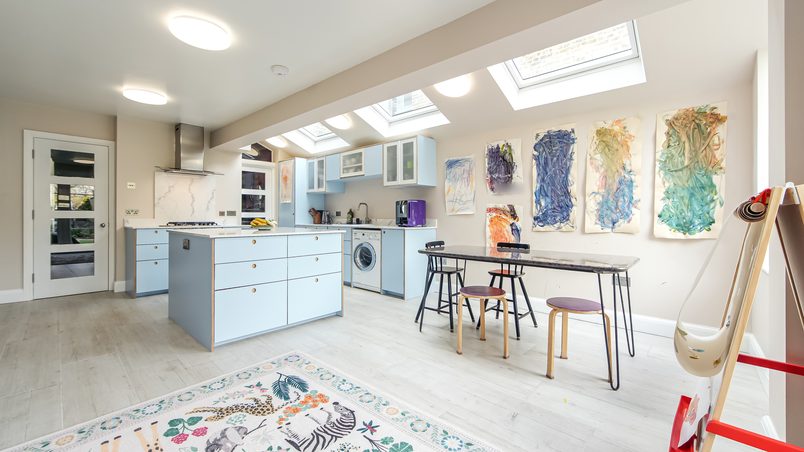
Rear extension Rear extension kitchen-diner in East Finchley, N2, with blue cabinets, a central island, rooflights and sliding garden doors.

East Finchley, N2 · Mid-terrace

An open-plan kitchen-diner to reconnect a family.

Whoever was cooking was often cut off from the rest of the family. We opened up the kitchen to the dining room, bringing everyone together.

Est. cost
£80,000+
Time taken
12 weeks
Added area
12 sqm
Read the case study: An open-plan kitchen-diner to reconnect a family.
Rear extension Open-plan rear extension kitchen in Lewisham, SE4, with a dark-blue island, a dining table, rooflights and bifold doors.

Lewisham, SE4 · mid-terrace

An open-plan kitchen & living space for a growing family.

The kitchen and dining room were too cramped for family life. We extended the rear and opened them up into one space for cooking, eating and relaxing.

Est. cost
£80,000+
Time taken
13 weeks
Added area
21 sqm
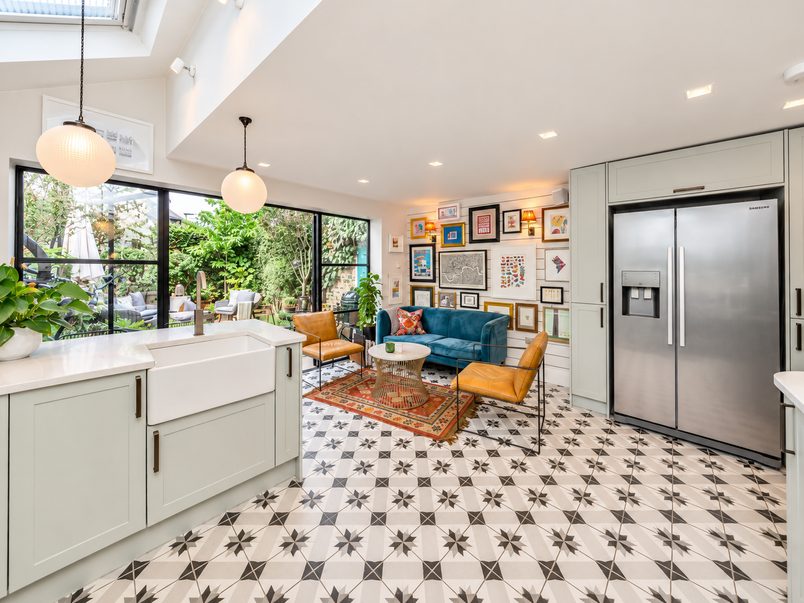
Read the case study: An open-plan kitchen & living space for a growing family.

What is a Juliet balcony?

A Juliet balcony is a safety barrier fitted across an upper-floor door or large window opening. It allows the opening to be used for light and ventilation without creating a balcony platform you can step onto.
What is a rooflight?

A rooflight is a window fitted into the roof to bring natural daylight into the room below.

Unlike a conventional wall window, it allows light to enter from above.

What is a macerator?

A macerator is a powered unit that breaks down toilet waste and pumps it through smaller pipework when a normal gravity drain cannot be used.

In this loft, we found a route for a conventional waste pipe instead.

What are ceiling joists?

Ceiling joists are horizontal structural members that support a ceiling and help form the structure between floors.

In this home, the original joists were removed and replaced as part of creating enough room for the loft.

What is a dormer?

A dormer is a structure built out from a sloping roof to create more usable space inside, usually with a taller wall and a window.

What is a temporary roof?

A temporary roof, often called a “tin hat”, is a weatherproof covering installed above the scaffolding to protect a house while its existing roof is being opened or rebuilt.

It can reduce interruptions caused by rain and help protect the rooms below.

It adds to the scaffolding cost, so whether it’s worthwhile depends on the project, the season and how much of the existing roof needs to be removed.

What is a fire-mist system?

A fire-mist system is a specialist fire-suppression system that releases fine droplets of water when activated. It can form part of a building’s approved fire-safety design.

The system for this home was specified and installed by specialists.