Adding a fourth bedroom before selling the family home.
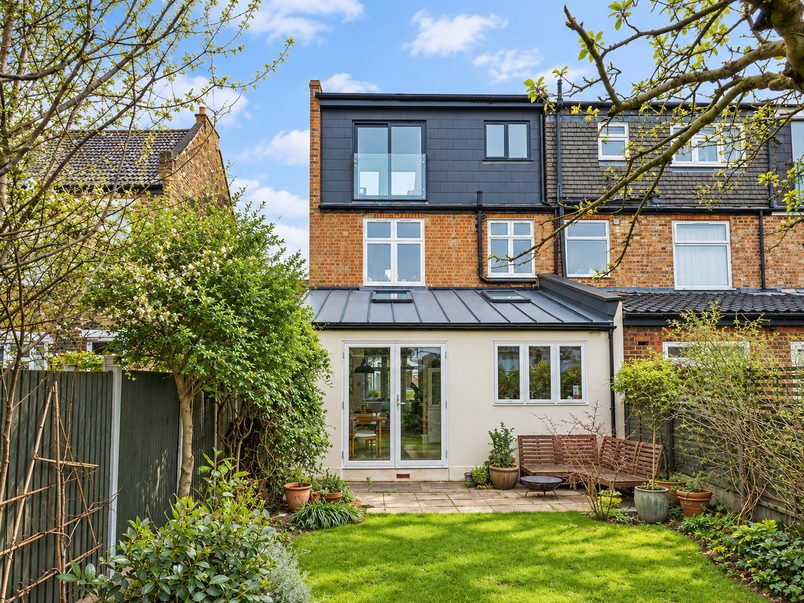
The homeowners planned to sell their Leytonstone home and move to Denmark, but wanted to make one final improvement first. We converted their unused loft into a master bedroom with an en-suite, giving the house a fourth bedroom and freeing up the small box room for a home office.
Space created
Loft suite and home office
Est. cost (inc. VAT)
£72,000+
Time taken
11 weeks
Added area
28 sqm
Project type
Rear dormer loft conversion
Planning route
Permitted development +
lawful development certificate
The transformation
How the home changed
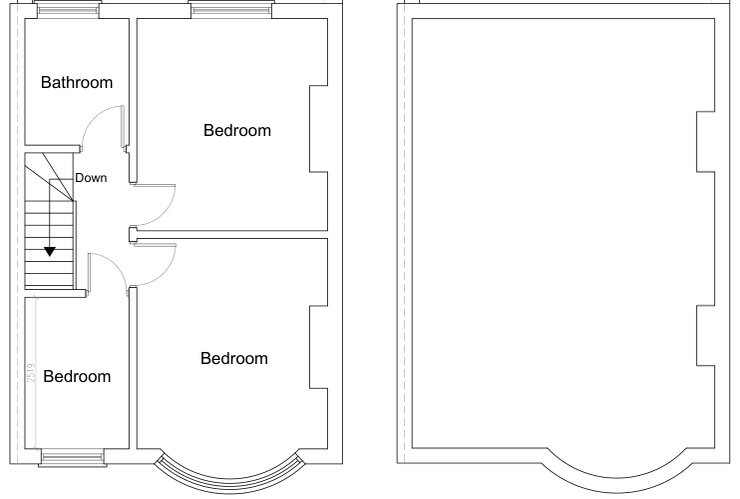
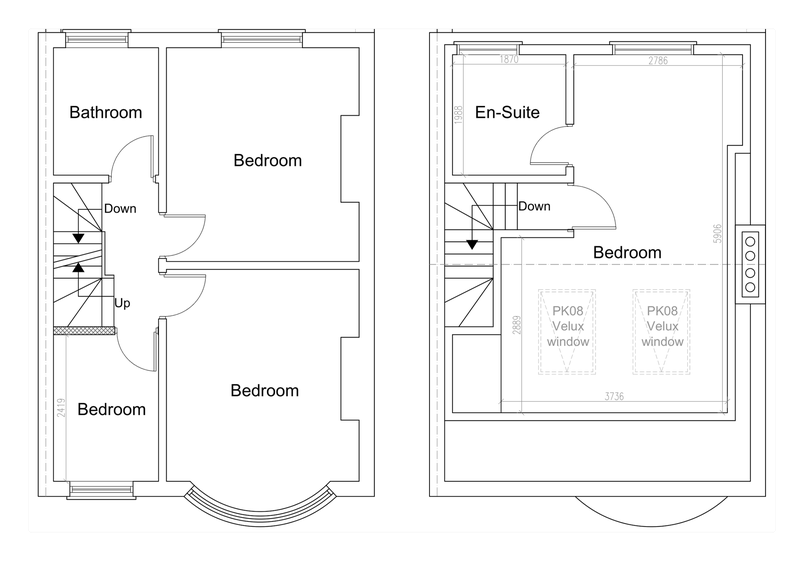
The homeowners already had three bedrooms on the first floor, but the smallest was a box room. With plans to move abroad and eventually sell, they wanted to make the house more appealing to a family who might need more space.
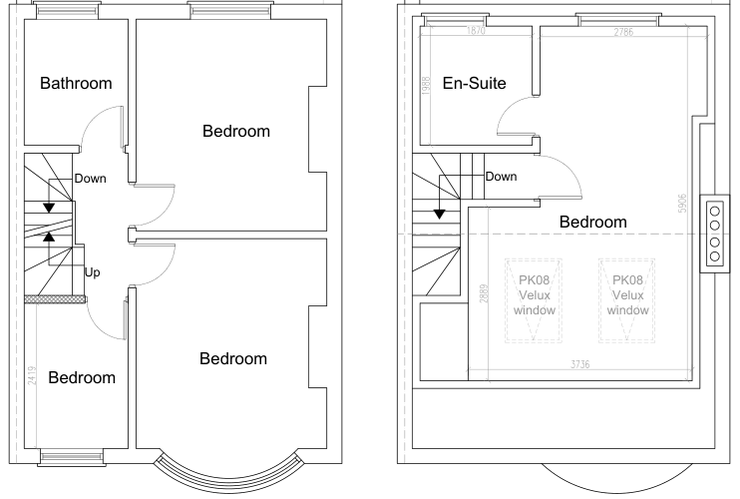
The loft had enough headroom to be converted without lowering the ceilings below. By building a rear dormer, we could add a new main bedroom and en-suite while keeping the existing bedrooms.
The staircase was positioned above the original stairs. We moved part of the box-room entrance further into the room to give the new staircase enough space without taking anything from the two larger bedrooms.
The couple moved into the loft, their daughter kept her bedroom, and the box room became a home office.
Before
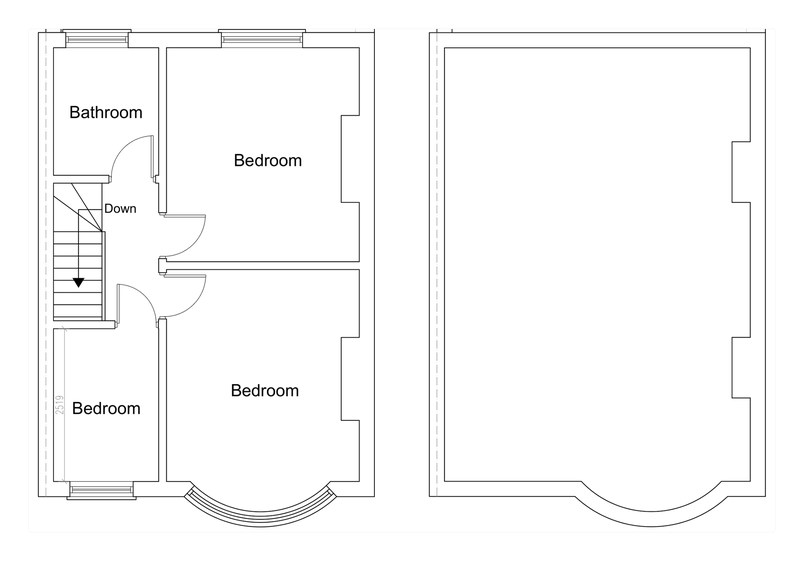
Three first-floor bedrooms
12
1Small third bedroom: The smallest bedroom was a box room, with limited space compared with the other two bedrooms.
2Unconverted roof space: The loft wasn’t being used as living accommodation.
After
Loft suite and office
1234
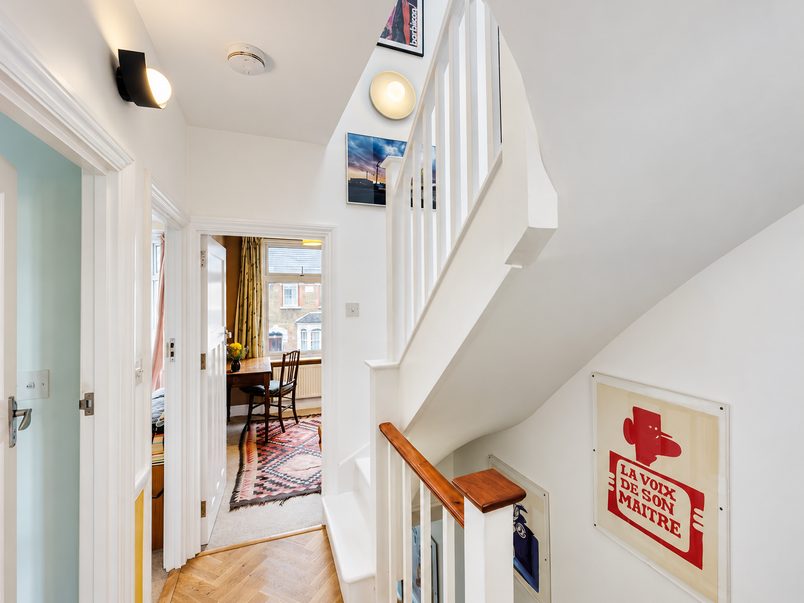
1New staircase: The stairs follow the existing stairwell, with part of the box-room entrance moved to create enough space.
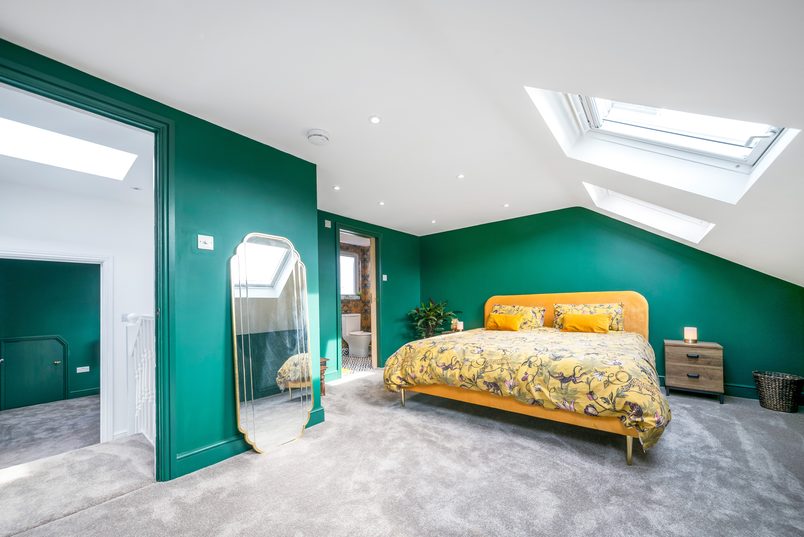
2Master bedroom: A rear dormer provides the additional headroom needed for the new main bedroom.
3En-suite wet room: A separate bathroom sits alongside the bedroom, with its own window.
4Home office: The former box room could now be used for working from home.
Design approach
Making the loft their own
Keeping the original chimney
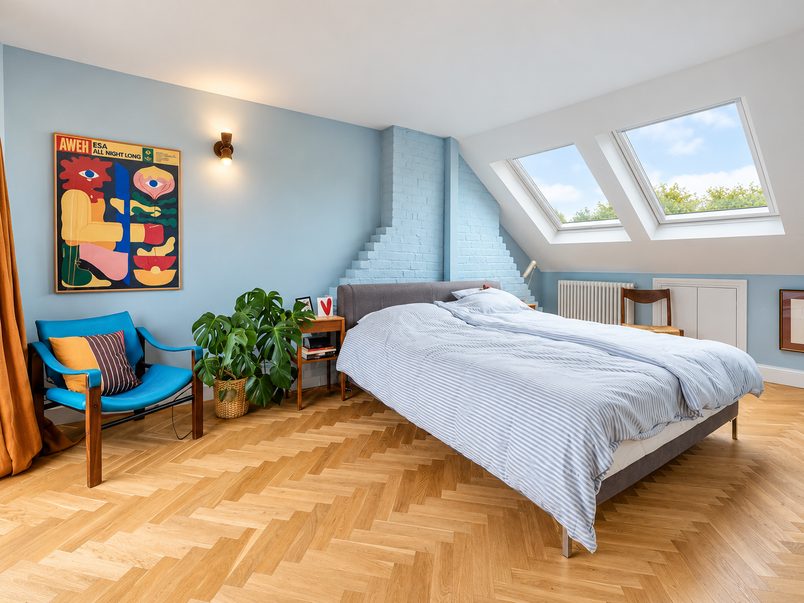
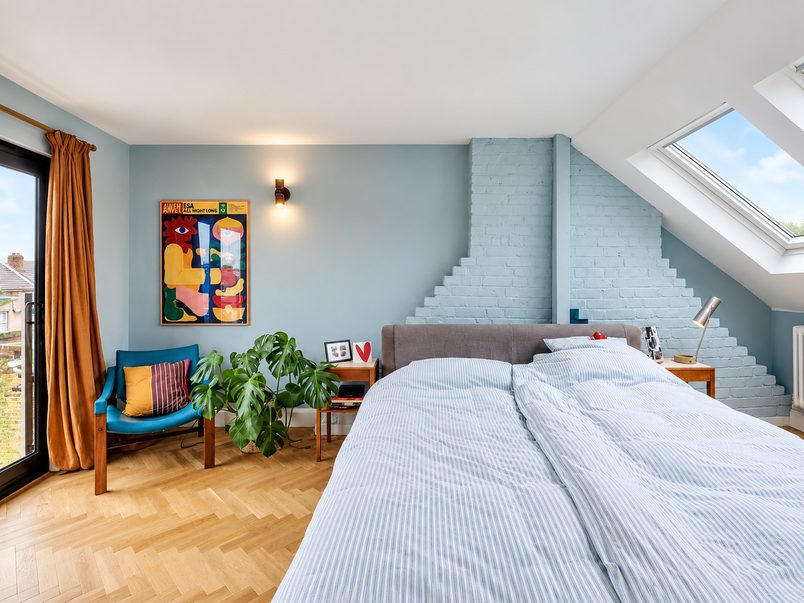
The homeowners wanted a modern bedroom, but they also wanted to keep some of the house’s original character.
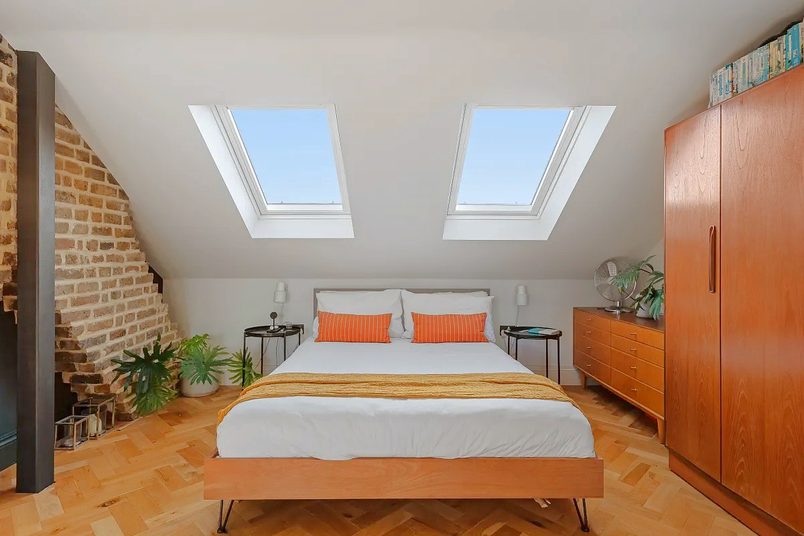
The existing chimney breast was one of the features they chose to leave visible. Rather than covering it with plasterboard, we exposed the brickwork and repaired the damaged areas so it could be painted.
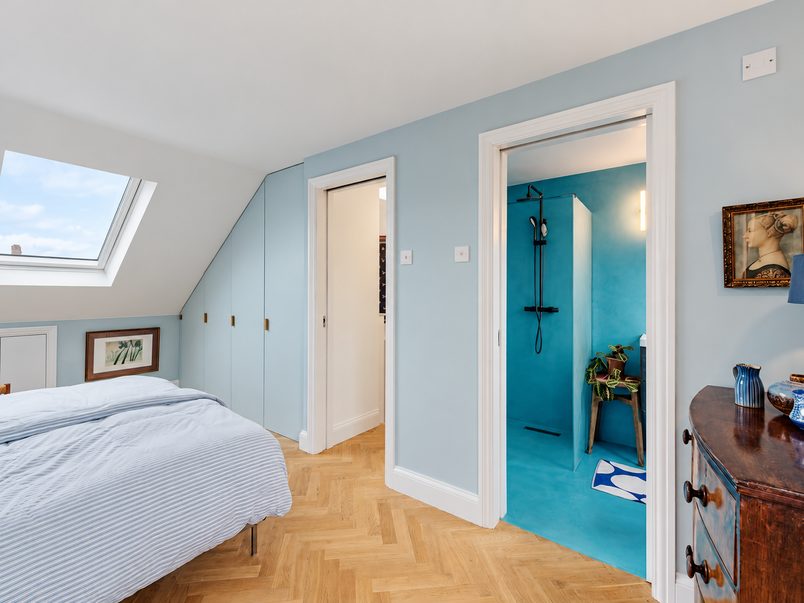
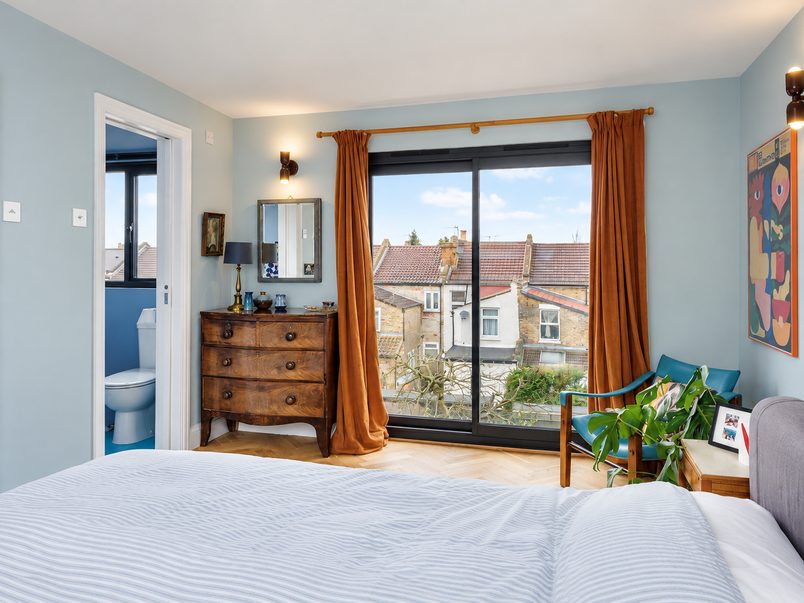
They chose pale blue walls, decorative wall lights and herringbone flooring. The flooring, artwork and light fittings were selected by the homeowners, while we carried out the installation and decoration.
A structural timber post was also left visible, treated with a fire-protective coating and painted blue to match the room.
Making room for wardrobes and rooflights
The bedroom has two large Velux rooflights on the front roof slope.
Their positions were considered alongside the fitted wardrobes, which were planned for the space beneath the sloping ceiling on the opposite side.
We worked with specialist joiners to make and install the wardrobes, following the shape of the roof rather than filling the room with freestanding cupboards.
That gave the homeowners storage without taking up the main bedroom floor.
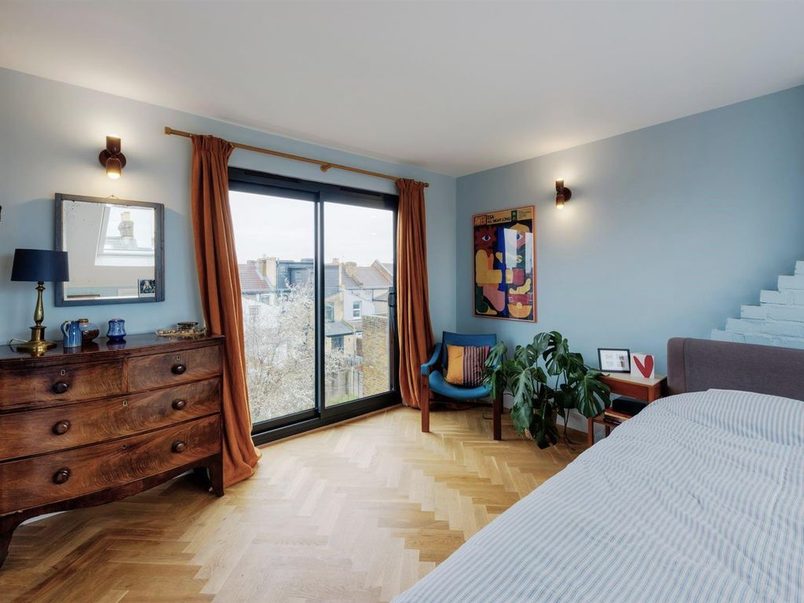
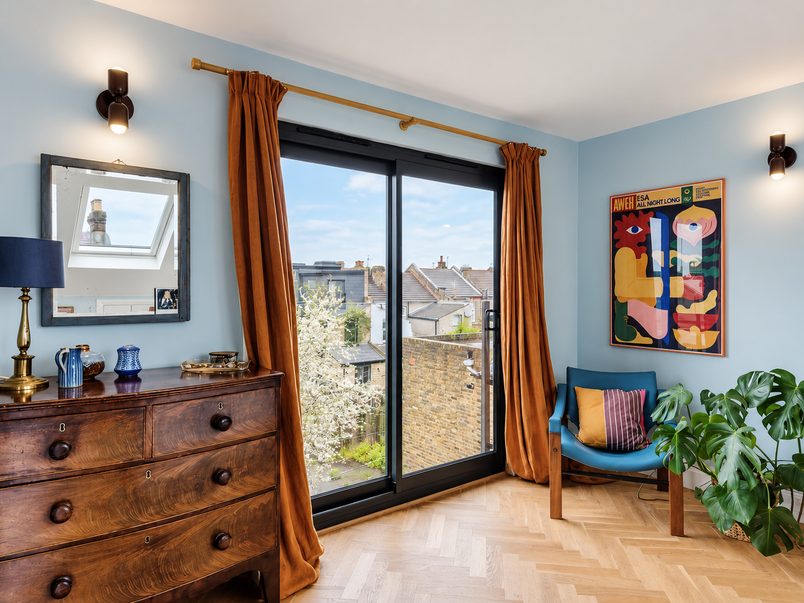
Choosing a Juliet balcony
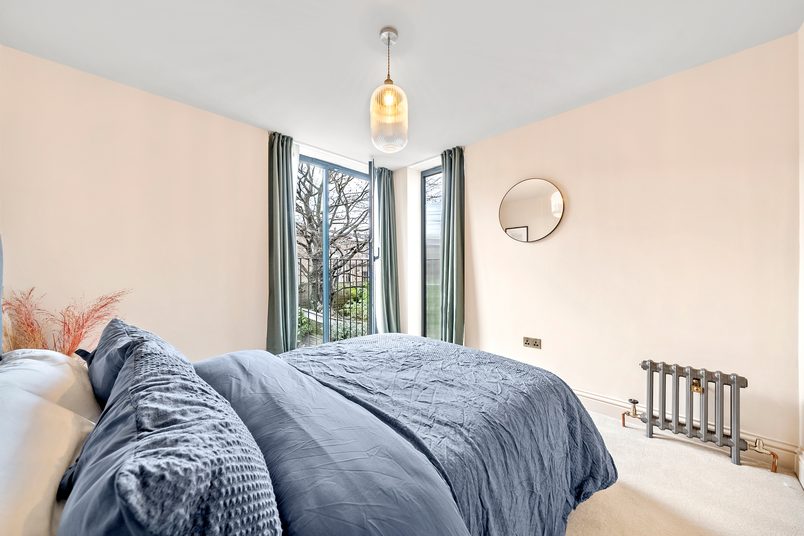
The original drawings showed a window at the back of the new bedroom.
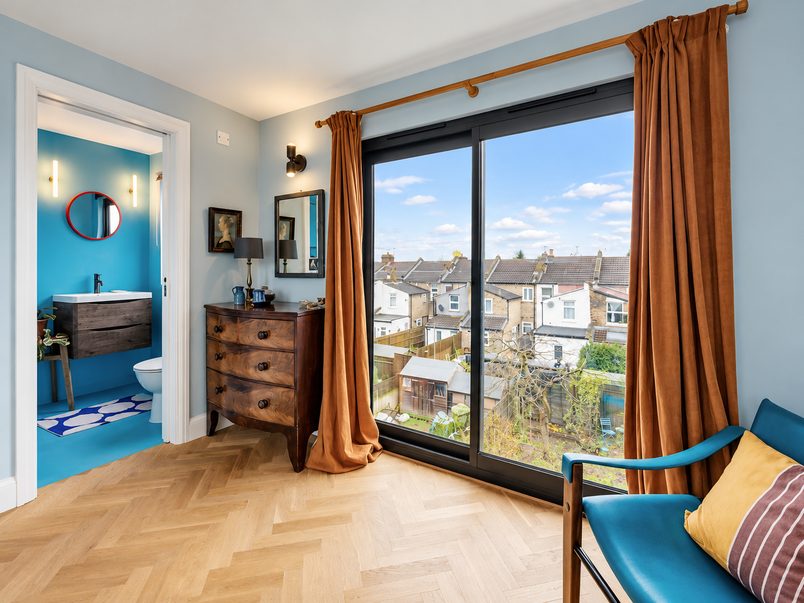
During construction, the homeowners asked to replace it with aluminium sliding doors and a Juliet balcony.
The external design team was consulted about the change, and we supplied and installed the new doors as an agreed variation.
Instead of a traditional metal railing, the homeowners chose a glass balustrade. This leaves a clear view across the gardens when looking out from the bedroom.
A Juliet balcony doesn’t have a platform to step onto, but the full-height doors can be opened for fresh air.
Making the most of the internal doorways
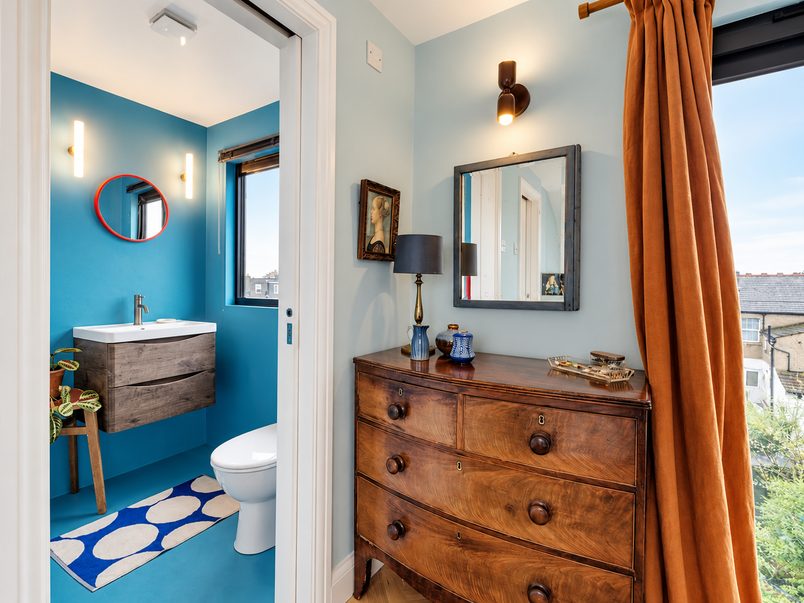
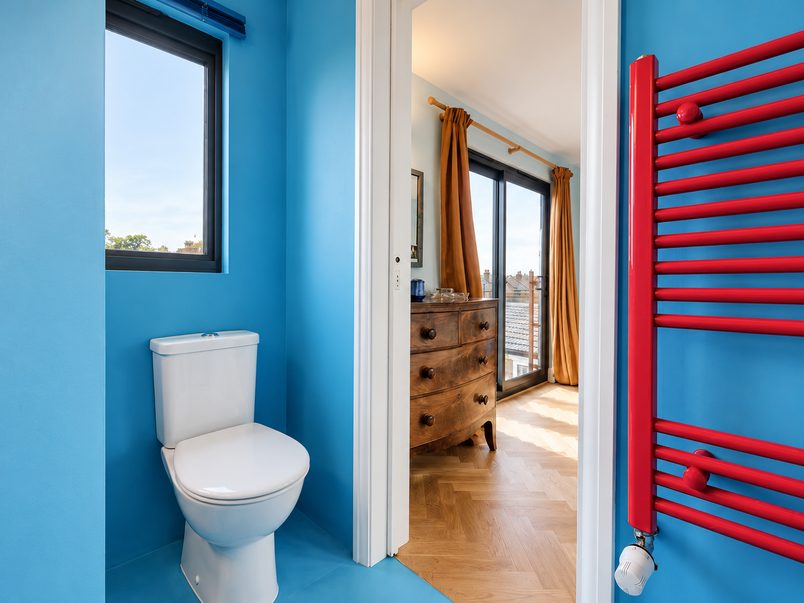
The homeowners also chose pocket doors for the bedroom and en-suite.
Unlike ordinary hinged doors, pocket doors slide into the wall when opened, so there isn’t a door swinging into the room.
The bedroom entrance needed a fire-rated system because it formed part of the relevant escape route. We installed an Eclisse fire-rated pocket door there, with a separate standard pocket door for the bathroom.
Both were client-requested upgrades.
The bathroom installation required more work than fitting a conventional hinged door because the wall needed to accommodate the sliding mechanism.
A blue wet room from floor to ceiling
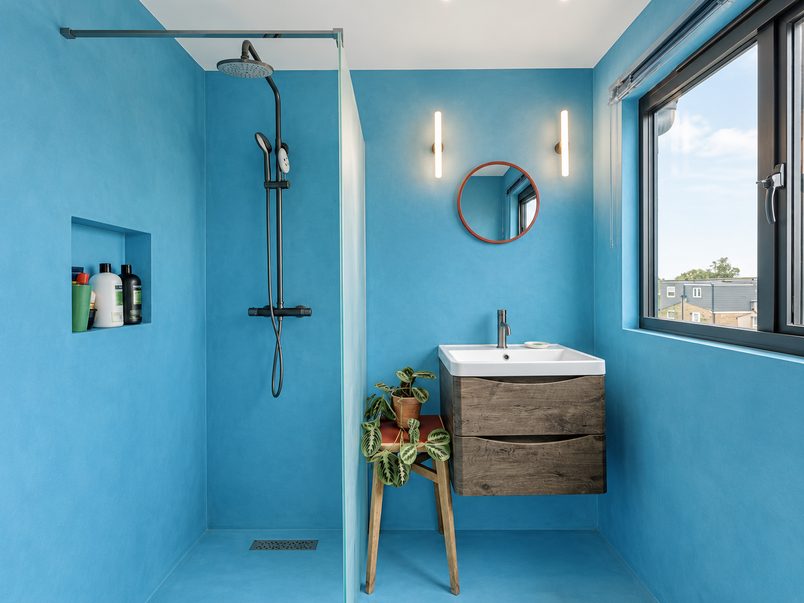
The homeowners chose blue microcement for the walls and floor of their en-suite.
They wanted a walk-in shower without a raised shower tray, so the shower floor runs flush with the rest of the bathroom and drains through an opening in the floor.
We also fitted a recessed niche for shower products, contemporary sanitaryware and a red radiator that contrasts with the blue finish.
The homeowners supplied the sanitaryware and shower screen. We supplied and installed the microcement finish through our specialist team and fitted the remaining bathroom elements.
Microcement can create a continuous surface without the usual tile joints, but the preparation underneath is particularly important when the bathroom sits on a timber floor.
We discussed those risks with the homeowners before carrying out the additional structural preparation.
The build
Building the new loft
Supporting the new floor and roof
The structural work began with four steel beams.
Three supported the new loft floor, while the fourth supported the altered roof structure.
With the new structure in place, we built the rear dormer and finished the outside with imitation-slate cladding and a three-layer felt roof.
One part of the roofing work needed particular care.
The existing house had natural slate tiles, and installing the two large front rooflights meant opening up a substantial section of the front roof.
Rather than replacing the entire front covering, we carefully removed and kept usable slates from the rear roof. These were then reused around the new front rooflights.
This allowed us to complete the alterations while retaining more of the original roof covering.
Fitting the staircase
The new staircase followed the position of the existing stairs below.
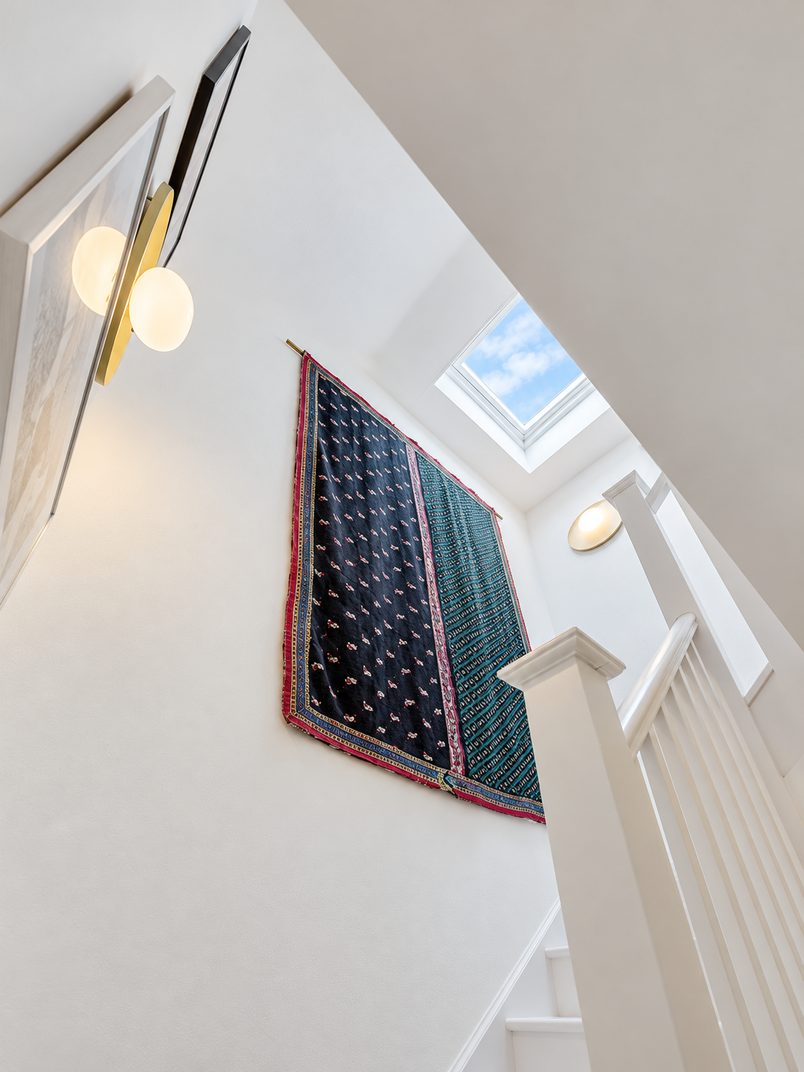
The homeowners chose to upgrade the standard MDF treads and risers to pine. The handrail, spindles and posts were also made from pine, as specified.
We painted the staircase white and left the timber handrail with a natural finish.
A skylight above the stairs was part of the original quotation. It brings daylight down into the stairwell, which would otherwise have relied more heavily on artificial lighting.
Repairing the chimney brickwork
When we removed the old plaster from the chimney breast, the brickwork underneath was in poor condition.
Some bricks were badly weathered and needed replacing. Our bricklayers repaired those areas and repointed the surrounding masonry before the chimney was decorated.
Because the homeowners intended to paint the brickwork, we didn’t need to source bricks that matched every original colour. The important thing was to leave the chimney sound and ready for its new finish.
Preparing the wet room floor
The blue wet room needed more preparation than a conventional tiled bathroom.
The challenge was the timber floor beneath it.
Timber can move slightly as temperature, moisture and loads change. That movement can affect rigid finishes applied above it, including microcement.
We explained that a conventional tiled bathroom floor would present less movement-related risk. The homeowners preferred the continuous microcement finish, so we agreed additional preparation before proceeding.
We strengthened the floor with extra timber supports and metal strapping, then installed marine-grade plywood over the reinforced structure.
The wet room was also fully tanked, meaning a waterproof layer was installed beneath the decorative finish to stop water reaching the structure below.
Our regular bathroom specialist worked with a separate microcement team to coordinate the preparation and installation.
The additional work was intended to reduce the risk of cracks caused by movement. It couldn’t eliminate that risk entirely.
The homeowners were advised of this and chose to proceed. They later reported no problems with the completed bathroom.
Staying at home during the work
The homeowners and their young daughter remained living in the house throughout the conversion.
Because the existing first-floor ceilings didn’t need to be lowered, the family could continue using the bedrooms and living spaces below.
There was construction noise, but they didn’t need to move out while the new rooms were being built.
Waste removal needed some planning because the road was within a Controlled Parking Zone, making skip permits relatively expensive.
Rather than keeping a skip outside throughout the build, we stored waste safely within the scaffold arrangement and arranged collections when a full load was ready.
Skips typically remained outside for only four or five days, reducing the time we needed them on the road.
Eight weeks of construction and three weeks of finishing
The core loft conversion took 8 weeks.
The homeowners’ chosen specification went beyond the standard build, with bespoke joinery, upgraded flooring, specialist microcement and full decoration.
Completing that additional work took another 3 weeks.
The full project was completed in 11 weeks.
There were no major unforeseen construction complications.
Planning & approvals
What needed approval
Planning permission
The project included a rear dormer and two front rooflights. Waltham Forest Council granted a Lawful Development Certificate confirming the work was permitted development.
Party Wall
A formal Party Wall Award was agreed for one neighbouring property.
Building Control
Building Control inspected the loft conversion and issued a completion certificate when the work was finished.
Costs today
What this project costs
£72,000+
Estimated base cost today · Includes VAT
What the base price covers
Our rear dormer starting price covers the core loft conversion, including the structural work, roof construction, staircase and the standard elements needed to turn the roof space into a usable room. The full specification is available in the breakdown below.
This loft went beyond that standard specification. Alongside the new bedroom and en-suite, the homeowners chose specialist bathroom finishes, fitted wardrobes, upgraded doors, herringbone flooring and full decoration. A similar project today would need to be priced around those choices.
What this home added
The homeowners made several changes to the original specification during the project.
The rear bedroom window was replaced with aluminium sliding doors and a glass Juliet balustrade. They also chose pine stair treads and risers, fitted wardrobes made for the roof slope, and two pocket doors, including a fire-rated system for the bedroom entrance.
The blue microcement wet room required specialist installation and additional floor preparation. We also installed the homeowners’ chosen flooring, lighting, radiators and bathroom fittings, and decorated the loft throughout.
Not every item above was an additional charge. The homeowners supplied some of the finishes and fittings themselves, while other work was included in the agreed construction package.
Key takeaways
Key takeaways
Think about the whole house before selling
Adding another bedroom can change how the existing rooms are used.
In this home, moving the main bedroom upstairs allowed the smallest bedroom to become an office. The property still offered four rooms that could be used as bedrooms, but the family could use them differently while they lived there.
If you’re extending before selling, it can be worth asking local estate agents what prospective buyers are likely to value, rather than assuming that additional floor area is always the most important factor.
Check where the staircase will go
A loft conversion needs a staircase, and that staircase has to connect to the rooms below.
Here, moving a small section of the box-room entrance made enough space for the stairs without losing one of the larger bedrooms.
It’s worth understanding how the staircase will affect your existing floorplan before deciding on the loft layout.
Understand what’s beneath your bathroom finish
A continuous microcement floor can look simple once the bathroom is finished, but the work underneath it matters.
The floor needs to be suitably prepared and waterproofed, particularly when the bathroom is being built over timber.
If you’re considering a similar finish, ask how movement, waterproofing and the shower drainage will be dealt with before choosing the final materials.
Allow time for the finish you want
The core loft conversion took 8 weeks, but the full project took 11 weeks once the additional interior work was included.
Bespoke wardrobes, specialist bathroom finishes, flooring and decoration all take time.
When comparing building programmes, check whether you’re being given a timeframe for the structural conversion or for the finished rooms you actually want to move into.
Photos and floor plans
1/1
1/14
Ready to get a clear plan for your project?
Get a realistic picture of what’s possible for your home, likely costs, timings, planning requirements and what the project would involve.
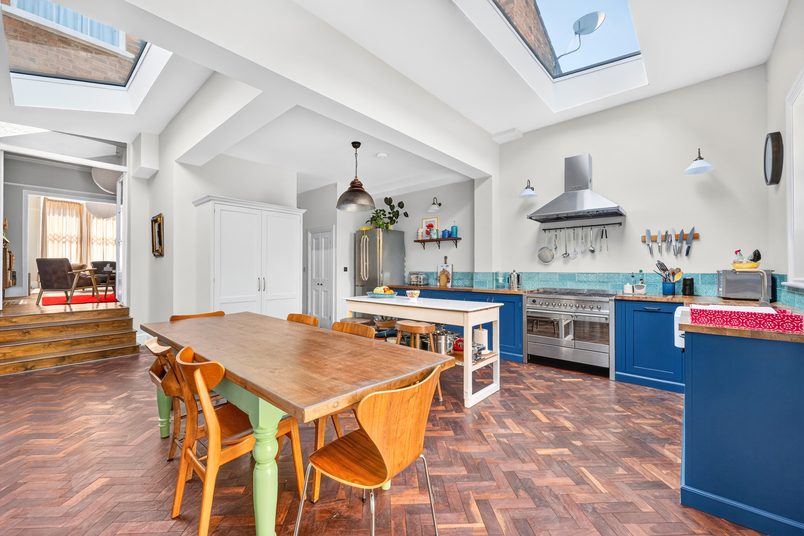
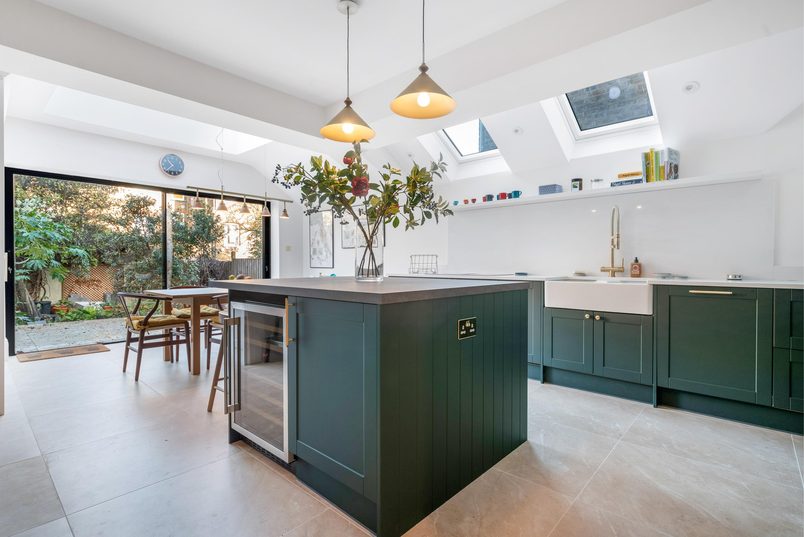
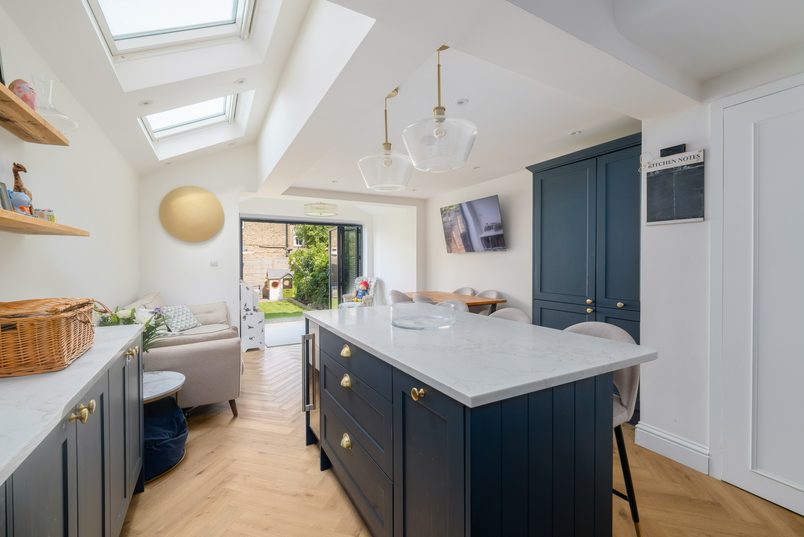
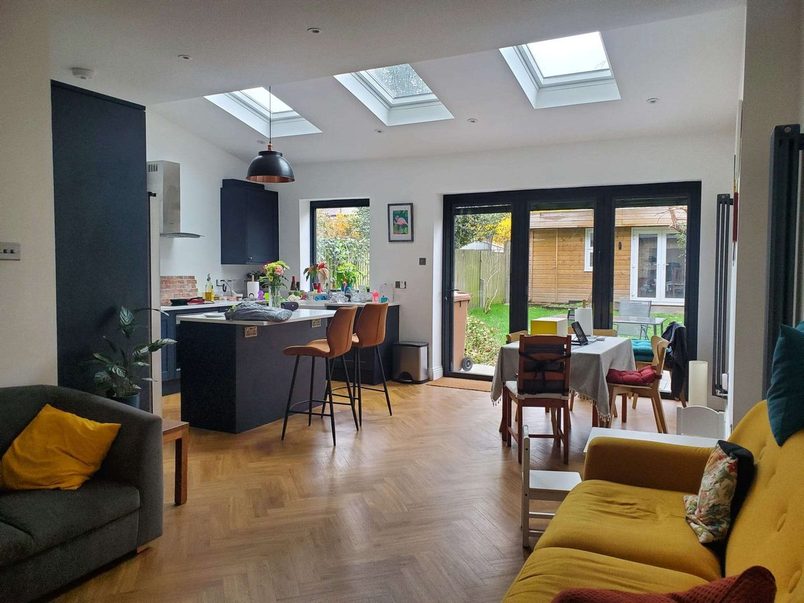
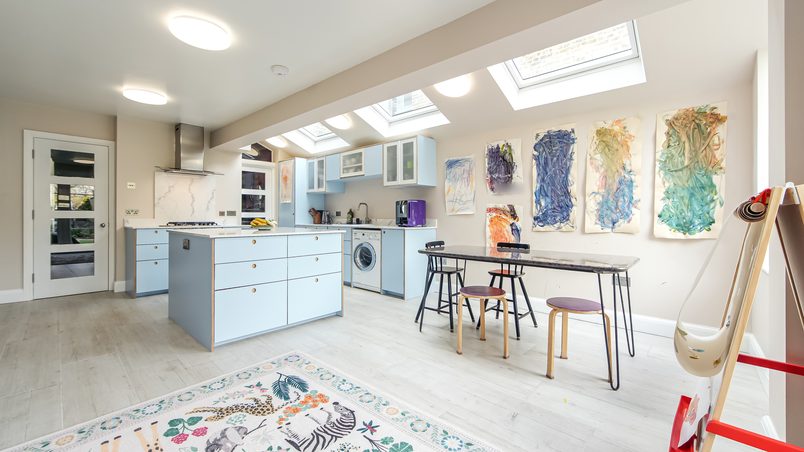
Turning a small kitchen into an open-plan family hub.
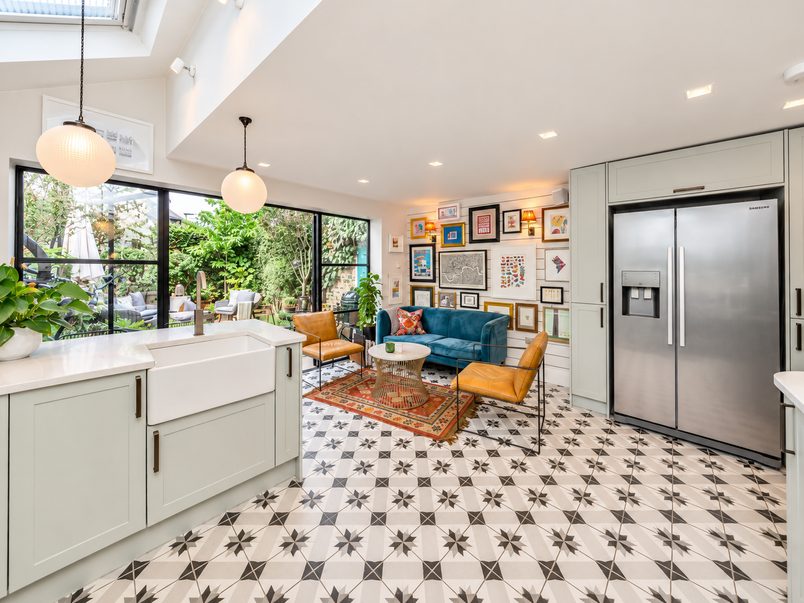
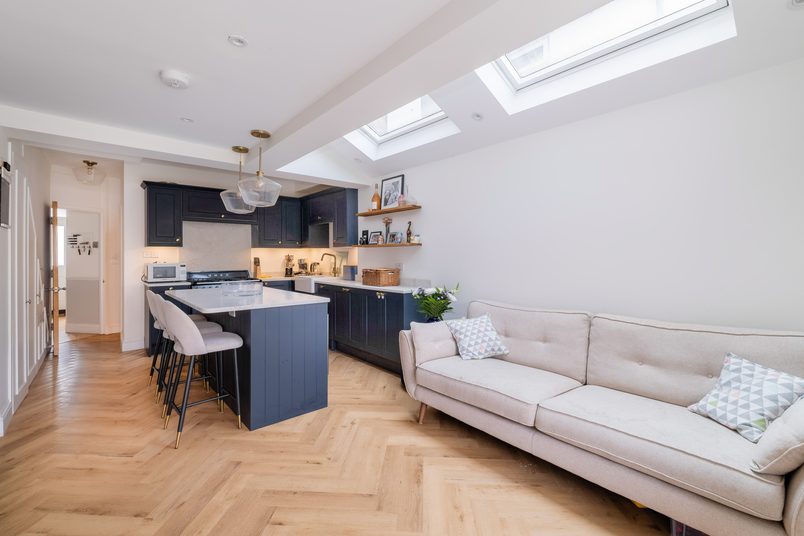
The homeowners had a young baby and a small kitchen cut off from the rooms around it. This extension gave them a hub to cook, eat, relax & play together.
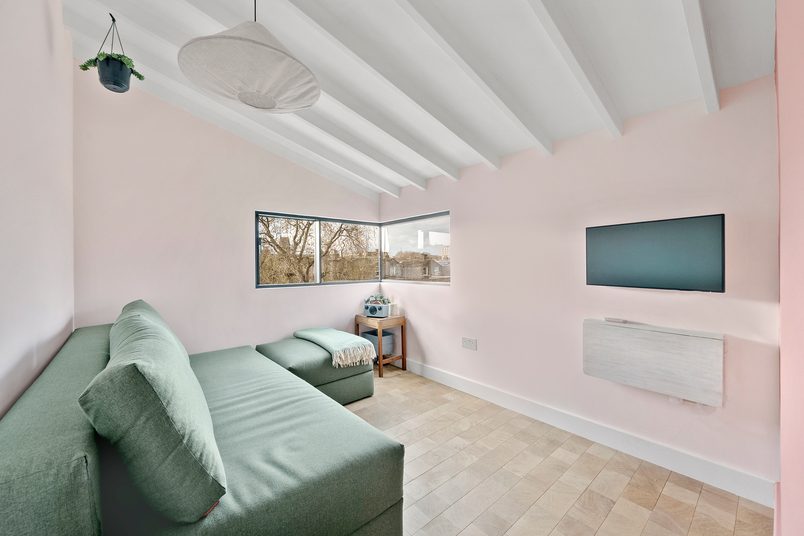
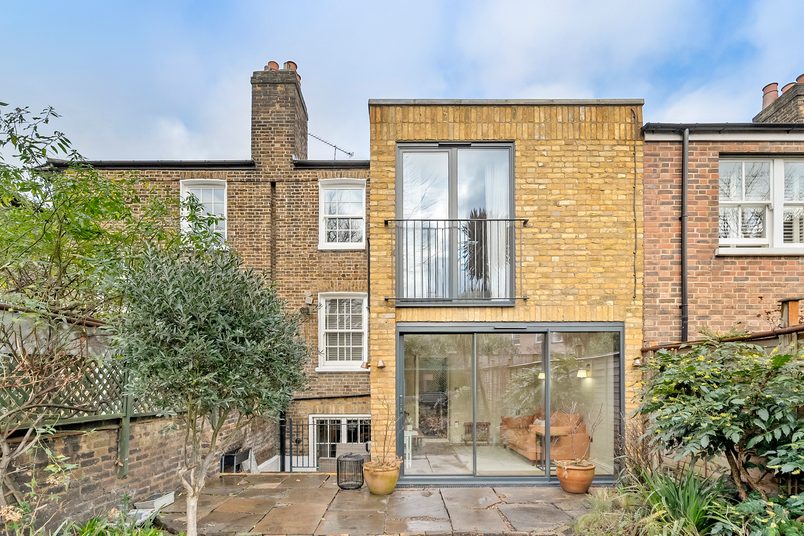
A new snug and third bedroom for a growing family.
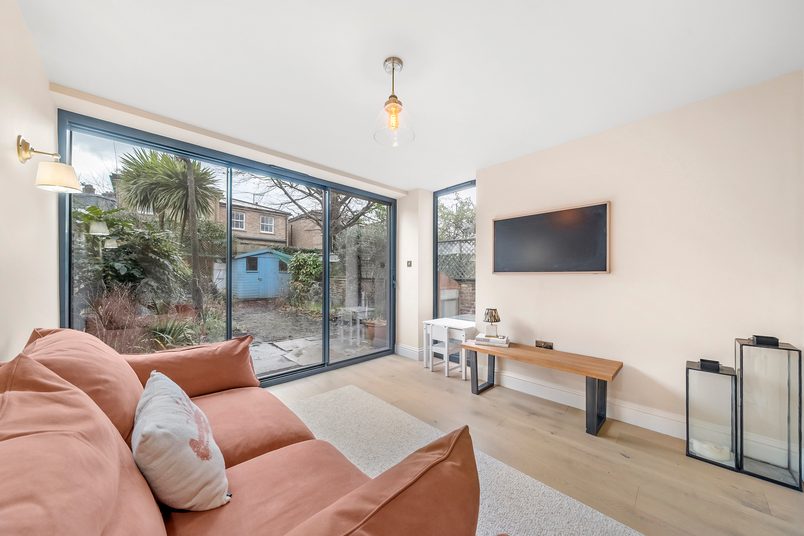
Their living room was two sets of stairs from their kitchen, and they needed another bedroom, so we built a snug next to the kitchen and a third bedroom.
The homeowner’s children were getting older and needed their own space. So we converted the loft into a bedroom for her, giving the children a room each.
A master suite in the loft to make space for a home office.
Their son needed more room to study, and both parents worked from home. We built a loft suite, freeing up space for a bigger bedroom and a separate office.
The homeowner’s children were getting older and needed their own space. So we converted the loft into a bedroom for her, giving the children a room each.
A new snug and third bedroom for a growing family.
Their living room was two sets of stairs from their kitchen, and they needed another bedroom, so we built a snug next to the kitchen and a third bedroom.
A master suite in the loft to make space for a home office.
Their son needed more room to study, and both parents worked from home. We built a loft suite, freeing up space for a bigger bedroom and a separate office.
A new snug and third bedroom for a growing family.
Their living room was two sets of stairs from their kitchen, and they needed another bedroom, so we built a snug next to the kitchen and a third bedroom.
Turning a small kitchen into an open-plan family hub.
The homeowners had a young baby and a small kitchen cut off from the rooms around it. This extension gave them a hub to cook, eat, relax & play together.
The homeowner’s children were getting older and needed their own space. So we converted the loft into a bedroom for her, giving the children a room each.
A master suite in the loft to make space for a home office.
Their son needed more room to study, and both parents worked from home. We built a loft suite, freeing up space for a bigger bedroom and a separate office.
A new snug and third bedroom for a growing family.
Their living room was two sets of stairs from their kitchen, and they needed another bedroom, so we built a snug next to the kitchen and a third bedroom.
Turning a small kitchen into an open-plan family hub.
The homeowners had a young baby and a small kitchen cut off from the rooms around it. This extension gave them a hub to cook, eat, relax & play together.
Turning a small kitchen into an open-plan family hub.
The homeowners had a young baby and a small kitchen cut off from the rooms around it. This extension gave them a hub to cook, eat, relax & play together.
A new snug and third bedroom for a growing family.
Their living room was two sets of stairs from their kitchen, and they needed another bedroom, so we built a snug next to the kitchen and a third bedroom.
The homeowner’s children were getting older and needed their own space. So we converted the loft into a bedroom for her, giving the children a room each.
Turning a small kitchen into an open-plan family hub.
The homeowners had a young baby and a small kitchen cut off from the rooms around it. This extension gave them a hub to cook, eat, relax & play together.
A master suite in the loft to make space for a home office.
Their son needed more room to study, and both parents worked from home. We built a loft suite, freeing up space for a bigger bedroom and a separate office.



 Call now
 WhatsApp
 Call Eddie
 WhatsApp Eddie


 Save to contacts
 Apple Calendar
 Google Calendar
 Outlook