
Construct X Group

Sydenham, SE26 · end-of-terrace

A loft bedroom to give each child their own room.

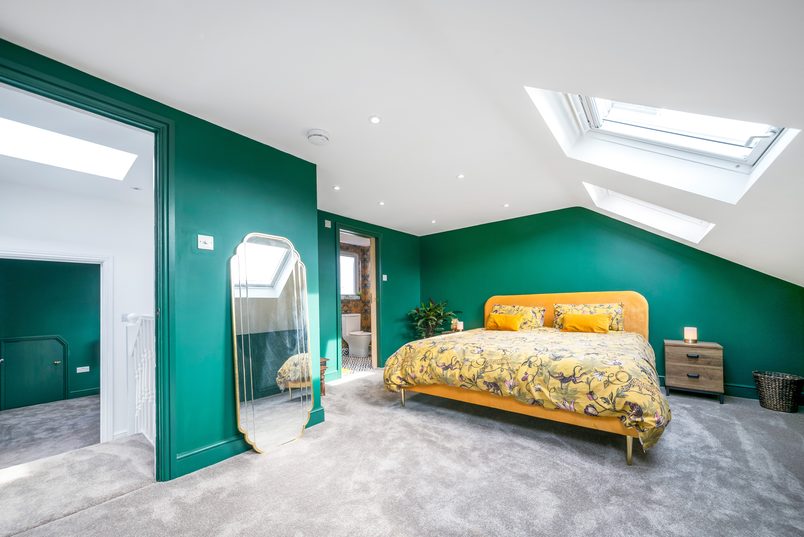
The homeowner’s son and daughter were getting older, and sharing a bedroom was becoming difficult. So we turned the unused loft into a spacious bedroom for her, with a seating area and separate shower room. She moved upstairs, leaving the two existing bedrooms for the children.

Space created
Bedroom with seating area and separate shower room
Est. cost (inc. VAT)
£72,000+
Time taken
11 weeks
Added area
20 sqm
Project type
Rear dormer loft conversion
Planning route
Permitted development + lawful development certificate

The transformation

How the home changed

Before we started, this was a two-bedroom house with a loft used mainly for storage. The roof sloped down on both sides, leaving only a limited area where you could stand comfortably.

We built a rear dormer and created 20 sqm of usable space, with a bedroom, separate shower room and storage. A new staircase connects the loft to the first floor. It takes a small amount of space from one of the original bedrooms, but both bedrooms remain downstairs.

Before

Loft used for storage

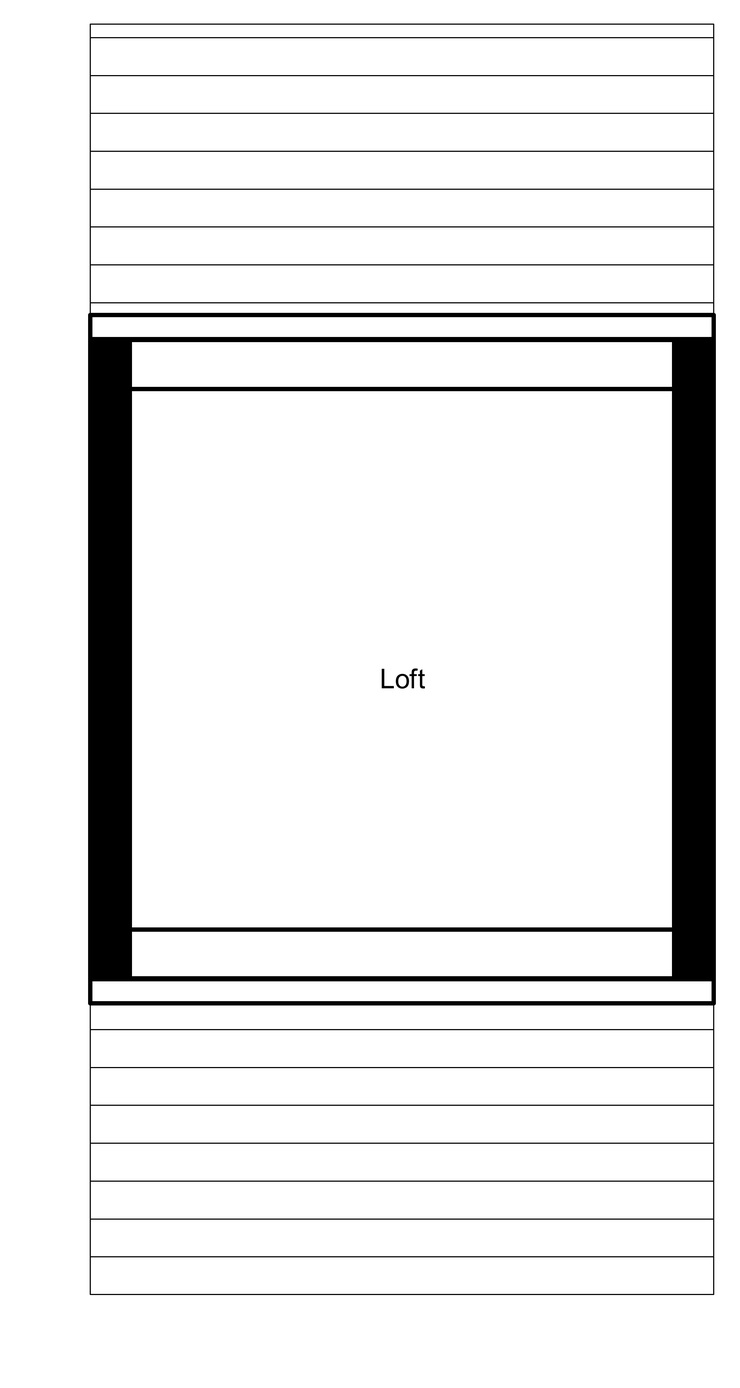
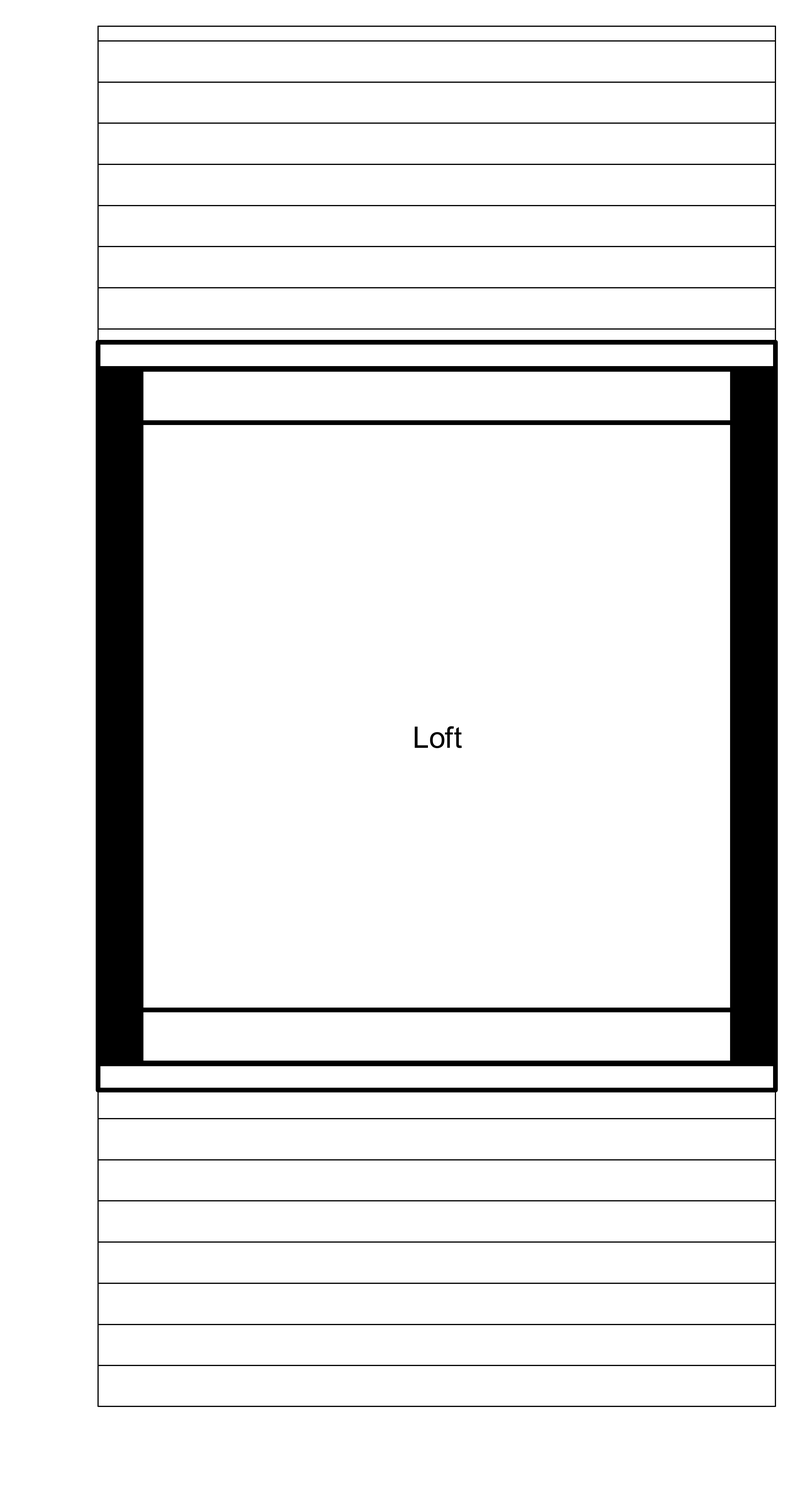
Existing loft plan: the unused roof space between the front and rear roof slopes, before the conversion.
  1. Original loft: An open roof space used mainly for storage, with limited headroom beneath the sloping roof.

After

Bedroom and shower room

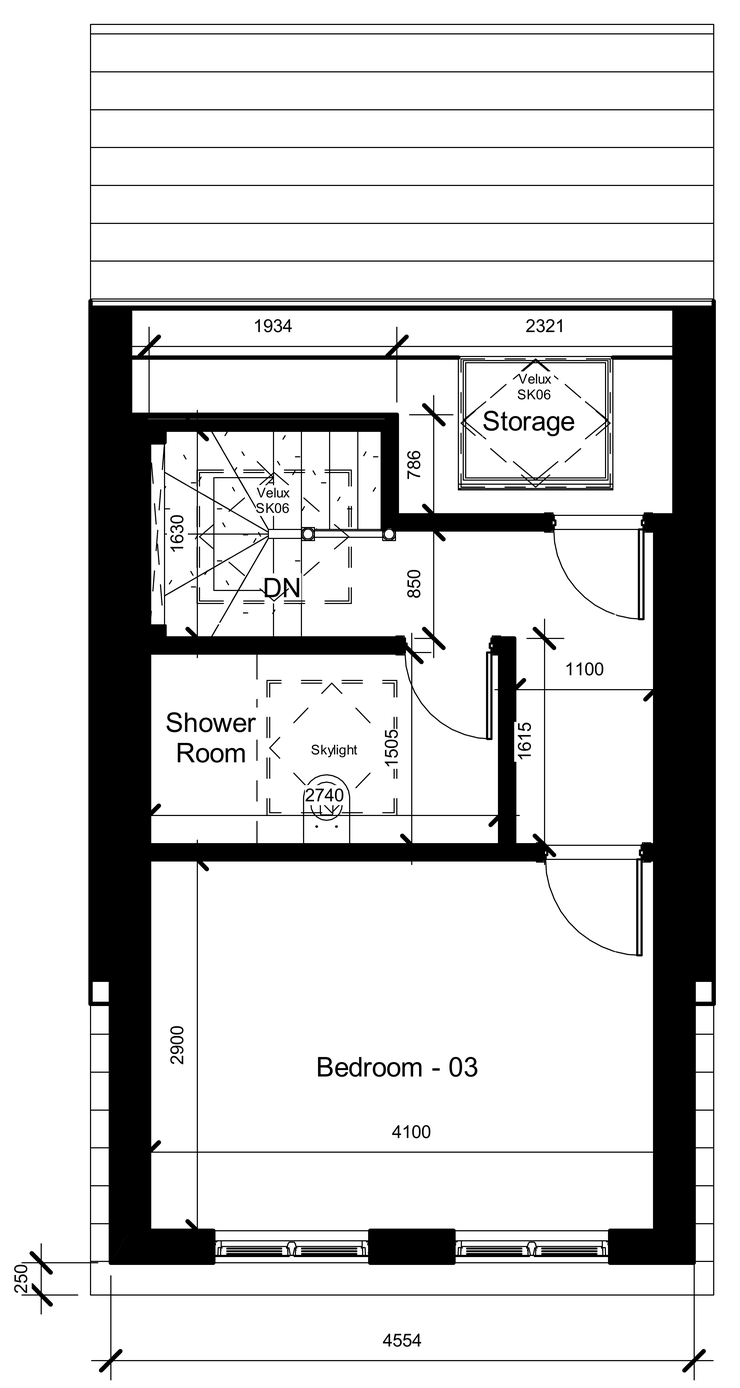
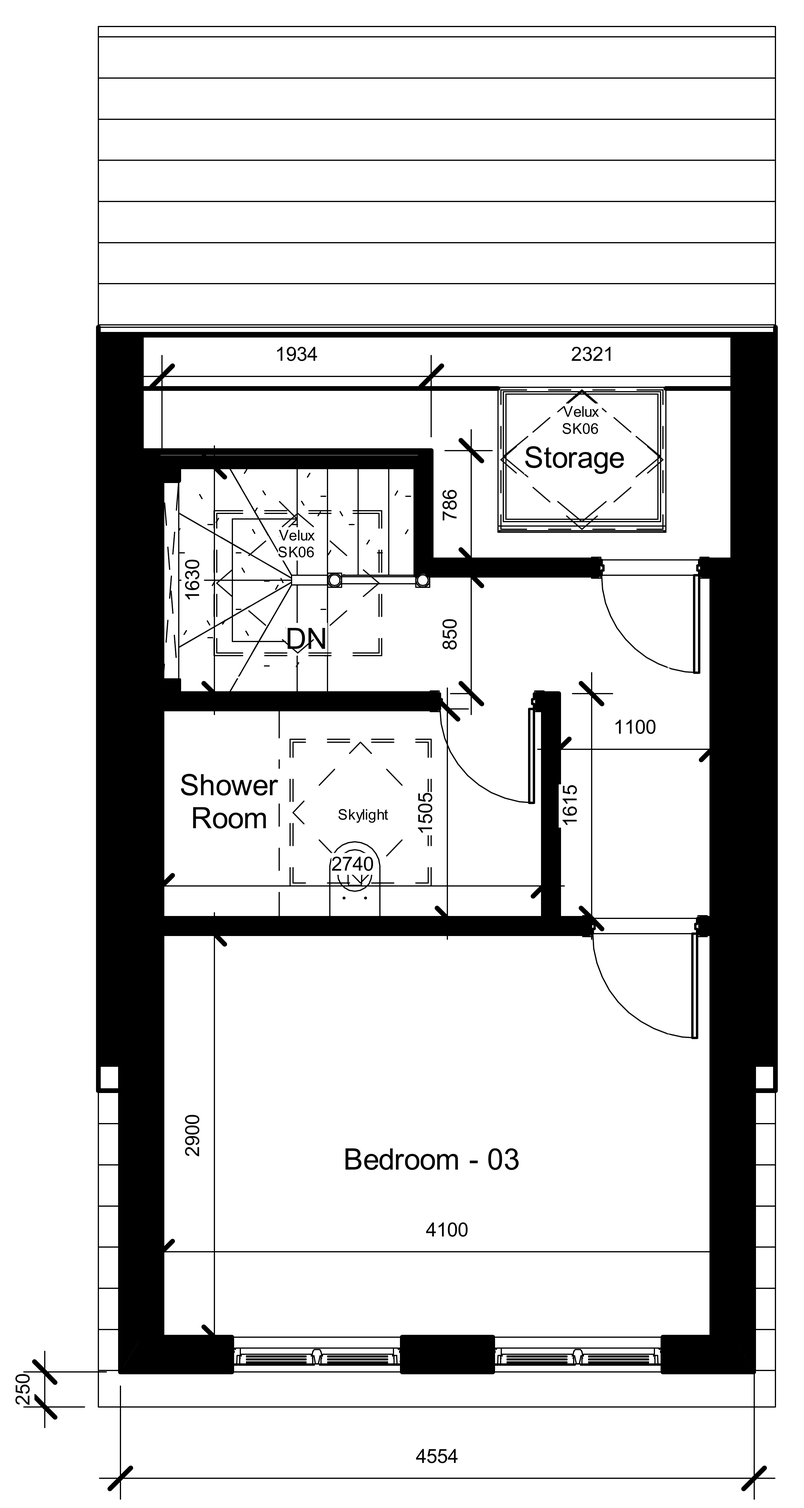
Proposed loft plan: the bedroom beneath the rear dormer, the shower room with its skylight, the new staircase and storage.
  1. New bedroom: A spacious bedroom with room for a bed, storage and a separate seating area.
  2. Shower room: Accessed from the loft landing rather than through the bedroom.
  3. New staircase: Connects the new loft to the first floor, taking a small amount of space from the bedroom below.
  4. Storage: Additional storage included within the new loft layout.

Design approach

Making the most of the roof space

Finding enough headroom

The original roof pitched down on both sides, so converting the loft within that shape would have left much of the room with restricted headroom. The rear dormer gave us more height at the back, making it possible to fit a comfortable bedroom and shower room on the same floor.

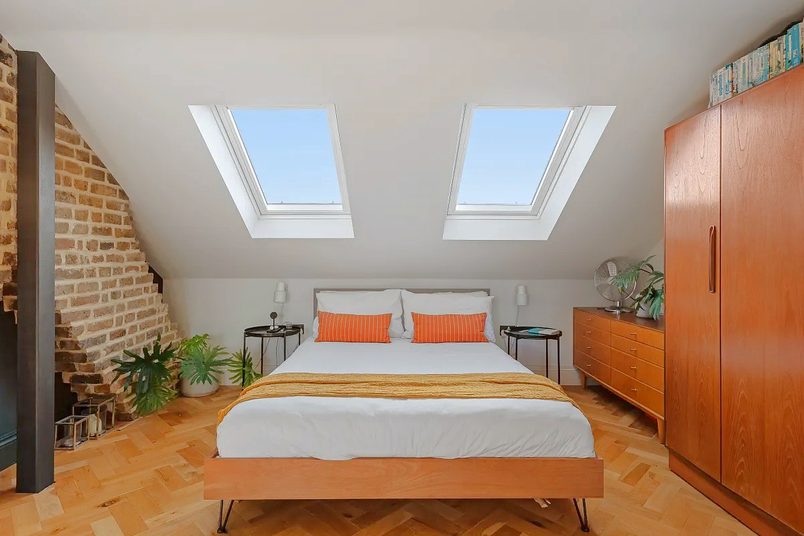
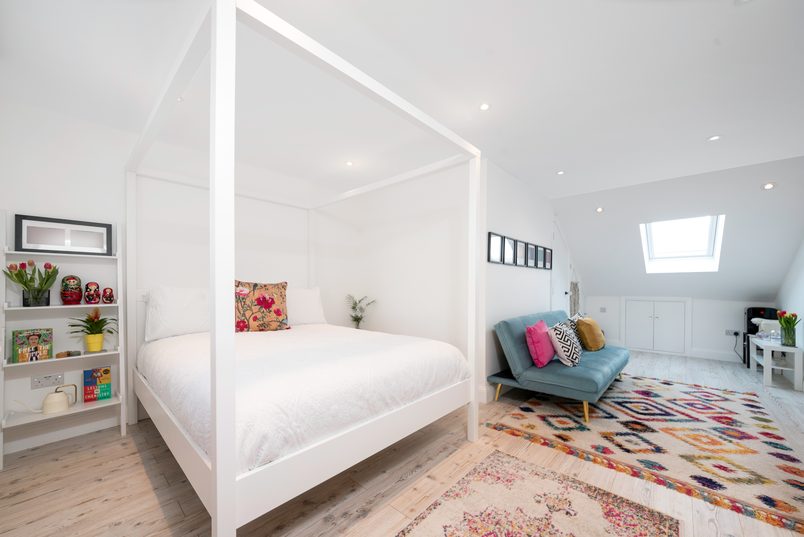
The finished bedroom is 2.2 metres high at its highest point. There’s enough room for the four-poster bed, wardrobes and a sofa without everything competing for the same bit of floor. The homeowner has somewhere to sit and read as well as a place to sleep.

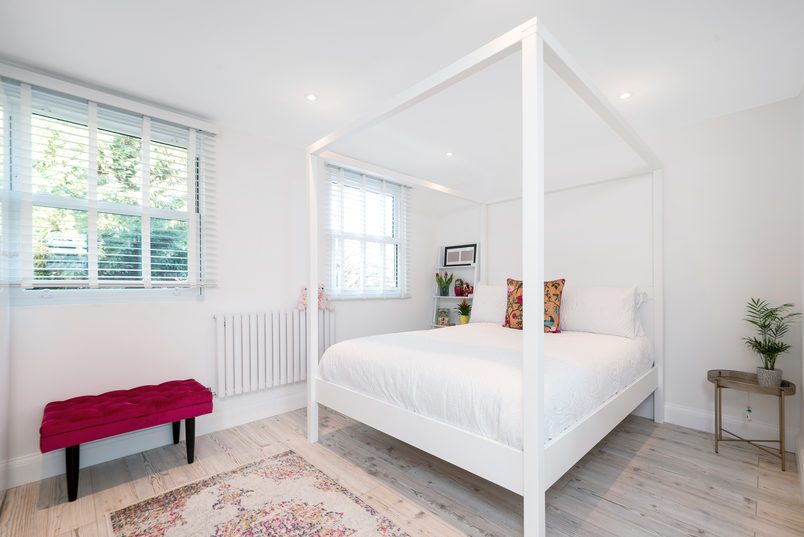
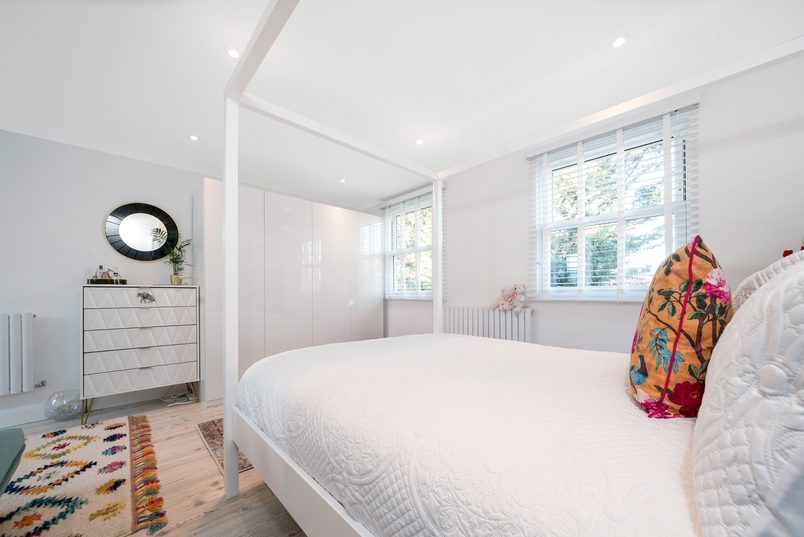
White four-poster bed beside the rear sash windows in the Sydenham loft conversion.

Keeping the shower room separate

The shower room opens directly onto the loft landing rather than through the bedroom. That means the children can use it without having to walk through their mother’s room.

Its position also worked well with the plumbing downstairs. We kept the new drainage close to the existing bathroom and soil stack, rather than running waste pipes a long way across the new floor.

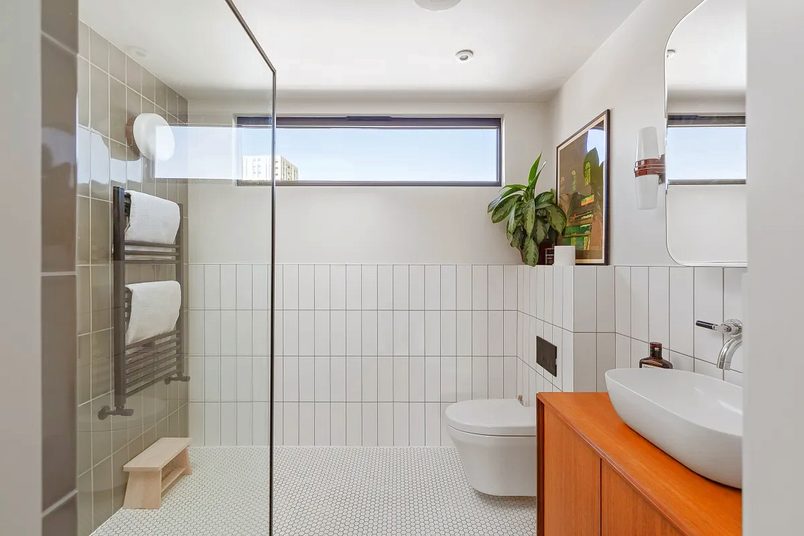
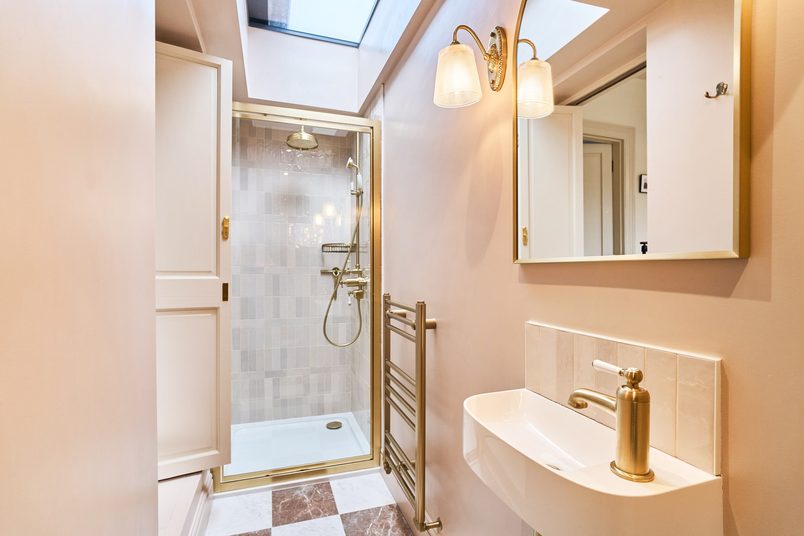
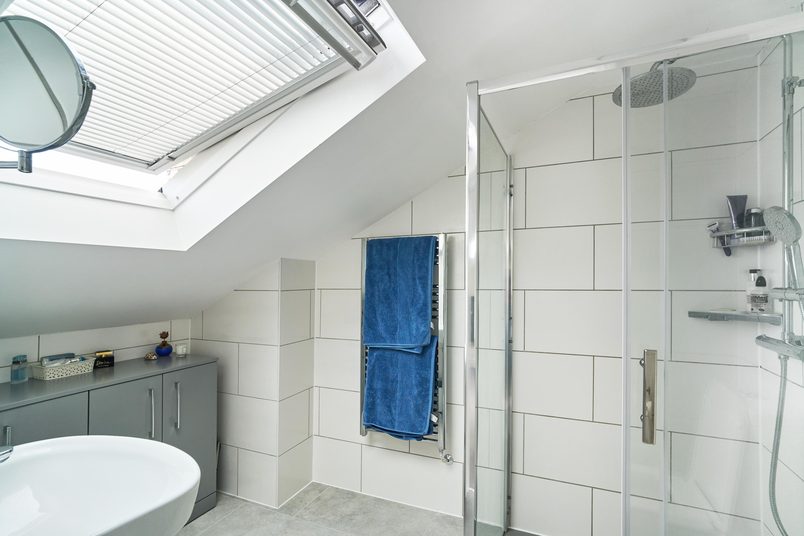
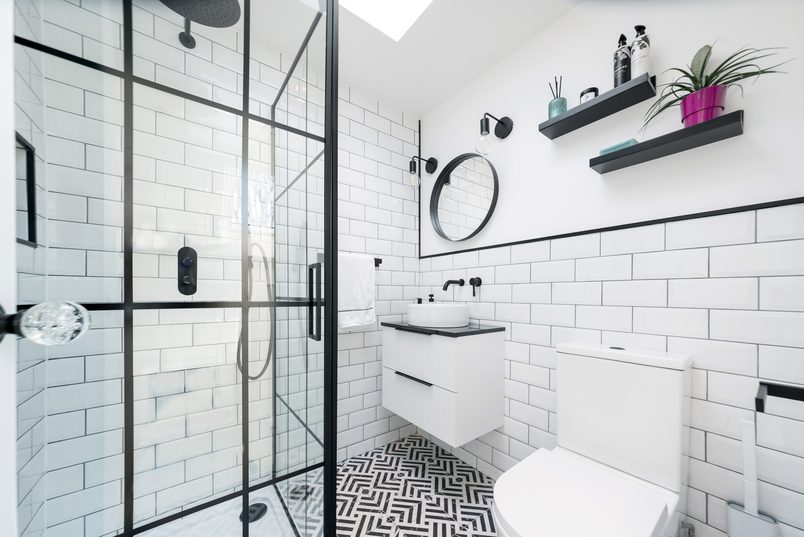
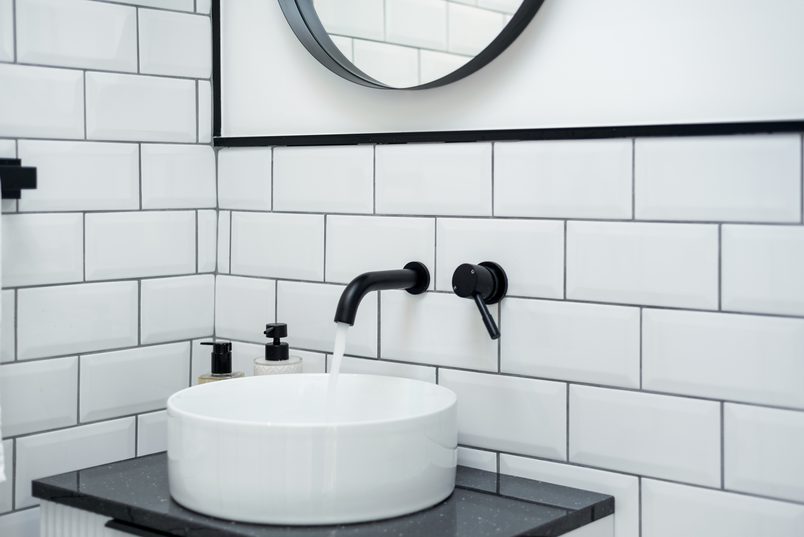
Loft shower room with a black-framed glass enclosure, white metro tiles, black fittings and a skylight.

Bringing in light and fresh air

We installed two Velux rooflights in the front roof and two sash-opening windows in the rear dormer. With windows on both sides, the homeowner can open them together to let fresh air move through the bedroom, which is especially useful in warmer weather.

The shower room needed daylight too. It doesn’t have a conventional window, so we fitted a skylight directly above the shower. Natural light now comes into the room from above instead of it relying entirely on artificial lighting.

The new roof was also insulated to meet the Building Regulations requirements for the project, with radiators providing heating during colder months.

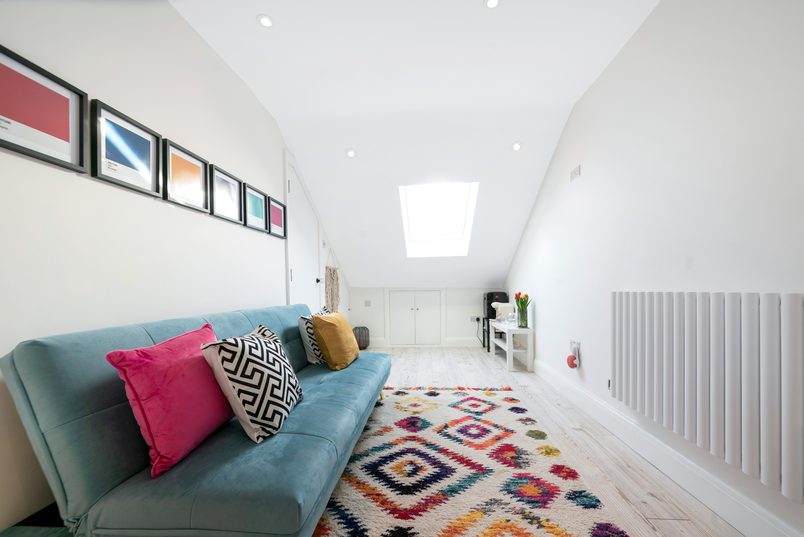
Seating area beneath the sloping roof and front rooflight in the loft bedroom.

Making the doorway fit the roof

One detail that’s easy to miss is the bedroom door.

The entrance sits beneath the sloping front section of the roof, where a standard rectangular door wouldn’t fit properly. Rather than making the opening smaller than necessary, our carpenter altered the door on site so its top edge follows the roof angle.

It meant we could make better use of the available opening without losing space just to fit a standard door.

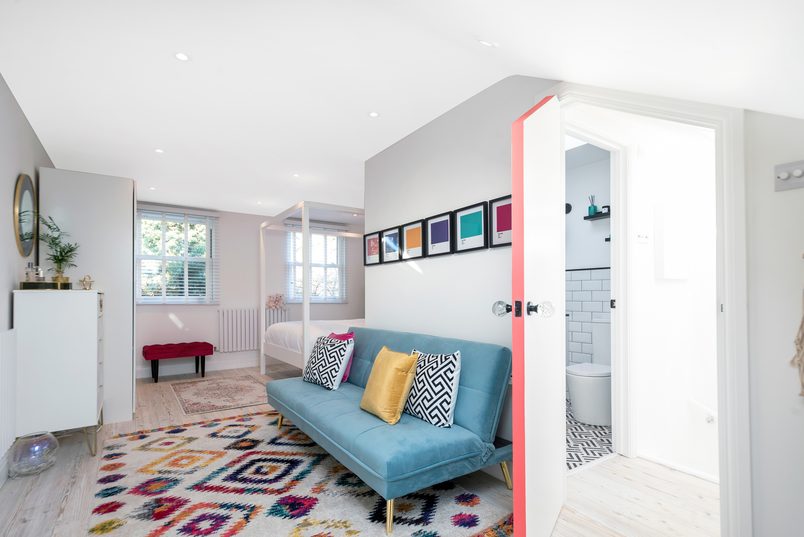
Blue sofa and shower-room entrance in the completed loft bedroom.

The build

Building the loft

Living at home while work went on

The homeowner and her children stayed in the house throughout the build. For the first part of the project, most of our work could be done from the scaffolding outside, while the family continued using the rooms below.

We formed the dormer, built the new loft structure and made the roof watertight before opening up the existing house for the staircase. That was when the work became more disruptive inside, so we put dust barriers around the bedroom areas, protected the floors and kept a clear route through the house for our team and materials.

The house sits inside a gated courtyard, but deliveries were straightforward. The entrance was large enough for vehicles, and the homeowner gave us the access code so materials could be brought onto the site without difficulty.

Taking care of the old slate roof

The front roof needed a little more care than usual when we installed the Velux windows.

Unlike a roof covered with modern concrete tiles, this one had older natural slates that had become fragile over time. We couldn’t simply lift them quickly without risking breakages, so the team carefully removed the slates around the new window openings, keeping as many intact as possible.

Some still broke during removal. Fortunately, we’d already stripped part of the rear roof to make way for the dormer, so we had matching weathered slates available to replace them.

That meant we could fit the new windows without leaving obvious patches of new slate against the older roof.

The build took 11 weeks, and the homeowner moved into the finished loft once the work was complete.

Planning & approvals

What needed approval

Planning permission

Permitted development + lawful development certificate

The rear dormer was carried out under permitted development, so a full planning application wasn’t needed for this particular design.

That doesn’t mean every rear dormer qualifies. Permitted development rights depend on the property and the changes being proposed.

Lewisham Council also issued a Lawful Development Certificate, confirming the proposed dormer was lawful under permitted development.

Party Wall

A Party Wall Award was required

Some of the new structural steelwork needed to rest on the wall shared with the neighbouring property.

A Party Wall surveyor was appointed, and a formal Award was put in place before construction went ahead.

Building Control

Inspected and signed off

A private Building Control inspector was used for the project.

The relevant completion documentation was issued when the work was finished, along with electrical certification.

What is permitted development + lawful development certificate?

Permitted development allows certain changes to a home without applying for separate householder planning permission, provided the work meets the relevant rules.

A Lawful Development Certificate, or LDC, is the council’s formal confirmation that the proposed work is lawful.

For this rear dormer loft conversion, Lewisham Council issued a Lawful Development Certificate before the work began.

What is a Party Wall Award?

Some building work near a neighbouring property falls under the Party Wall process.

When the relevant notices have been served and an agreement cannot simply proceed through written consent, appointed surveyors may prepare a Party Wall Award.

The award records matters such as the work being undertaken, how it should proceed and measures to protect the neighbouring property.

On this project, an Award was required because part of the new structural steelwork rested on the shared wall.

Read our Party Wall guide →

What does Building Control do?

Building Control checks that building work meets the relevant Building Regulations.

These include requirements for structural safety, fire safety, insulation and other aspects of construction.

It’s separate from planning permission.

A private Building Control inspector checked the work, and the relevant completion documentation was issued when the project finished.

Costs today

What this project costs

£72,000+

Estimated base cost today · Includes VAT

What the base price covers

The starting price is for a rear dormer loft conversion built to our standard specification. It covers the main construction work needed to create the new floor, rather than every fitting or finish a homeowner might choose. The breakdown below explains what’s included.

For this home, the new floor included a spacious bedroom, a separate shower room, front rooflights and windows in the dormer. The final layout, bathroom fittings and the work needed where the new stairs meet the first floor would all be considered when pricing a similar project today.

What this home added

Alongside the bedroom, we built a separate shower room accessed from the landing, with a skylight above the shower and concealed fittings. The loft also has two front rooflights and two sash-opening windows in the rear dormer.

Our carpenter adapted the bedroom door to fit beneath the sloping roof, and the front rooflights needed careful work around the original natural slates. These are details of the finished project, not a list of automatic extras. What’s included in a similar quote would depend on the agreed base specification and chosen fittings.

What’s included?

Rear Dormer

Typically £72,000+ including VAT

This starting price is based on a typical mid-terrace house, with a rear dormer around 5 metres wide, creating one bedroom and a shower room.

It assumes there’s enough roof height and no unusual structural work is needed.

What’s included

What isn’t included?

Bathroom fittings and tiles, final bedroom flooring and decorating are separate.

We can arrange the flooring and decorating if you’d like us to.

Design and statutory approval fees aren’t automatically included in the headline build price.

What can change the price?

Roof height

If there isn’t enough headroom, we may need to lower the ceilings on the floor below. This adds structural work and affects the existing rooms.

House size and access

A wider loft needs more materials, although small differences may not change the price. Some houses also need extra scaffolding or have restricted access.

Structural work

The structural engineer may specify additional steelwork, particularly where existing roof timbers or chimneys affect the design.

Where the staircase goes

If the new staircase can’t fit above the existing one, we may need to change walls or rooms on the floor below to make space.

The existing roof

Rotten timbers or damaged roof coverings may need replacing. You can also choose to renew the existing front roof while the scaffolding and roofing team are already there.

Weather protection

A temporary roof, known as a tin hat, helps protect the house while the existing roof is open. We strongly recommend one in wetter months and for L-shaped dormers. It may be included in your quote or priced separately.

Windows and rooflights

Additional windows, larger openings or specialist glazing can increase the materials and installation work.

Bathrooms and drainage

A second bathroom adds plumbing and installation work. Even one bathroom can cost more if the waste pipes can’t connect easily to the existing drainage.

Existing plumbing, heating and electrics

An existing boiler, water supply or electrical consumer unit may need upgrading to serve the new rooms safely and properly.

Fire safety in the existing house

Depending on the approved fire-safety design, some existing doors on the floors below may need replacing. These aren’t automatically included in the standard loft price.

Advice for homeowners

Key takeaways

Check the height you’ll actually have

An empty loft can look like it has plenty of room, but the height you see before construction isn’t the finished headroom. The new floor, insulation and ceilings all take up some space.

It’s worth finding out early how much height you’ll be left with, especially if the existing roof is already low. In some houses, getting enough headroom means lowering the ceilings downstairs, which makes the work much more disruptive.

Think about the floor below

A loft conversion needs a staircase, and that staircase has to go somewhere.

On this project, it took a small amount of space from one of the existing bedrooms. Before agreeing on a loft layout, it’s worth looking at how the stairs will affect the rooms underneath and whether your existing furniture and storage will still fit.

Decide who needs to use the bathroom

If the new bathroom is only for the loft bedroom, an en-suite might make sense. But if other people in the household will use it, a door from the landing can be more practical.

It’s also worth considering the existing plumbing. Keeping the new bathroom close to the drainage below can make the work simpler than running waste pipes across the loft.

Check the condition of your roof

Adding rooflights to an older slate roof can take more care than doing the same job on a roof with modern tiles.

If the existing slates are fragile, some may break when they’re removed. Ask how they’ll be handled and whether matching replacements are available, particularly if you want the front of the roof to keep its existing appearance.

Jo’s full Google review

Eddie and the team undertook a loft conversion together with ensuite bathroom. The standard of work was excellent and they always went above and beyond, especially with the small detail. Extremely respectful, courteous, always offering great advice and super clear with communications on costs, no hidden extras or surprises. Always gave lots of options and flexibility to change spec as went along. Very responsive and even made great relationships with neighbours which was much appreciated.

Would 100% recommend.

Jo Joseph Google review · · February 2024

Photos and floor plans

Existing loft plan: the unused roof space between the front and rear roof slopes, before the conversion.

Ready to get a clear plan for your project?

Get a realistic picture of what’s possible for your home, likely costs, timings, planning requirements and what the project would involve.

You’ll speak with Eddie

Managing Director

Delivered this project

Expert advice · No obligation

Keep exploring

See more transformations

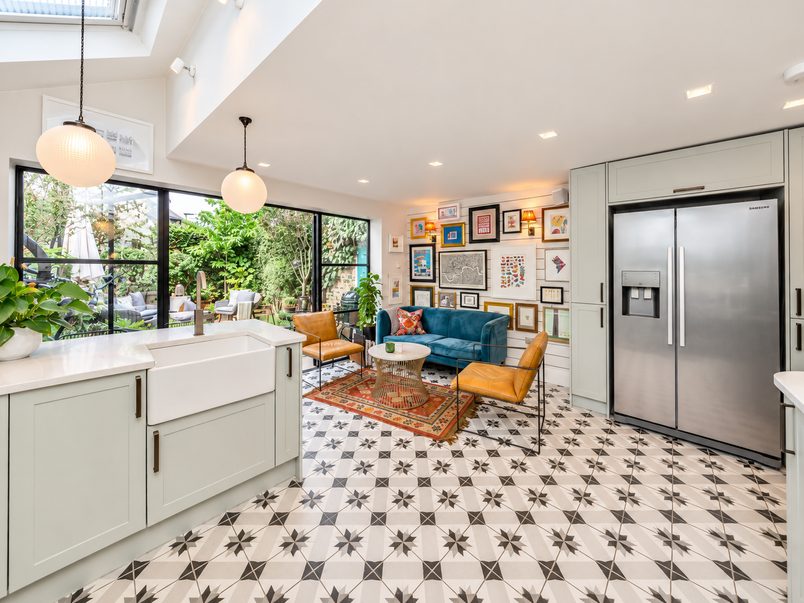
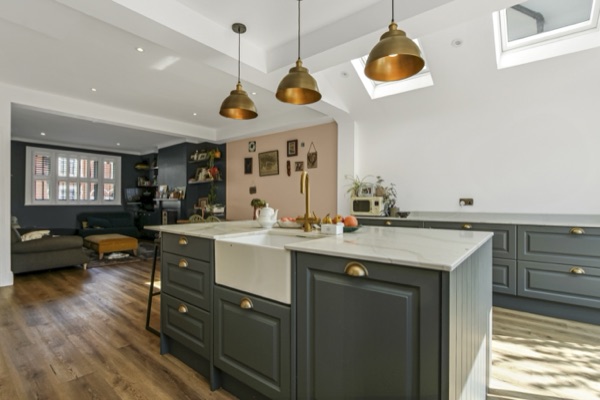
Side-return extension Side-return extension kitchen in Lewisham, SE6, with a grey island, butler sink, brass pendants and roof windows

Lewisham, SE6 · mid-terrace

An open-plan ground floor to reconnect a family.

Whoever was cooking was often cut off from the rest of the family. Opening up the kitchen, dining room and side return brought everyone together.

Est. cost
£74,000+
Time taken
12 weeks
Added area
11 sqm
Read the case study: An open-plan ground floor to reconnect a family.
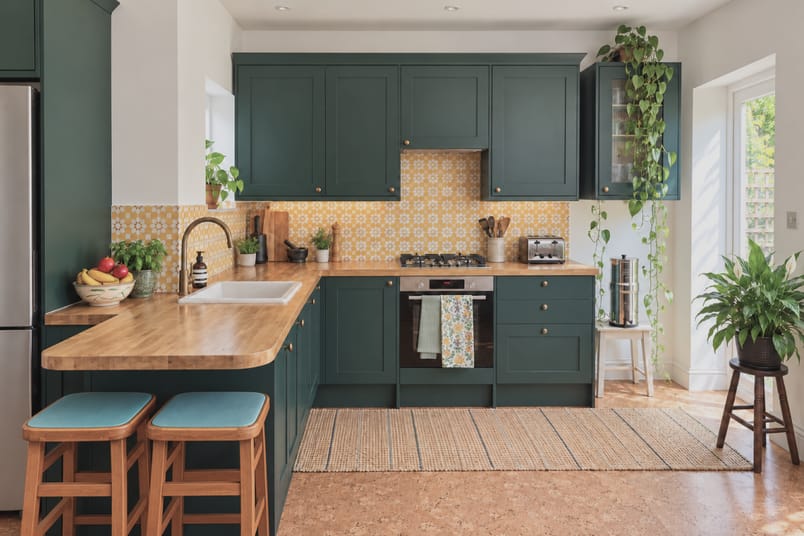
Side-return extension Side-return extension kitchen in Clapton, E5, with dark green units, a wood-topped peninsula with two stools and a yellow splashback.

Clapton, E5 · multi-floor FLAT

Moving a kitchen upstairs to create a family hub.

This family’s flat had limited space to begin with, and they needed their kitchen closer to the main living space and a bigger family bathroom.

Est. cost
£74,000+
TIME TAKEN
12 weeks
ADDED AREA
6 sqm
Read the case study: Moving a kitchen upstairs to create a family hub.
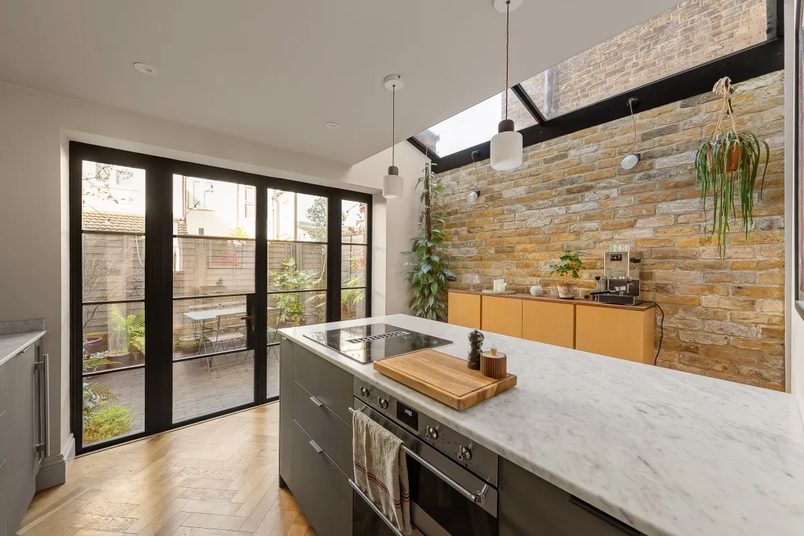
Side-return extension Completed side-return kitchen extension in Greenwich, SE10, with a central island, pitched glass roof and exposed brick wall.

Greenwich, SE10 · mid-terrace

Reworking the ground floor around a wider kitchen.

A side-return extension gave this narrow kitchen enough width for a central island, with a glass roof bringing daylight into the new space.

Est. cost
£74,000+
Time taken
12 weeks
Added area
5 sqm
Read the case study: Reworking the ground floor around a wider kitchen.
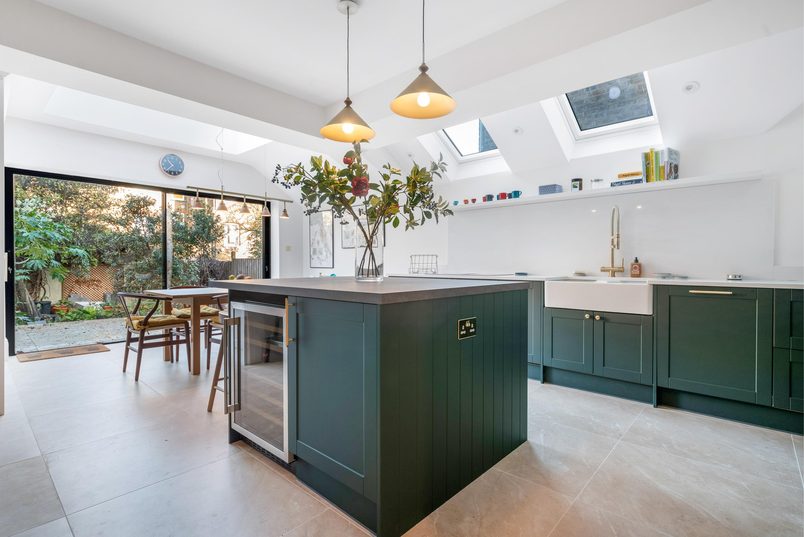
Wraparound extension Wraparound kitchen extension in Haringey, N4 with a dark green island, pendant lights, roof windows and sliding garden doors.

Haringey, N4 · mid-terrace

A kitchen big enough for family and friends.

The separate dining room rarely got used. We made space to eat in the extended kitchen, freeing up the old room for a playroom.

Est. cost
£117,000+
Time taken
16 weeks
Added area
19 sqm
Read the case study: A kitchen big enough for family and friends.
Wraparound extension Navy kitchen island looking towards the living area and garden doors in a wraparound extension in Lewisham, SE13.

Lewisham, SE13 · mid-terrace

Turning a small kitchen into an open-plan family hub.

The homeowners had a young baby and a small kitchen cut off from the rooms around it. This extension gave them a hub to cook, eat, relax & play together.

Est. cost
£117,000+
Time taken
11 weeks
Added area
14 sqm
Read the case study: Turning a small kitchen into an open-plan family hub.
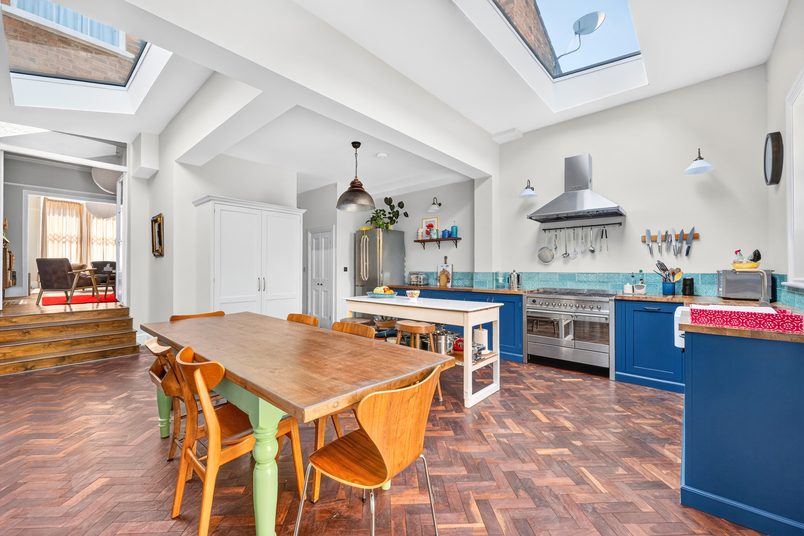
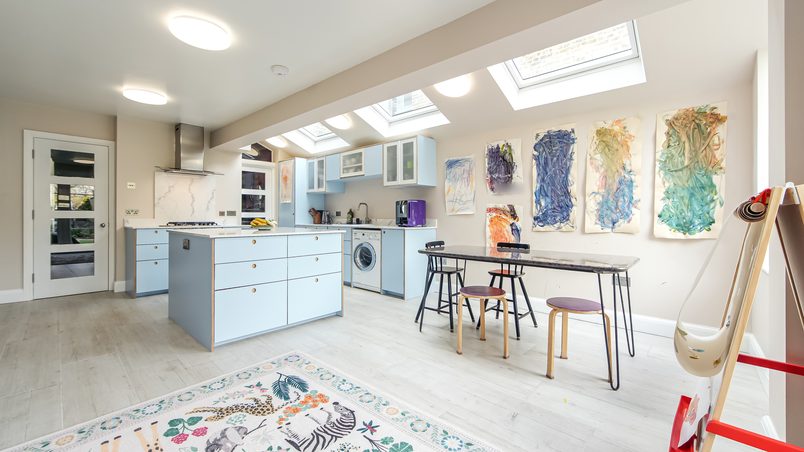
Rear extension Rear extension kitchen-diner in East Finchley, N2, with blue cabinets, a central island, rooflights and sliding garden doors.

East Finchley, N2 · Mid-terrace

An open-plan kitchen-diner to reconnect a family.

Whoever was cooking was often cut off from the rest of the family. We opened up the kitchen to the dining room, bringing everyone together.

Est. cost
£80,000+
Time taken
12 weeks
Added area
12 sqm
Read the case study: An open-plan kitchen-diner to reconnect a family.
Rear extension Open-plan rear extension kitchen in Lewisham, SE4, with a dark-blue island, a dining table, rooflights and bifold doors.

Lewisham, SE4 · mid-terrace

An open-plan kitchen & living space for a growing family.

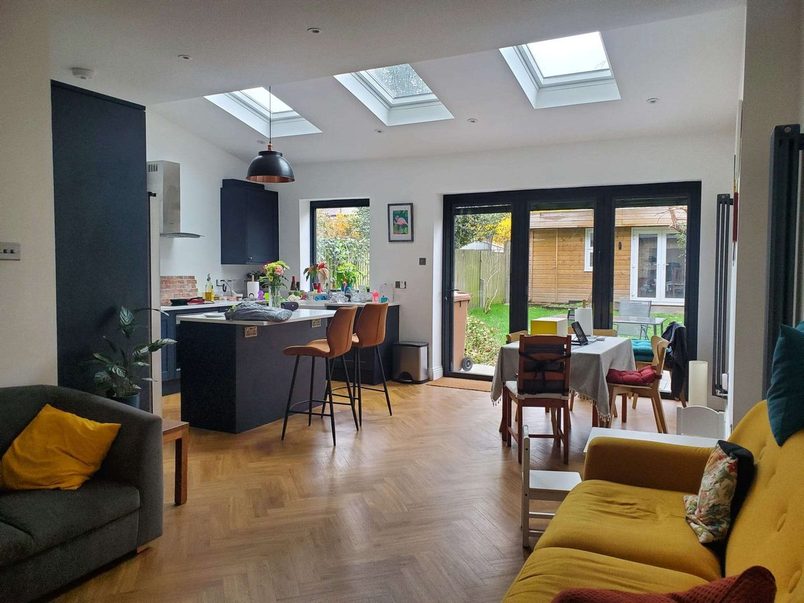
The kitchen and dining room were too cramped for family life. We extended the rear and opened them up into one space for cooking, eating and relaxing.

Est. cost
£80,000+
Time taken
13 weeks
Added area
21 sqm
Read the case study: An open-plan kitchen & living space for a growing family.

What is a dormer?

A dormer is a structure built out from a sloping roof to create more usable space inside, usually with a taller wall and a window.
On this project, the dormer made enough room for a full bedroom and separate shower room.

What is a soil stack?

A soil stack is the main vertical drainage pipe that carries wastewater from toilets and other bathroom fittings down to the drainage system.

Keeping a new bathroom close to the existing soil stack can make the plumbing simpler and avoid long pipe runs.

What is a rooflight?

A rooflight is a window fitted into the roof to bring natural daylight into the room below.

Unlike a conventional wall window, it allows light to enter from above.

On this project, two rooflights were fitted into the front roof.

What is structural steelwork?

Steel beams and posts are used to support parts of a building where walls or openings are changed. They transfer the weight safely to the remaining structure and foundations.

On this project, part of the new steelwork needed support from the wall shared with the neighbouring property.