Construct X Group

Enfield, EN1 · 1930s mid-terrace

A loft suite made space for the kids to have their own rooms.

The homeowners had two growing kids and only two bedrooms, but they didn’t want to move. We converted the loft into a new bedroom and bathroom for the parents, fitted a staircase into the existing first-floor layout and replaced the ageing front roof along the way.

Space created
Loft bedroom and bathroom
Est. cost (inc. VAT)
£72,000+
Time taken
11 weeks
Added area
30 sqm
Project type
Rear dormer loft conversion
Planning route
Permitted development + lawful development certificate

The transformation

How the home changed

The parents were going to move into the new loft bedroom, leaving the two existing first-floor rooms for their children.

The original roof had enough height for a conversion without lowering the ceilings below. We built a rear dormer to create the new bedroom and bathroom, with a staircase connecting the loft to the first-floor landing.

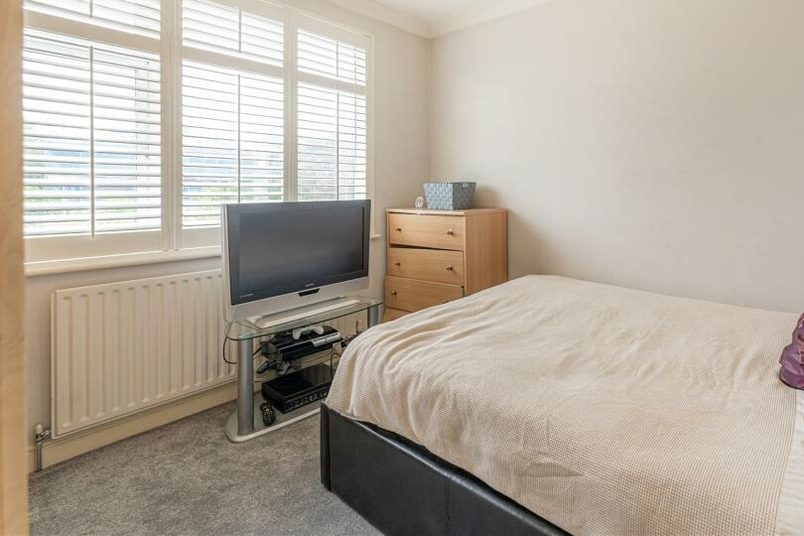
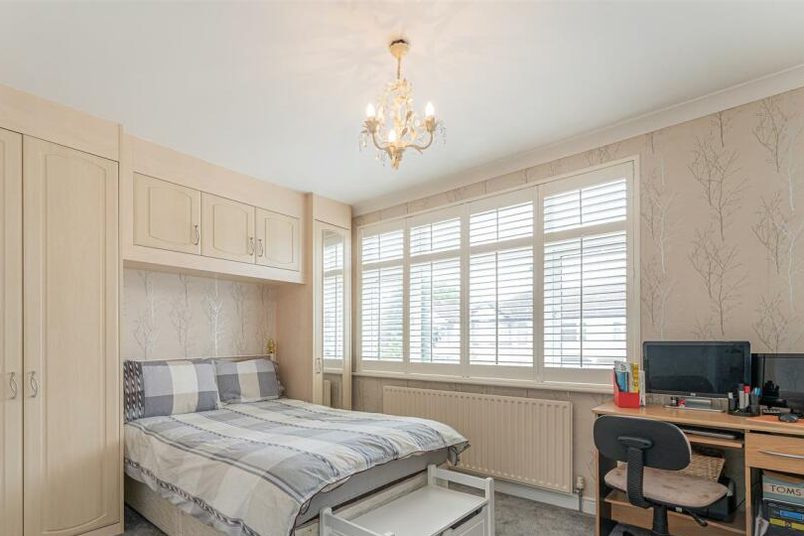
The main change downstairs was making room for those stairs. Part of the larger front bedroom was used for the stair opening, but the room remained large enough to use as a bedroom.

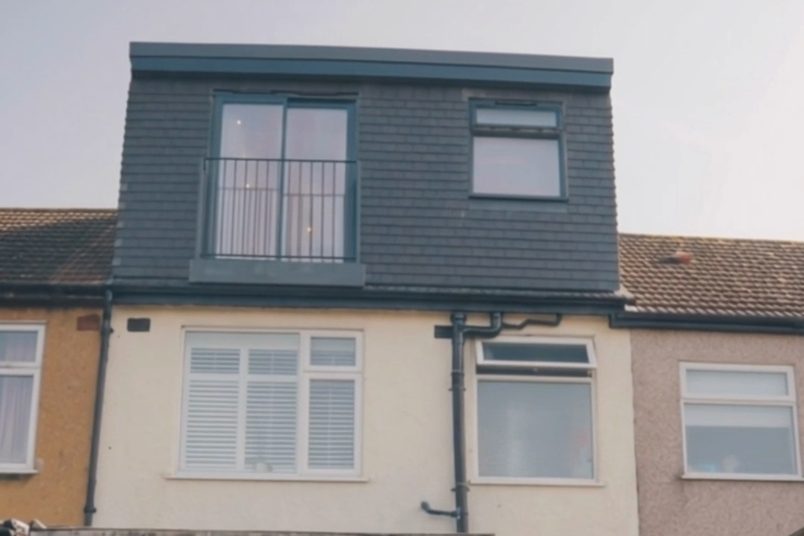
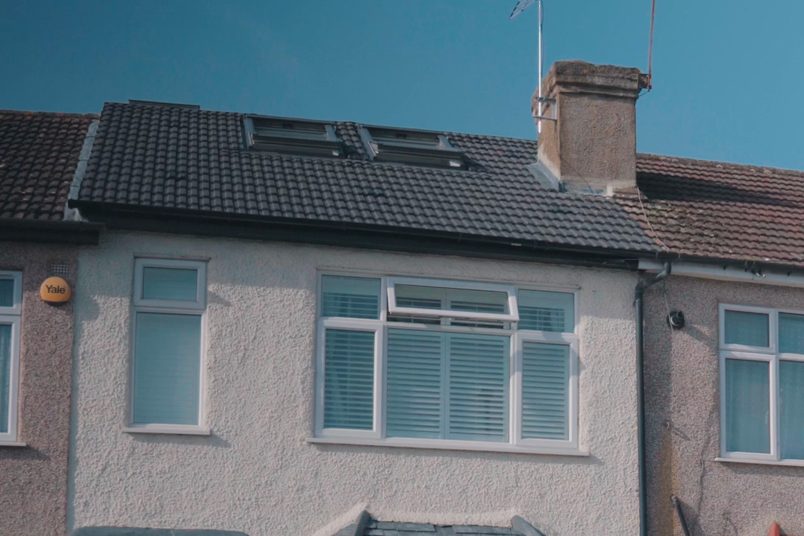
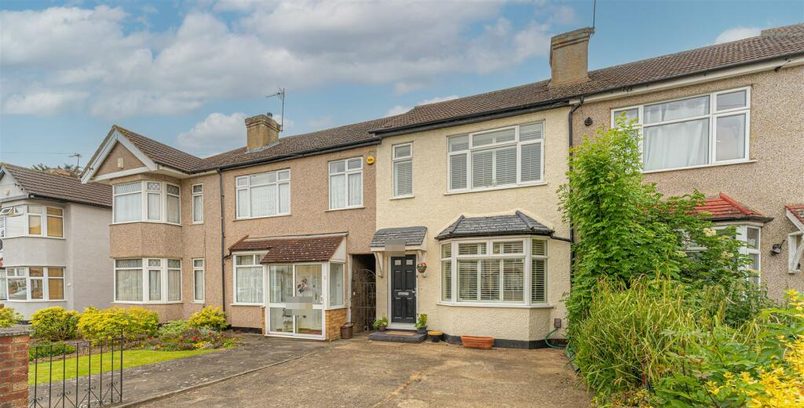
The front of the house after the work, with the new charcoal-grey roof and two Velux windows.
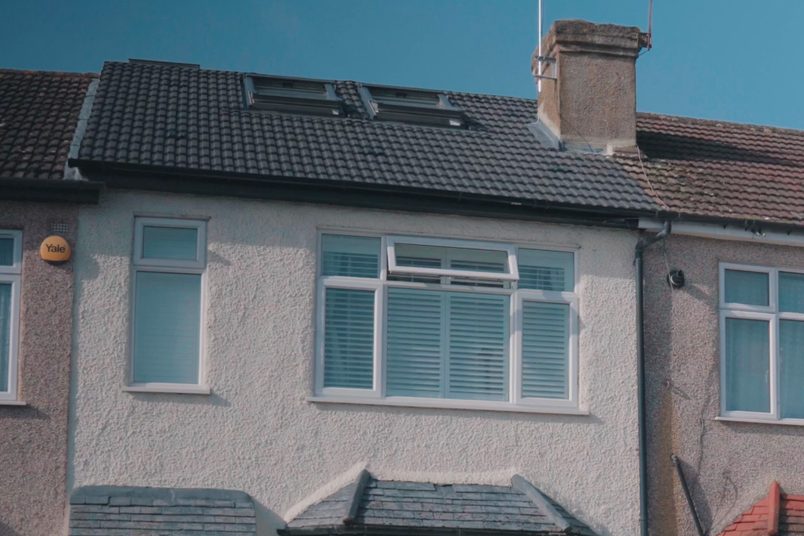
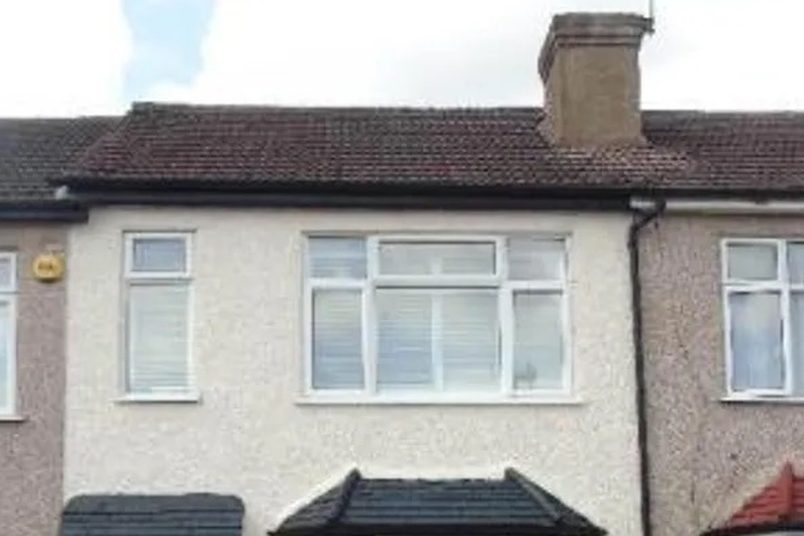
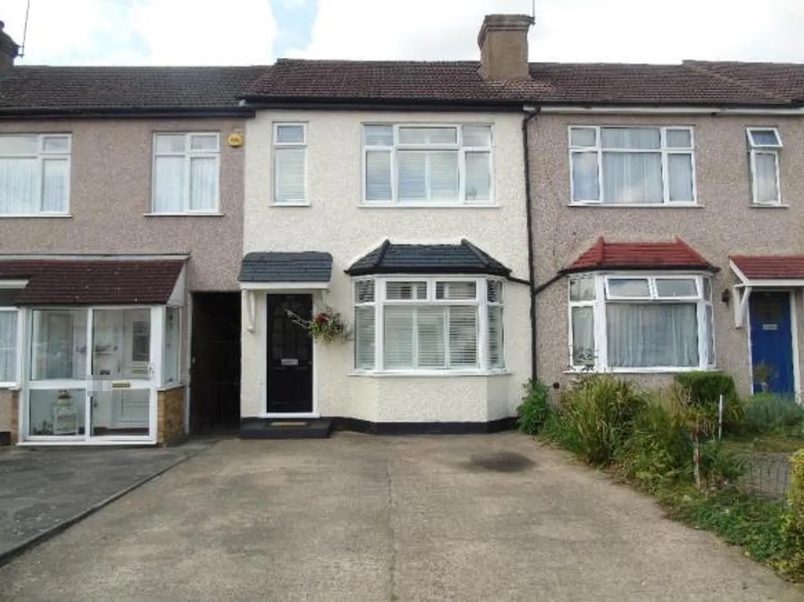
The front of the house before the work, with the original brown tiled roof.

Before

Two-bedroom home

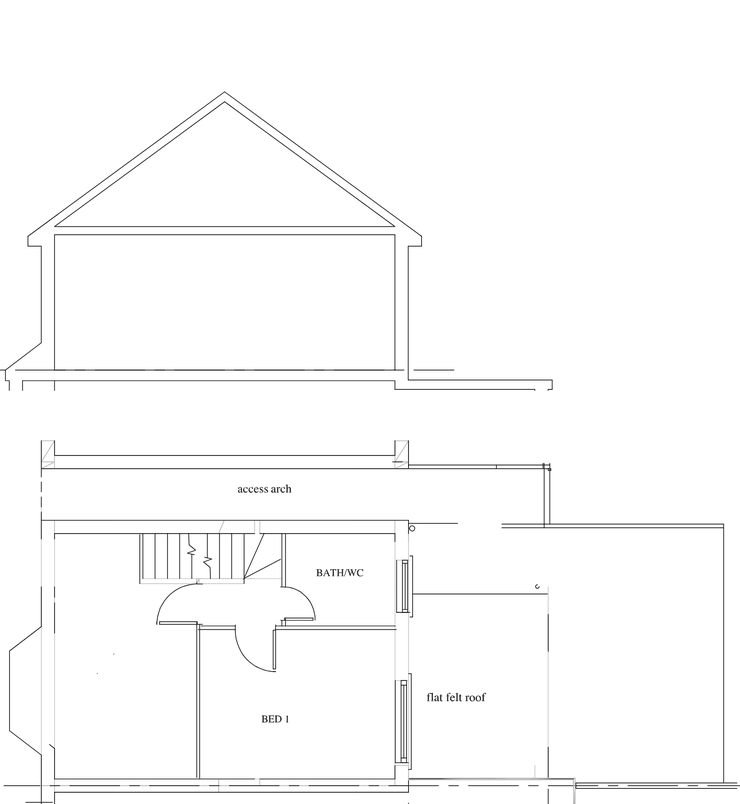
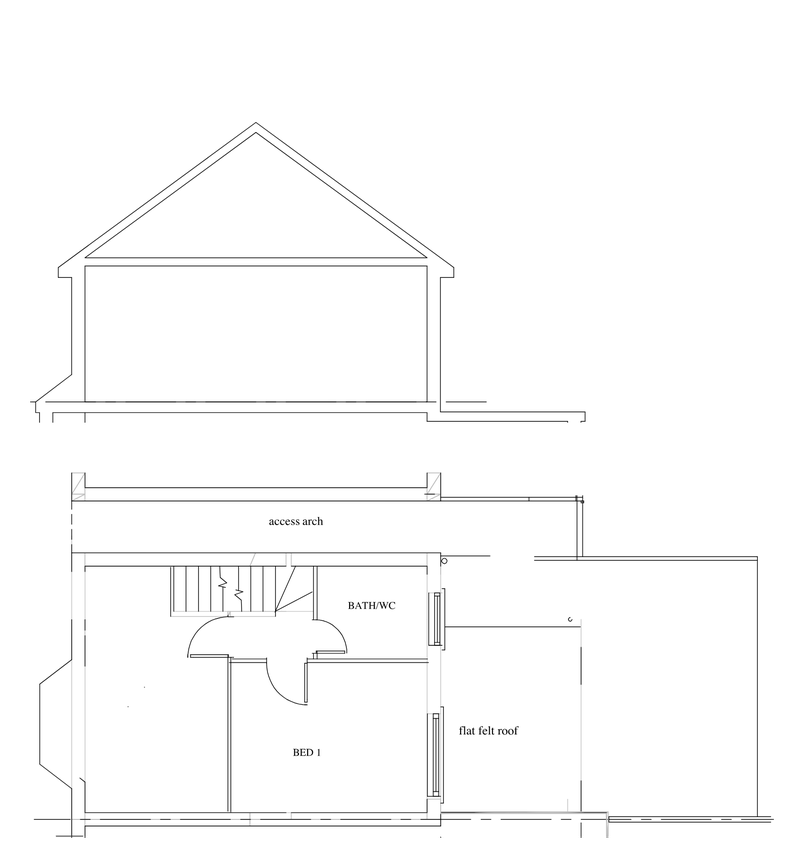
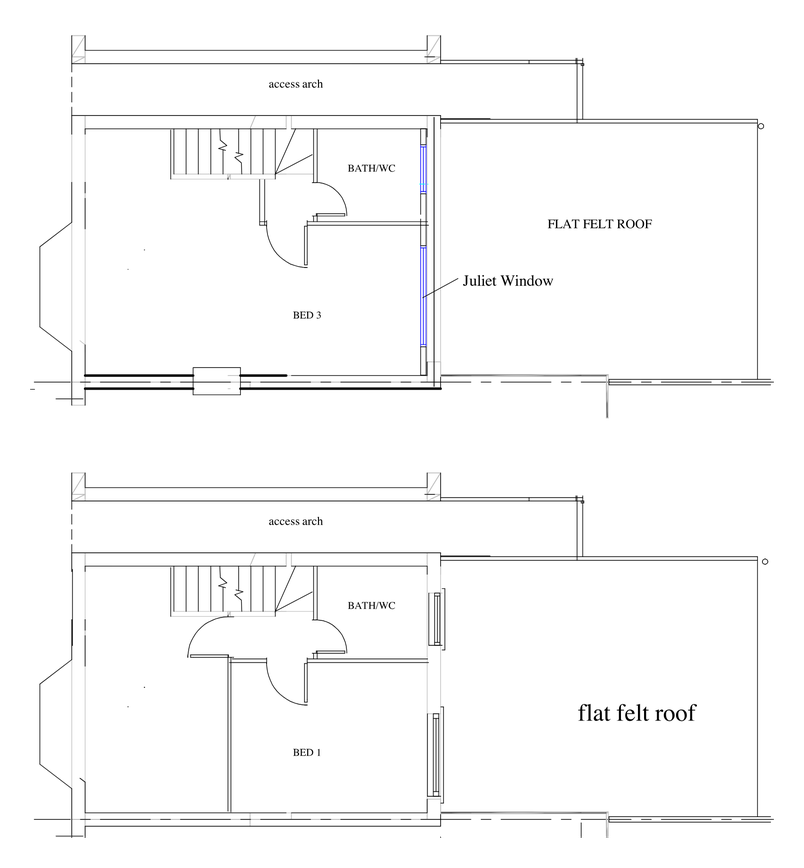
Existing section and first-floor plan: the unconverted roof above the first floor’s two bedrooms, bathroom and stairs.
  1. Two existing bedrooms: The house had two bedrooms on the first floor, shared between the parents and their children.
  2. Unconverted loft: The space beneath the roof hadn’t been converted into living accommodation.

After

New loft suite

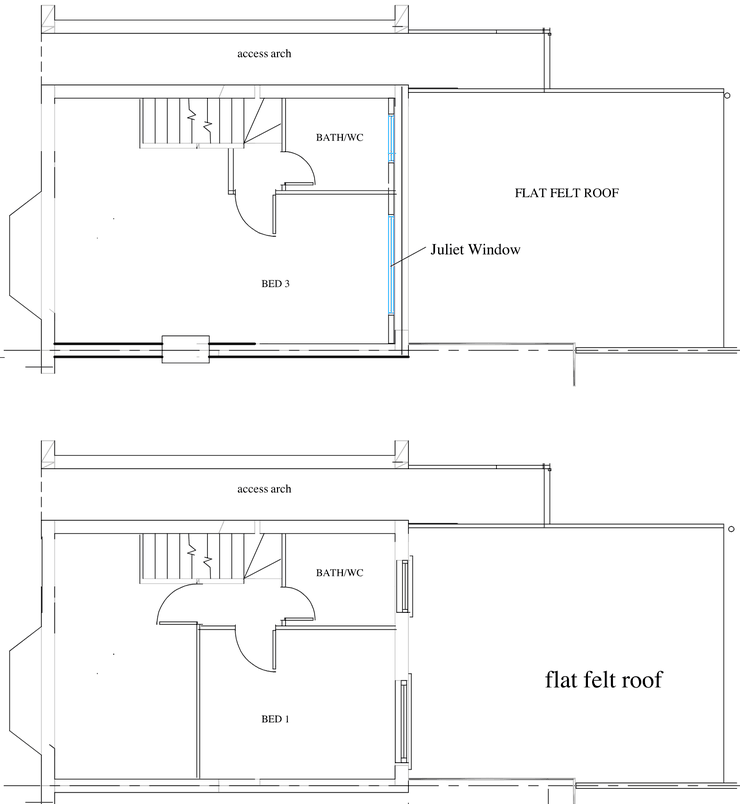
Proposed loft and first-floor plans: the new loft bedroom, bathroom and stairs under the rear dormer, above both original first-floor bedrooms.
  1. New loft bedroom: The rear dormer created a third bedroom for the parents.
  2. Additional bathroom: A new bathroom was fitted directly above the existing first-floor bathroom.
  3. New staircase: The larger front bedroom was altered to make room for the stairs, with its entrance moved to suit the new layout.
  4. Existing bedrooms retained: Both original bedrooms remained usable, giving the children a room each.

Design approach

Designing the new loft

Fitting the staircase without losing a bedroom

The stairs had to go somewhere, and the larger bedroom at the front of the house was the best place for them.

We moved the bedroom door and took a small section of the room for the stair opening. It ended up slightly L-shaped, but there was still enough space for a large bed, wardrobes and a desk.

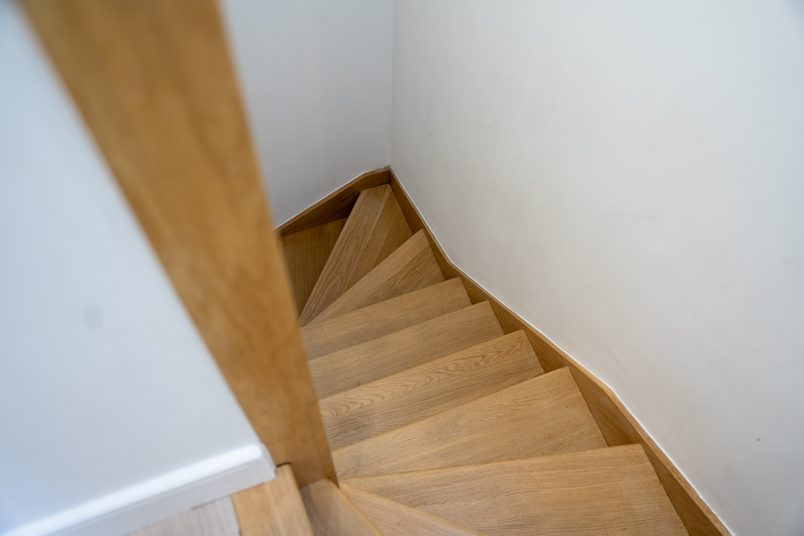
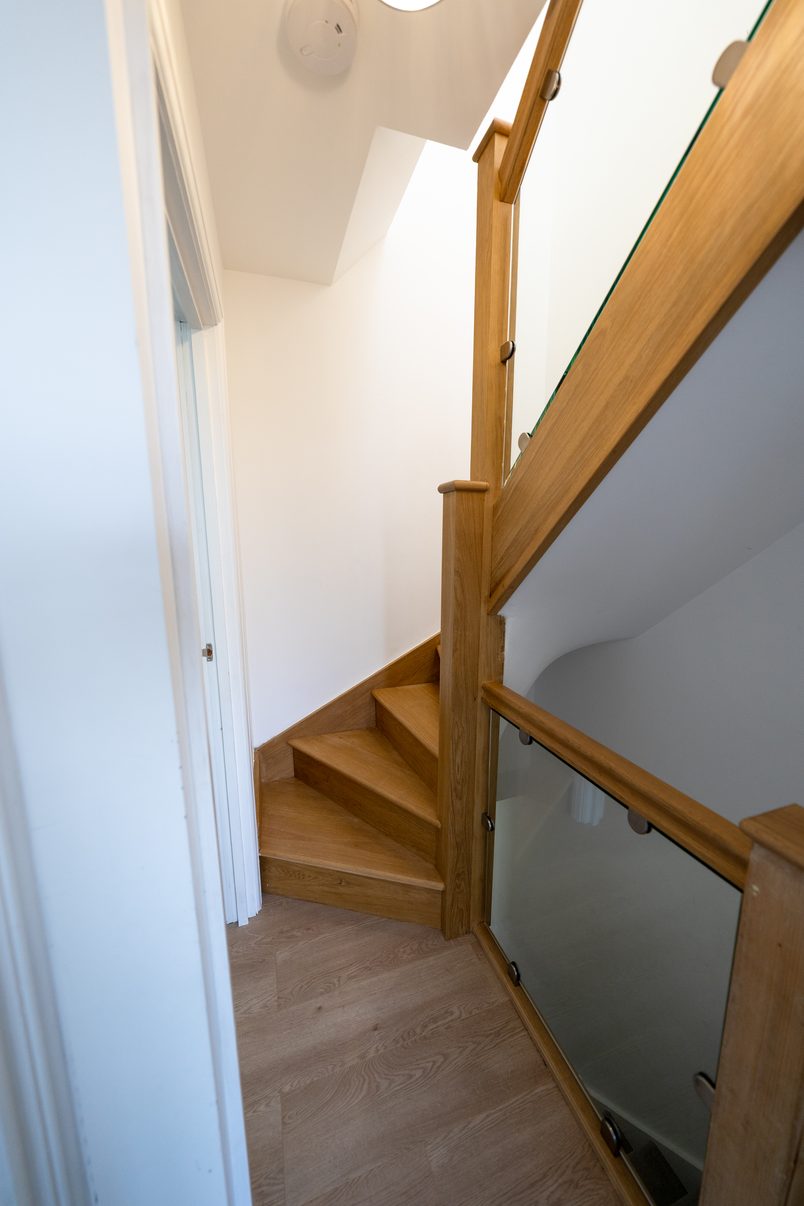
The new staircase was finished in oak with glass panels. We also changed the handrail and newel post on the first-floor landing to match, leaving the original staircase from the ground floor untouched.

The new oak staircase with glass panels, rising from the first-floor landing to the loft.

Adding a bathroom with a bath

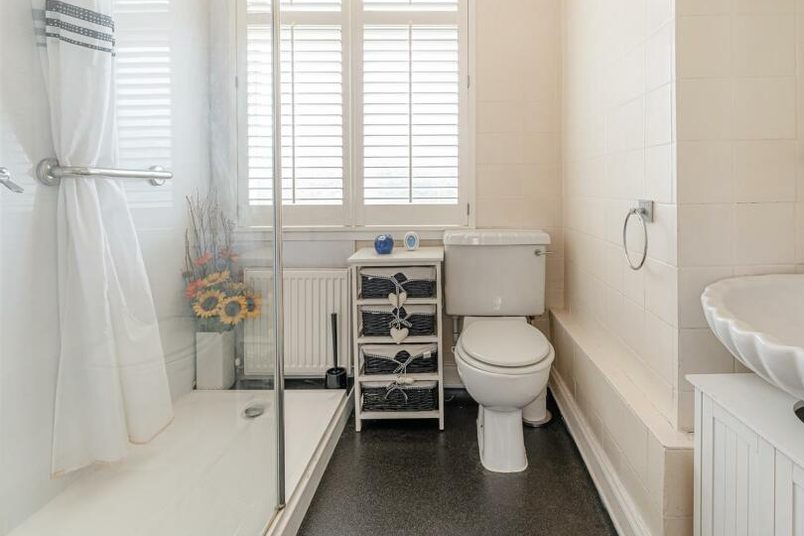
The family already had a bathroom downstairs, but it only had a walk-in shower. For the new loft bathroom, the homeowners wanted a bath as well, rather than simply having another shower.

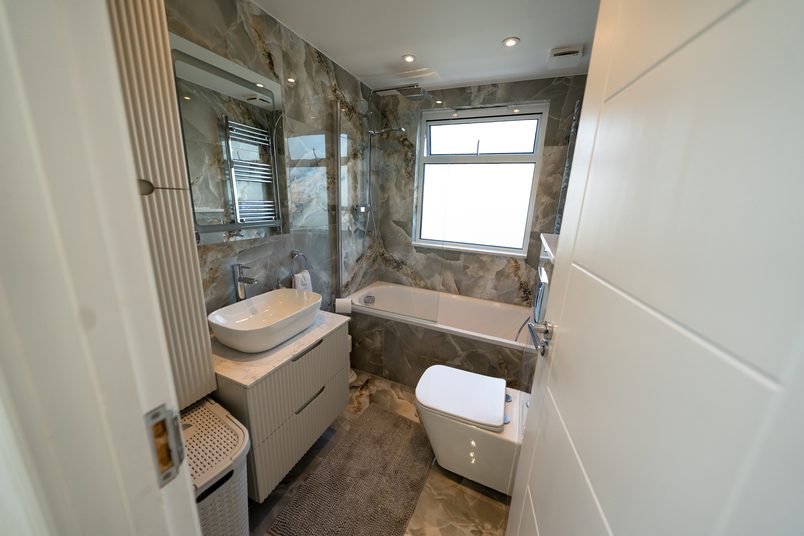
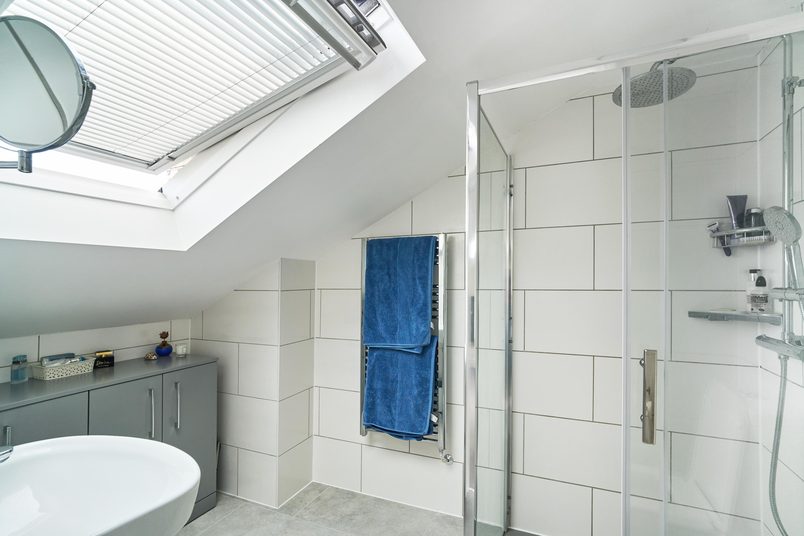
We fitted a bath with an overhead shower and glass screen, a basin and vanity unit, and a WC with a concealed cistern. The homeowners chose grey marble-effect tiles for the walls and floor, along with a large aluminium-framed window.

The bathroom sits directly above the existing first-floor bathroom, which made connecting the new water supplies and drainage more straightforward.

The loft bathroom in grey marble-effect tiles, with a bath and overhead shower behind a glass screen, a basin on a vanity unit and a WC.

Making the eaves useful for everyday storage

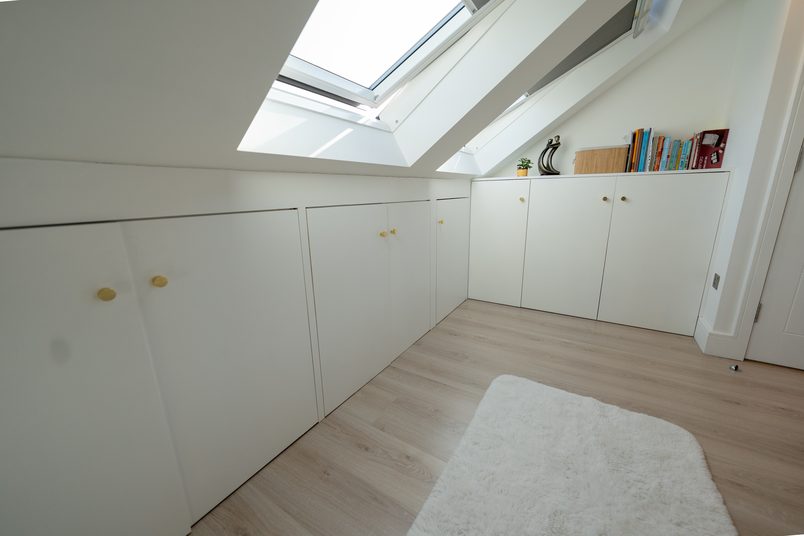
The homeowners wanted fitted wardrobes beneath the sloping roof, but they didn’t want to spend more than necessary on the joinery.

We worked through a design with them that would fit their budget, using mostly hanging rails with some drawers for smaller items.

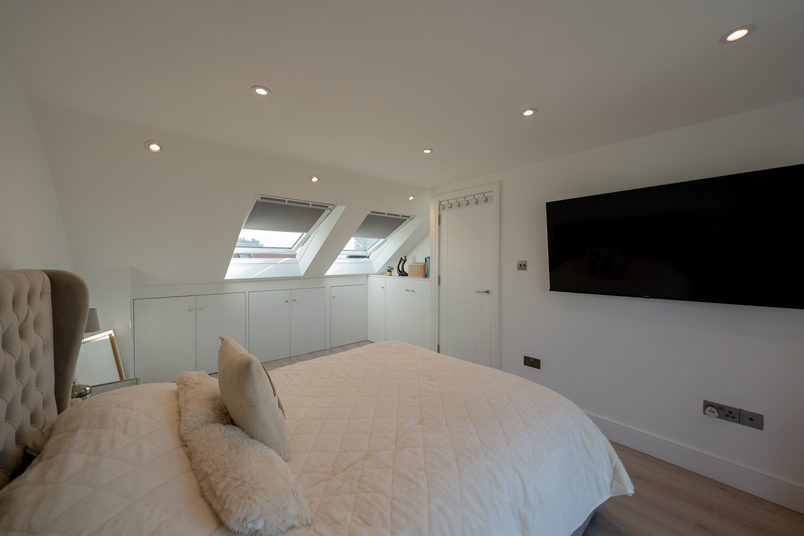
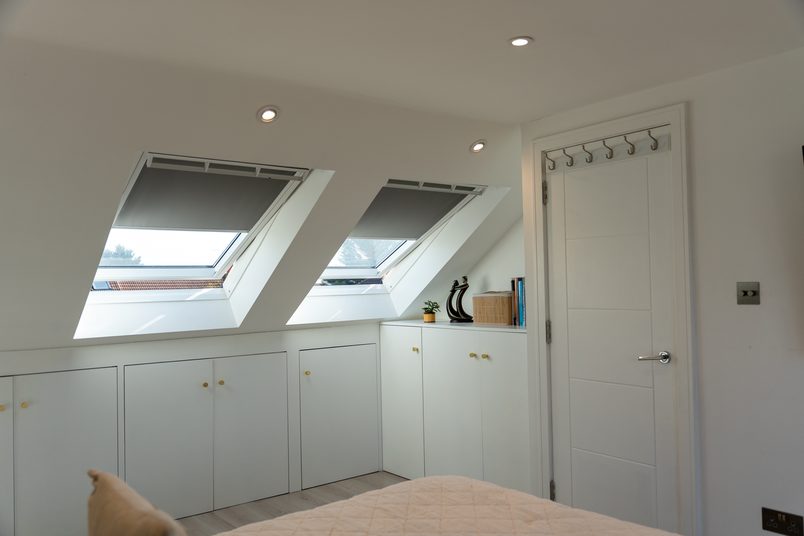
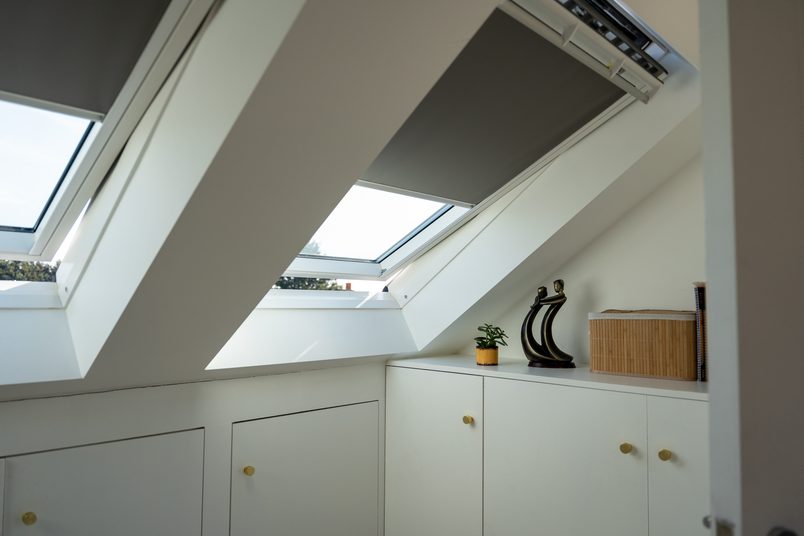
The wardrobes were built into the lower parts of the roof, which would otherwise have been awkward places to fit ordinary bedroom furniture.

Fitted wardrobes built into the eaves beneath two rooflights, beside the bedroom door.

Bringing light into the bedroom

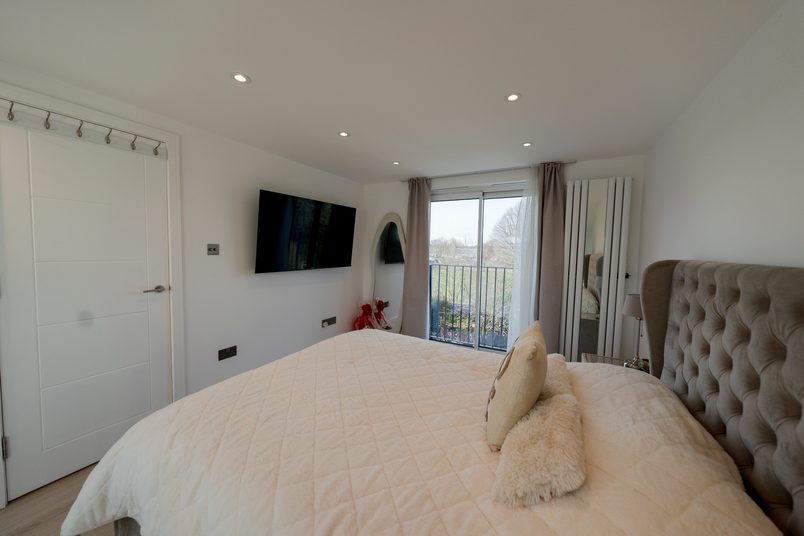
At the back of the loft, the homeowners chose large aluminium sliding doors opening onto a Juliet balcony.

The doors have a metal guardrail outside, rather than a balcony projecting from the house. They give the bedroom a wide view towards the rear and let in plenty of natural light.

We also fitted two large Velux windows into the front roof slope, bringing light into the other side of the bedroom. A separate skylight in the flat roof above the staircase provides daylight to the stairs.

The aluminium glazing was finished white on the inside and anthracite grey on the outside.

The loft bedroom from beside the bed, looking past the bedroom door and the TV wall to the sliding doors and Juliet balcony.

The build

Building the loft and replacing the roof

Replacing the entire front roof

The homeowners weren’t planning to move again, so they wanted to make sure the rest of the roof was in good condition before investing in the new rooms beneath it.

The front roof was getting old, and they were concerned about having to deal with leaks or another major roofing job after the loft was finished.

Rather than leave it for later, they decided to replace the whole front roof as part of the conversion. This was agreed from the beginning, not something that came up unexpectedly during construction.

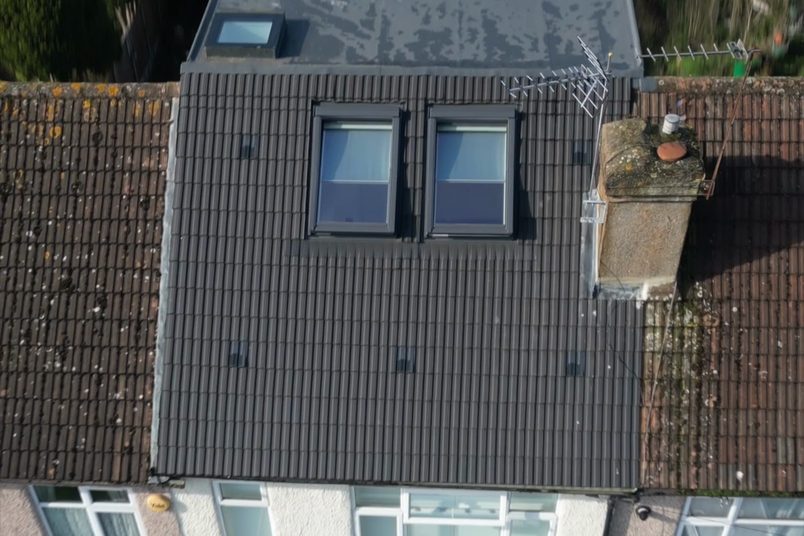
We removed the ageing front roof structure, including the rafters, and rebuilt it with new charcoal-grey concrete roof tiles.

Aerial view of the new front roof in charcoal-grey concrete tiles, with two Velux windows, and the dormer’s flat roof behind it.

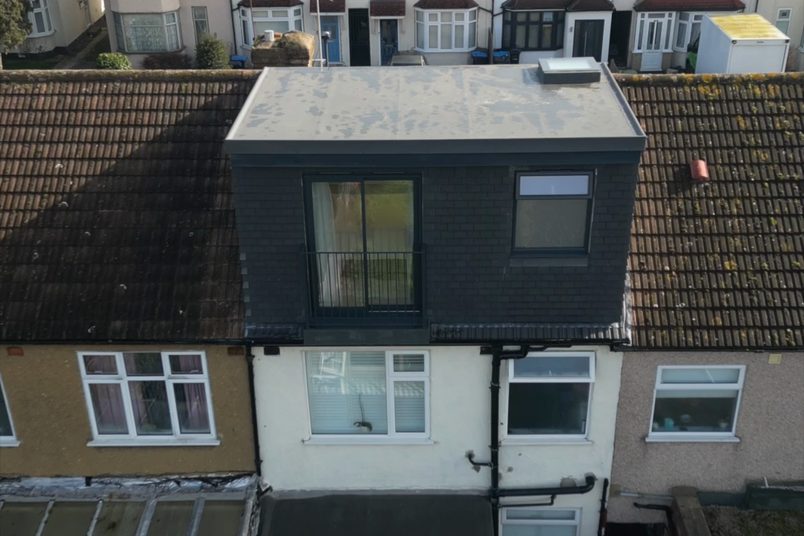
At the rear, the dormer walls were finished in smaller charcoal-grey hanging tiles, while the flat roof was covered in fibreglass.

The rear dormer from the garden: charcoal-grey hanging tiles, the sliding doors with their Juliet balcony guardrail and the bathroom window.

The two Velux windows were also installed into the new front roof, along with the separate skylight above the stairs.

Working through the autumn weather

The build started in October, which meant we had to plan carefully around the rain.

Before work began, we discussed the option of putting a temporary scaffold roof over the house, often called a tin-hat roof. This would provide additional protection while the existing roof was opened up, but it would also add to the cost.

The homeowners understood the risks and decided not to have one.

We arranged the work to get the new roof and dormer watertight as quickly as possible. Tarpaulins were used to cover exposed areas at the end of each day and whenever rain came during working hours.

Some water did get through during the exposed stage, but it didn’t cause significant problems or delay the project.

Living in the house while the work was done

The family stayed in the house throughout the conversion, including while the roof was being replaced.

Because there was enough existing roof height, we didn’t need to lower the first-floor ceilings. That meant the rooms below could continue being used while much of the structural work was happening above them.

There was still building noise, and things became more disruptive once the new staircase was opened up and materials needed to come through the house.

By that stage, much of the messier roof work had already been completed. The team generally finished around 5pm, which worked well for a family who were usually out during the working day.

Finishing the bedroom and bathroom

The homeowners supplied their chosen bathroom fittings and tiles, along with the bedroom flooring, underlay and paint.

We installed the bathroom, fitted the flooring and completed the painting and decorating.

The work took 10–11 weeks, including the loft conversion, the full front roof replacement and the final finishes.

Planning & approvals

What needed approval

Planning permission

Permitted development + lawful development certificate

The rear dormer loft conversion was carried out under permitted development, so the homeowners didn’t need to submit a full planning application for the work.

Enfield Council also issued a Lawful Development Certificate, confirming the proposed dormer was lawful under permitted development.

Party wall

Agreed directly with neighbours

The homeowners spoke with their neighbours and reached an agreement over the relevant Party Wall matters.

Neither side needed to appoint a surveyor, so the work could proceed without a formal Party Wall Award.

Building Control

Completion certificate issued

The loft conversion was completed through the Building Control process, and a final completion certificate was issued for the work.

What is permitted development + lawful development certificate?

Permitted development allows certain changes to a home without applying for separate householder planning permission, provided the work meets the relevant rules.

A Lawful Development Certificate, or LDC, is the council’s formal confirmation that the proposed work is lawful.

For this rear dormer loft conversion, Enfield Council issued a Lawful Development Certificate before the work began.

What is party wall consent?

Some building work near or involving a neighbouring property falls under the Party Wall process. Before that work starts, the affected neighbours need to be formally notified and given the opportunity to agree or appoint a surveyor.

For this project, the homeowners reached an agreement directly with their neighbours without either side appointing a surveyor.

Read our party wall guide →

What does Building Control do?

Building Control checks that the work meets building regulations as the project is built. This is separate from planning permission, which deals with whether the proposed development is allowed.

For this project, the final Building Control completion certificate was issued.

Costs today

What this project costs

£72,000+

Estimated base cost today · Includes VAT

What the base price covers

Our rear dormer starting price covers the core building work needed to turn the loft into new living accommodation. The exact inclusions depend on the standard specification, which you can see in the breakdown below.

This project also involved replacing the whole front roof, including the rafters, as well as the homeowners’ chosen glazing, fitted storage and internal finishes. Those choices all need to be considered when working out what a comparable conversion would cost today.

What this home added

The biggest additional piece of work was the complete front roof replacement. Rather than only carrying out the roofing work needed for the dormer, the homeowners chose to renew the ageing front roof structure and its covering at the same time.

The finished loft also included aluminium sliding doors with a Juliet balcony, fitted wardrobes beneath the eaves and an oak-and-glass staircase. The homeowners supplied their chosen bathroom fittings, tiles, flooring and paint, which we installed as part of the project.

What’s included?

Rear Dormer

Typically £72,000+ including VAT

This starting price is based on a typical mid-terrace house, with a rear dormer around 5 metres wide, creating one bedroom and a shower room.

It assumes there’s enough roof height and no unusual structural work is needed.

What’s included

What isn’t included?

Bathroom fittings and tiles, final bedroom flooring and decorating are separate.

We can arrange the flooring and decorating if you’d like us to.

Design and statutory approval fees aren’t automatically included in the headline build price.

What can change the price?

Roof height

If there isn’t enough headroom, we may need to lower the ceilings on the floor below. This adds structural work and affects the existing rooms.

House size and access

A wider loft needs more materials, although small differences may not change the price. Some houses also need extra scaffolding or have restricted access.

Structural work

The structural engineer may specify additional steelwork, particularly where existing roof timbers or chimneys affect the design.

Where the staircase goes

If the new staircase can’t fit above the existing one, we may need to change walls or rooms on the floor below to make space.

The existing roof

Rotten timbers or damaged roof coverings may need replacing. You can also choose to renew the existing front roof while the scaffolding and roofing team are already there.

Weather protection

A temporary roof, known as a tin hat, helps protect the house while the existing roof is open. We strongly recommend one in wetter months and for L-shaped dormers. It may be included in your quote or priced separately.

Windows and rooflights

Additional windows, larger openings or specialist glazing can increase the materials and installation work.

Bathrooms and drainage

A second bathroom adds plumbing and installation work. Even one bathroom can cost more if the waste pipes can’t connect easily to the existing drainage.

Existing plumbing, heating and electrics

An existing boiler, water supply or electrical consumer unit may need upgrading to serve the new rooms safely and properly.

Fire safety in the existing house

Depending on the approved fire-safety design, some existing doors on the floors below may need replacing. These aren’t automatically included in the standard loft price.

Advice for homeowners

Key takeaways

Make sure the staircase fits before committing to a loft conversion

The staircase is one of the first things worth looking at when planning a loft conversion.

It’s easy to focus on how much room you’ll gain upstairs, but the stairs have to start somewhere on the floor below. That can mean losing part of an existing bedroom or changing the way you enter it.

In this house, we could take a small section of the larger bedroom without making it impractical. Not every property has that much room to spare.

It’s worth looking at the proposed staircase alongside the furniture layout of the existing rooms, so you can see what you’ll actually be left with.

Check whether your existing roof needs work too

A loft conversion can involve replacing or altering substantial parts of the roof, but that doesn’t necessarily mean every part of the original roof gets renewed.

If your existing roof is getting old, it’s worth discussing its condition before the work starts.

These homeowners decided to replace the entire front roof while the loft was being built. That meant dealing with an ageing part of the house during the same project, rather than finishing the loft and potentially needing another major roofing job later.

It’s not something every homeowner needs to do, but it’s worth considering before the scaffolding goes up.

Understand the risks of building without a temporary roof

When a loft conversion involves opening up the existing roof, there’s a period when the house is more exposed to the weather.

A temporary scaffold roof can provide additional protection, but it adds to the cost of the project.

For this build, the homeowners decided against one after discussing the risks with us. We used tarpaulins and planned the sequence of work around getting the new roof watertight, but some minor water ingress still occurred.

It’s worth understanding how your builder plans to manage the weather, what protection will be in place and what risks remain before deciding whether to pay for a temporary roof.

Staying at home doesn’t mean avoiding disruption

The family managed to stay in their house throughout the 10–11-week conversion, but that doesn’t mean the work happened entirely outside their living space.

The early stages could largely be carried out above the existing rooms because the ceilings didn’t need lowering. Once the staircase was opened up, there was more movement through the house and the family had to live around the internal work.

If you’re considering staying home during a loft conversion, ask your builder when they’ll need access through the house, how materials will be brought in and which parts of your home will be affected.

Those details can make a big difference to how manageable the project feels while you’re living through it.

Diana’s full homeowner review

We’re so pleased we chose ConstructX Group for our loft conversion. The whole team was friendly, professional, and clearly knew what they were doing from start to finish. Communication was excellent — we were kept updated throughout, decisions were explained clearly, and the programme was managed really well.

We also had two young children at home (8 and 4) during the works, and the team were genuinely considerate: they kept things tidy, worked safely, and minimised disruption as much as possible. They stuck to the timeline and the quality of the finish is fantastic. It’s made a huge difference to our home and we couldn’t be happier. We’d definitely recommend ConstructX Group to anyone looking for a reliable, skilled team.

Diana Houzz review · · February 2026

Photos and floor plans

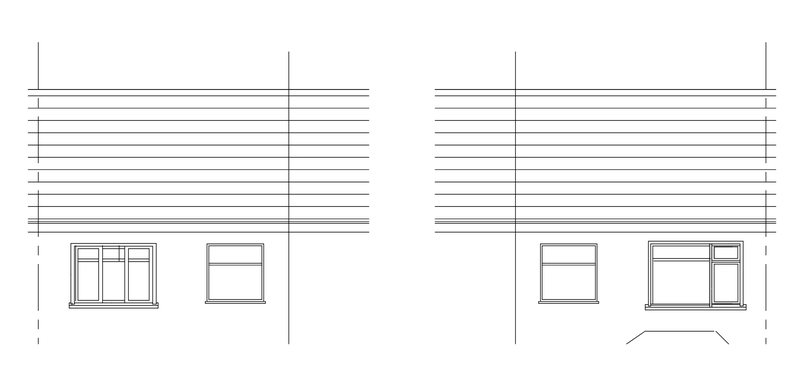
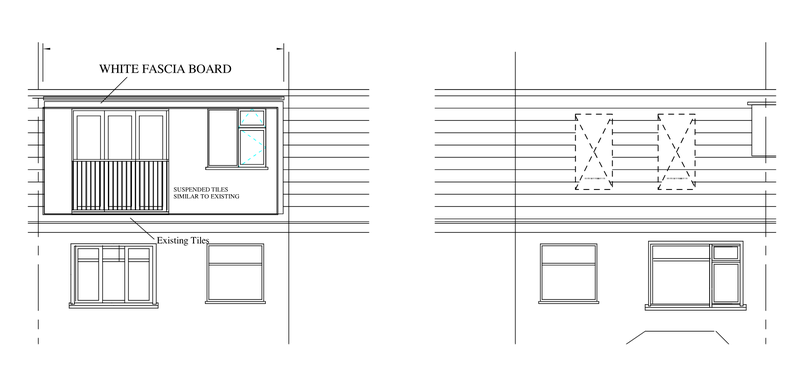
Proposed loft and first-floor plans: the new loft bedroom, bathroom and stairs under the rear dormer, above both original first-floor bedrooms.Proposed rear and front elevations: the rear dormer with its Juliet balcony and bathroom window, and two Velux windows in the front roof.Loft bedroom in a rear dormer loft conversion in Enfield, EN1, with aluminium sliding doors opening onto a Juliet balcony.The loft bedroom from beside the bed, looking past the bedroom door and the TV wall to the sliding doors and Juliet balcony.The loft bedroom looking towards the front, with two Velux rooflights above fitted wardrobes in the eaves.Fitted wardrobes built into the eaves beneath two rooflights, beside the bedroom door.A run of fitted eaves wardrobes along the lower side of the loft bedroom, under a rooflight.The loft bathroom in grey marble-effect tiles, with a bath and overhead shower behind a glass screen, a basin on a vanity unit and a WC.The oak winder staircase to the loft, seen past the oak newel post.Two rooflights above the fitted eaves cupboards in the loft bedroom.The rear dormer from the garden: charcoal-grey hanging tiles, the sliding doors with their Juliet balcony guardrail and the bathroom window.Aerial view of the rear dormer above the back of the house, with its flat roof and the Juliet balcony.Aerial view of the new front roof in charcoal-grey concrete tiles, with two Velux windows, and the dormer’s flat roof behind it.The front of the house after the work, with the new charcoal-grey front roof and its two Velux windows.

Ready to get a clear plan for your project?

Get a realistic picture of what’s possible for your home, likely costs, timings, planning requirements and what the project would involve.

You’ll speak with Eddie

Managing Director

Delivered this project

Expert advice · No obligation

Keep exploring

See more transformations

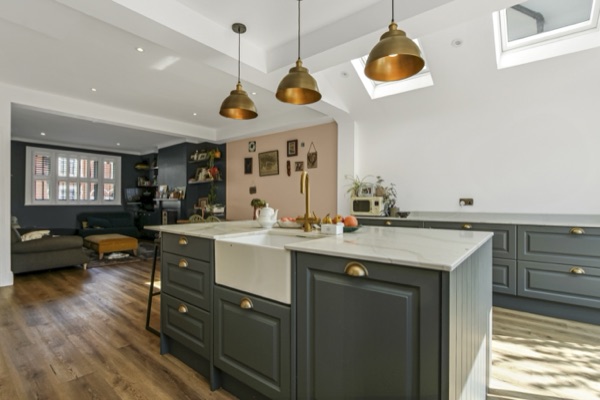
Side-return extension Side-return extension kitchen in Lewisham, SE6, with a grey island, butler sink, brass pendants and roof windows

Lewisham, SE6 · mid-terrace

An open-plan ground floor to reconnect a family.

Whoever was cooking was often cut off from the rest of the family. Opening up the kitchen, dining room and side return brought everyone together.

Est. cost
£74,000+
Time taken
12 weeks
Added area
11 sqm
Read the case study: An open-plan ground floor to reconnect a family.
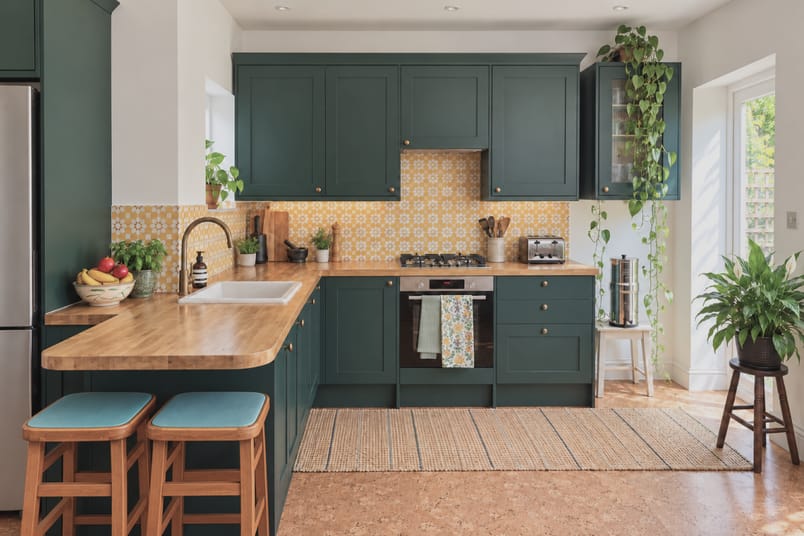
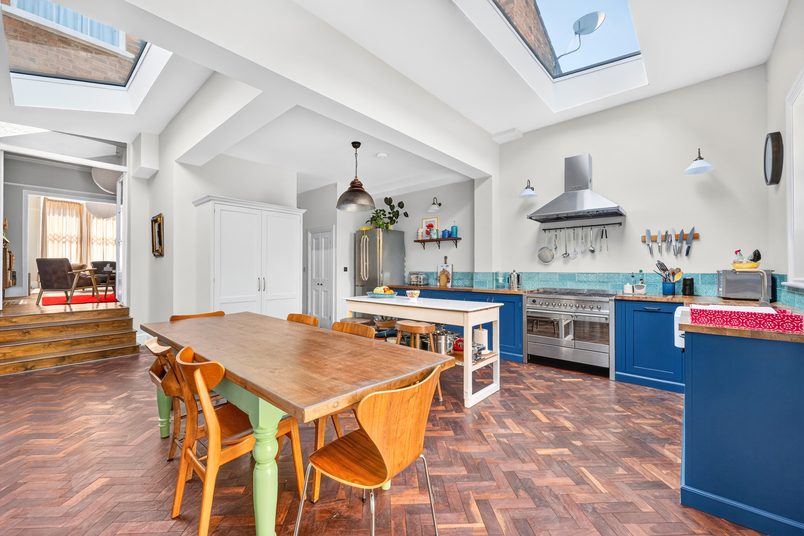
Side-return extension Side-return extension kitchen in Clapton, E5, with dark green units, a wood-topped peninsula with two stools and a yellow splashback.

Clapton, E5 · multi-floor FLAT

Moving a kitchen upstairs to create a family hub.

This family’s flat had limited space to begin with, and they needed their kitchen closer to the main living space and a bigger family bathroom.
Est. cost
£74,000+
TIME TAKEN
12 weeks
ADDED AREA
6 sqm
Read the case study: Moving a kitchen upstairs to create a family hub.
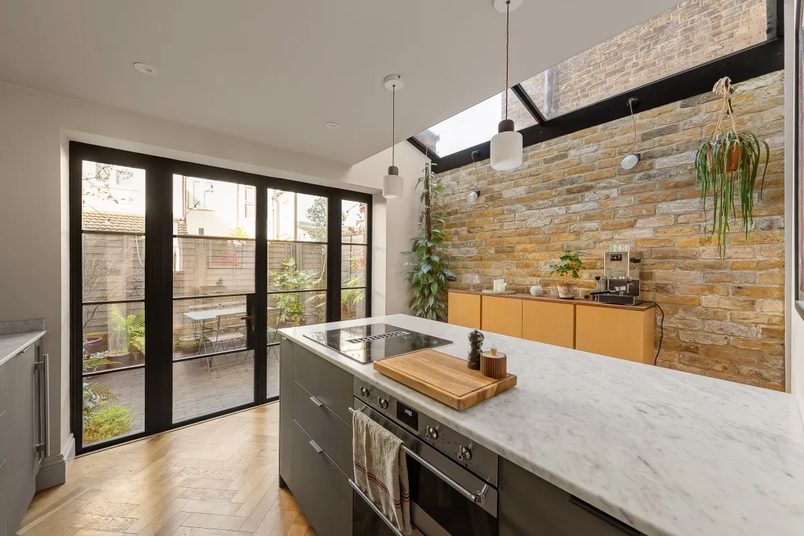
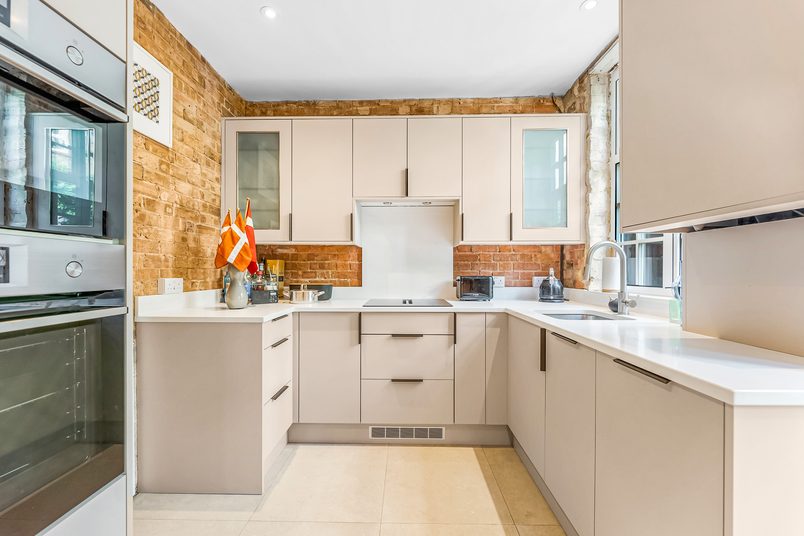
Side-return extension Completed side-return kitchen extension in Greenwich, SE10, with a central island, pitched glass roof and exposed brick wall.

Greenwich, SE10 · mid-terrace

Reworking the ground floor around a wider kitchen.

A side-return extension gave this narrow kitchen enough width for a central island, with a glass roof bringing daylight into the new space.

Est. cost
£74,000+
Time taken
12 weeks
Added area
5 sqm
Read the case study: Reworking the ground floor around a wider kitchen.
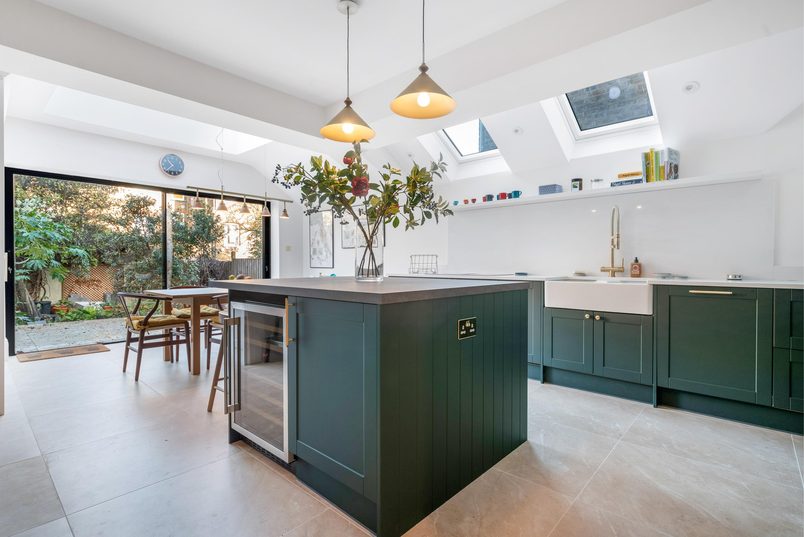
Wraparound extension Wraparound kitchen extension in Haringey, N4 with a dark green island, pendant lights, roof windows and sliding garden doors.

Haringey, N4 · mid-terrace

A kitchen big enough for family and friends.

The separate dining room rarely got used. We made space to eat in the extended kitchen, freeing up the old room for a playroom.

Est. cost
£117,000+
Time taken
16 weeks
Added area
19 sqm
Read the case study: A kitchen big enough for family and friends.
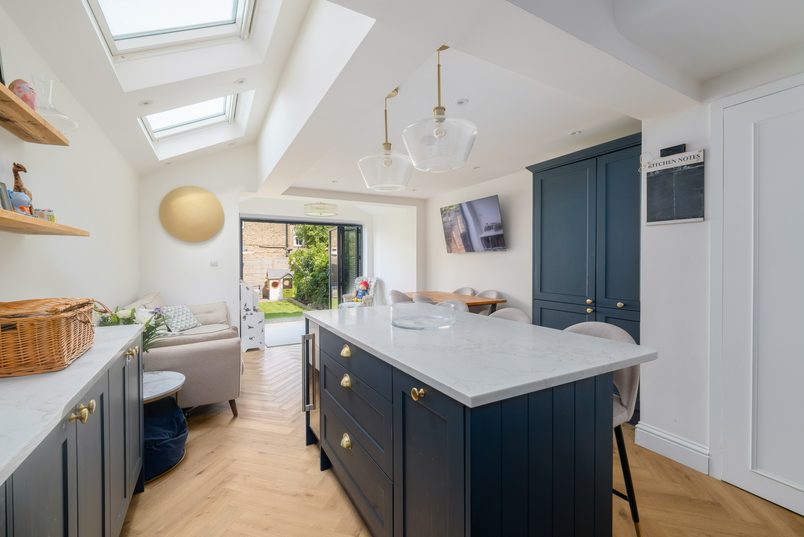
Wraparound extension Navy kitchen island looking towards the living area and garden doors in a wraparound extension in Lewisham, SE13.

Lewisham, SE13 · mid-terrace

Turning a small kitchen into an open-plan family hub.

The homeowners had a young baby and a small kitchen cut off from the rooms around it. This extension gave them a hub to cook, eat, relax & play together.

Est. cost
£117,000+
Time taken
11 weeks
Added area
14 sqm
Read the case study: Turning a small kitchen into an open-plan family hub.
Rear extension Rear extension kitchen-diner in East Finchley, N2, with blue cabinets, a central island, rooflights and sliding garden doors.

East Finchley, N2 · Mid-terrace

An open-plan kitchen-diner to reconnect a family.

Whoever was cooking was often cut off from the rest of the family. We opened up the kitchen to the dining room, bringing everyone together.

Est. cost
£80,000+
Time taken
12 weeks
Added area
12 sqm
Read the case study: An open-plan kitchen-diner to reconnect a family.
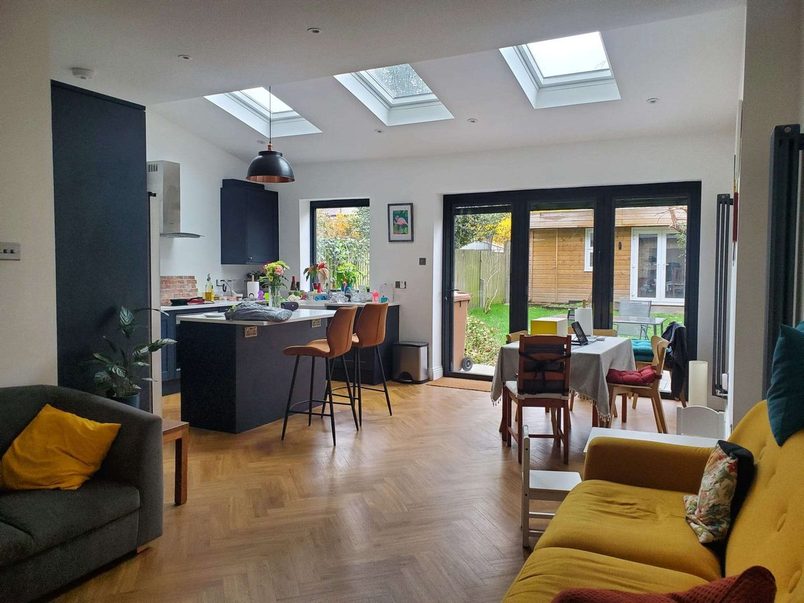
Rear extension Open-plan rear extension kitchen in Lewisham, SE4, with a dark-blue island, a dining table, rooflights and bifold doors.

Lewisham, SE4 · mid-terrace

An open-plan kitchen & living space for a growing family.

The kitchen and dining room were too cramped for family life. We extended the rear and opened them up into one space for cooking, eating and relaxing.

Est. cost
£80,000+
Time taken
13 weeks
Added area
21 sqm
Read the case study: An open-plan kitchen & living space for a growing family.

What is a dormer?

A dormer is a structure built out from a sloping roof to create more usable space inside, usually with a taller wall and a window.

What is a Juliet balcony?

A Juliet balcony is a guard rail fitted across a full-height opening on an upper floor. It allows a large window or door to open safely without building a balcony platform you can stand on.

What is eaves storage?

Eaves storage uses the space beneath the sloping sides of a roof, where the ceiling is usually too low for normal living space.

Cupboards or access doors can sometimes be fitted to make these areas useful for storing belongings.

What are roof rafters?

Rafters are the sloping structural timbers that support a pitched roof. In this project, the homeowners chose to replace the old front rafters while the loft conversion was being built.

What is a temporary roof?

A temporary roof, often called a “tin hat”, is a weatherproof covering installed above the scaffolding to protect a house while its existing roof is being opened or rebuilt.

It can reduce interruptions caused by rain and help protect the rooms below.

It adds to the scaffolding cost, so whether it’s worthwhile depends on the project, the season and how much of the existing roof needs to be removed.