Construct X Group

Stoke Newington, N16 · mid-terrace

Modern bedrooms and a living room for the kids in the loft.

The children already had two bedrooms in the loft, but the rear bedroom had awkward structural supports and there was nowhere for them to relax together. We rebuilt the dormer, modernised both bedrooms and extended over the back of the house to add a living room and wetroom.

Space created
Two modernised bedrooms, a living room and wetroom
Est. cost (inc. VAT)
£98,000+
Time taken
14 weeks
Added area
15 sqm
Project type
L-shaped dormer loft conversion
Planning route
Full householder planning permission + lawful development certificate

The transformation

How the home changed

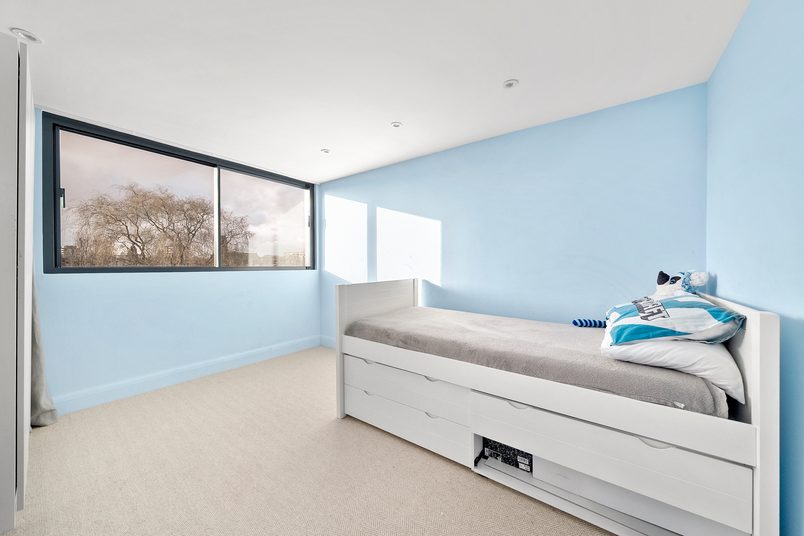
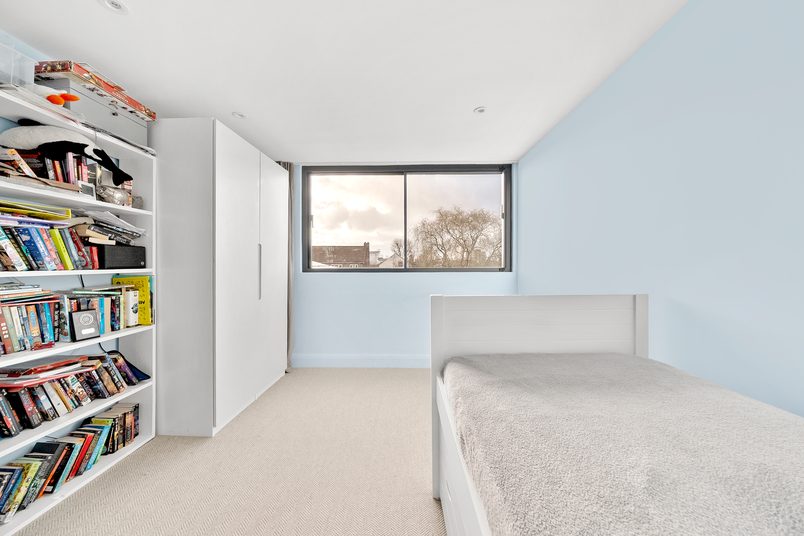
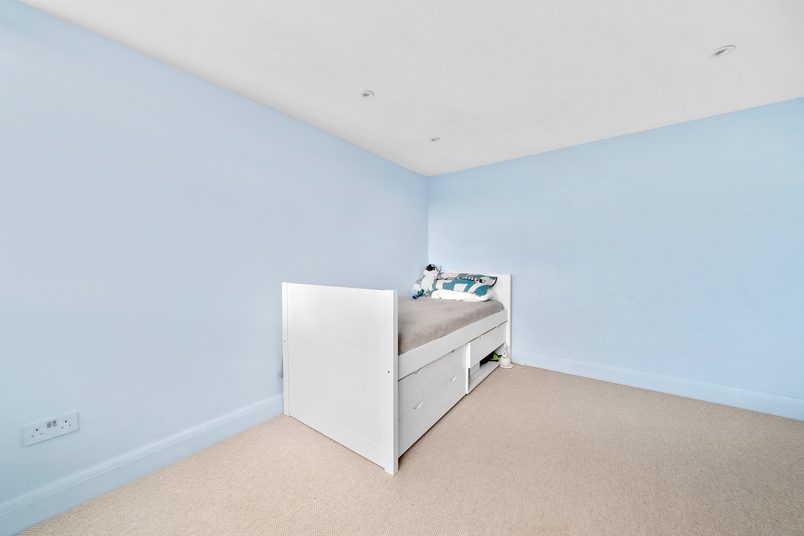
The rear bedroom was the main problem with the old loft. Its dormer didn’t extend across the available roof width, and two boxed-in supports took up space along the sides. The front bedroom sat beneath the pitched roof and was staying where it was, but both rooms needed upgrading.

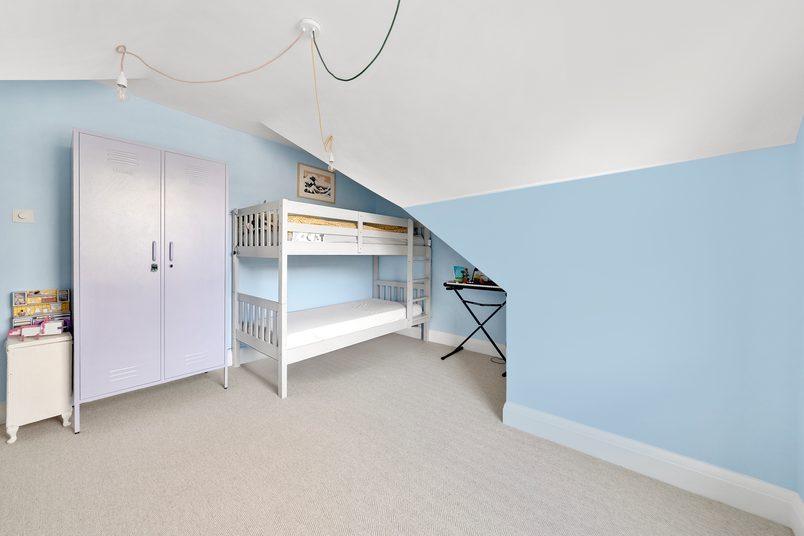
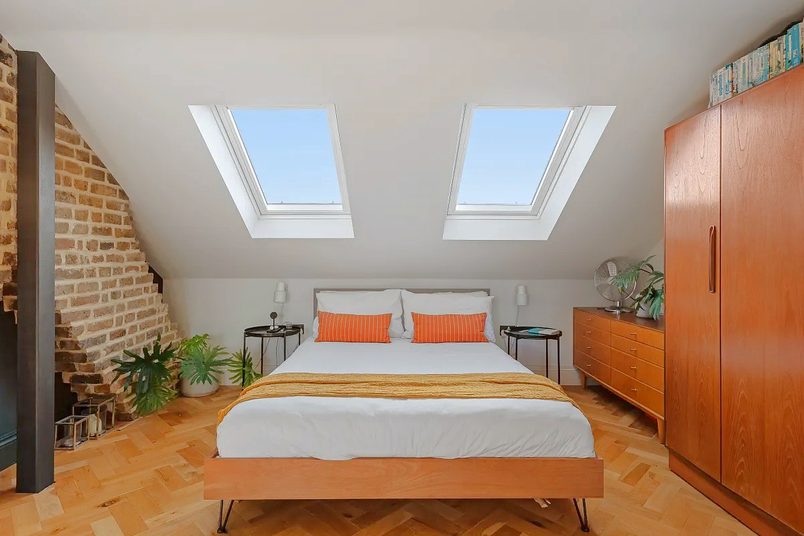
Front bedroom in a loft conversion in Stoke Newington, N16, with a sash window and eaves cupboards on both sides.
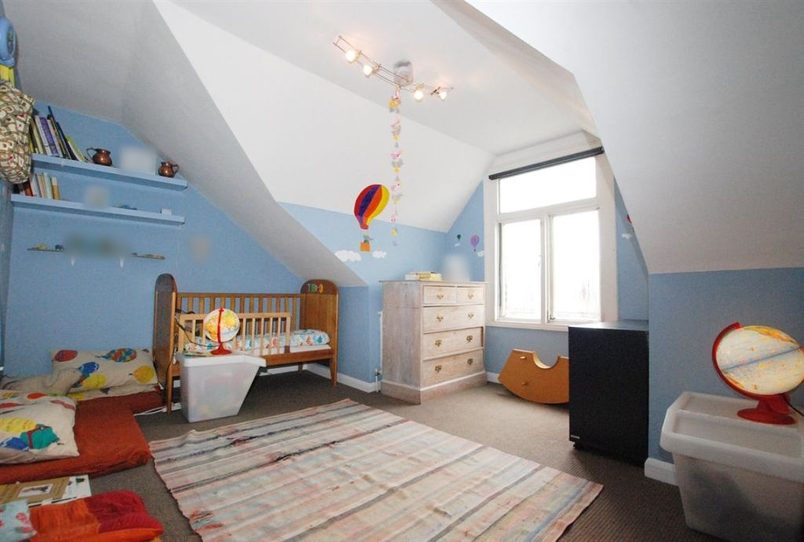
The front loft bedroom before the work, with sloping ceilings on both sides and the window in the front gable.

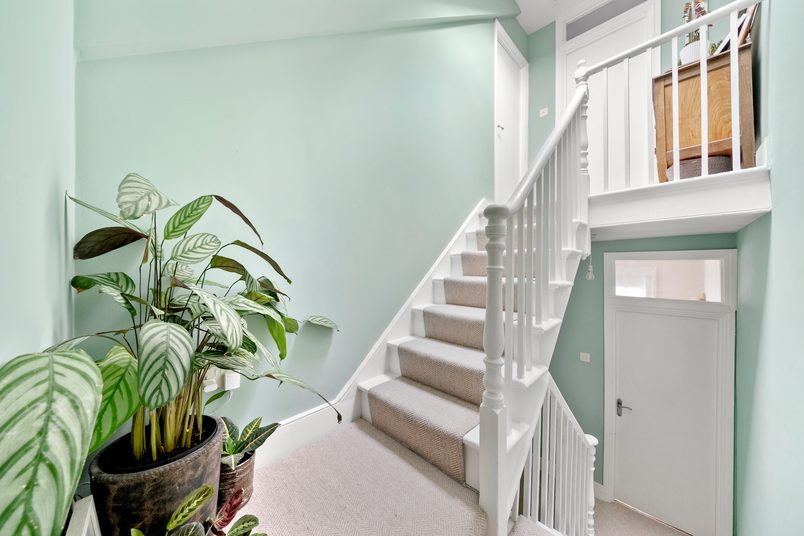
We rebuilt the rear dormer to give the bedroom more usable space, renewed the front roof and modernised both rooms. Then we built over the rear outrigger to add a living room and wetroom. The new rooms sit at a lower level than the bedrooms, so the stairs and landing were adjusted to connect everything.

Before

Two existing bedrooms

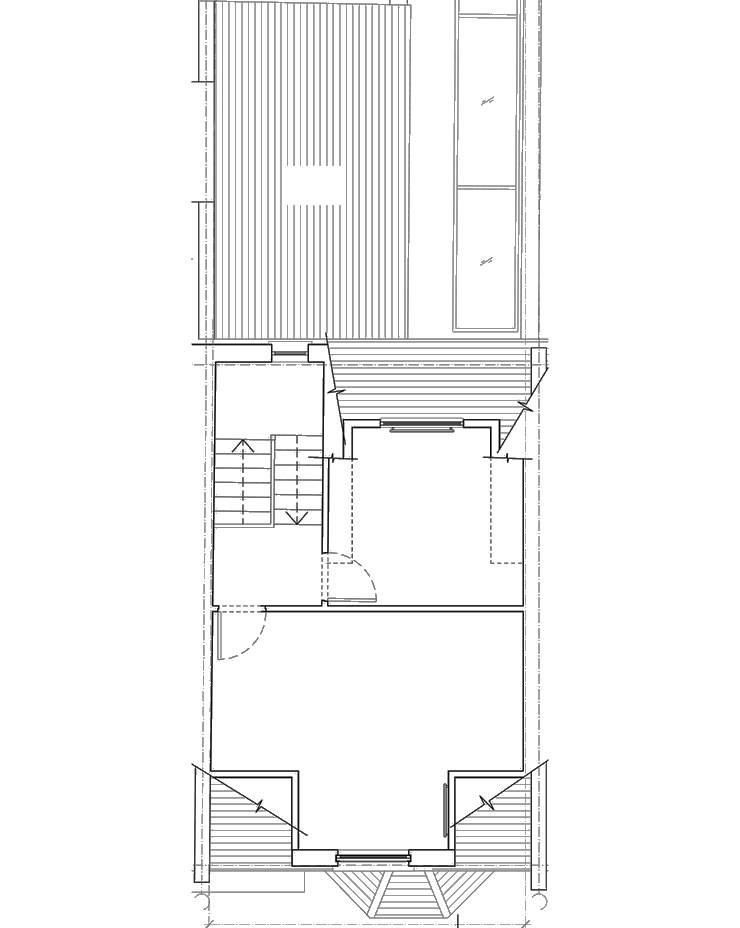
Existing loft plan: the narrow rear dormer bedroom, the stairs and the front bedroom, with the outrigger’s pitched roof below.
  1. Narrow rear dormer: The rear bedroom had boxed-in structural supports taking up space along both sides.
  2. Front loft bedroom: The second bedroom sat beneath the original pitched roof.
  3. Rear outrigger roof: There was no living space above this part of the house.

After

Bedrooms, lounge and wetroom

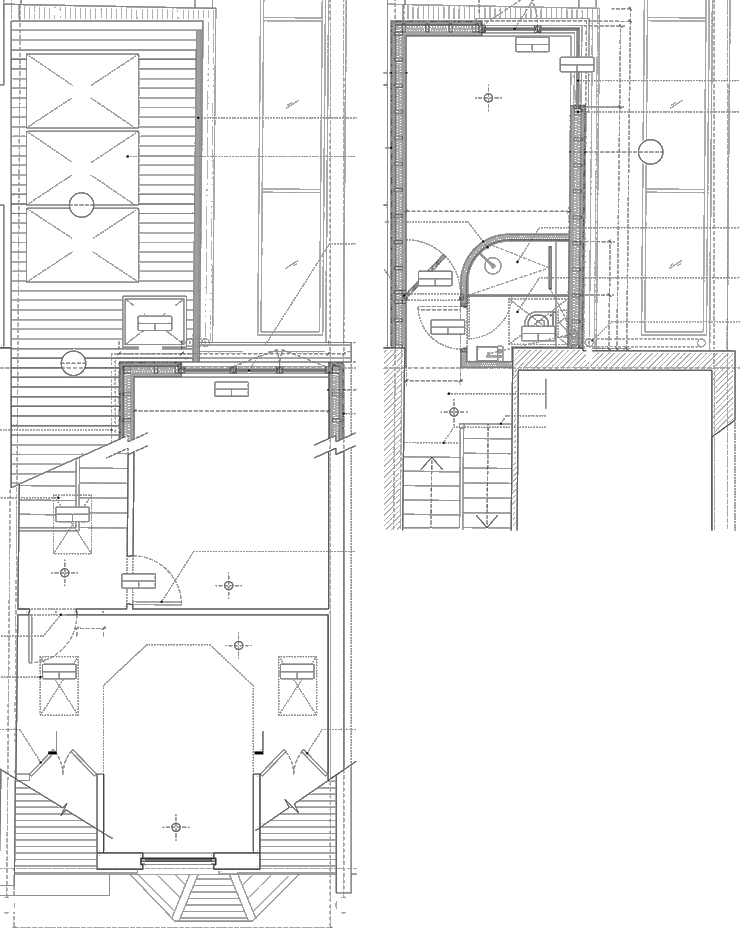
Proposed loft plans: the bedroom level with the rebuilt rear dormer and front bedroom, and the new level over the outrigger with the living room and wetroom.
  1. Rebuilt rear bedroom: The wider dormer and revised supports give the bedroom more usable space.
  2. Updated front bedroom: The existing room keeps its pitched roof, with improved insulation and new storage beneath the eaves.
  3. New living room: A room built above the rear outrigger, with corner glazing looking across the rooftops.
  4. New wetroom: A bathroom beside the living room, with a curved walk-in shower.
  5. Split-level landing: The stairs and landing were adjusted to connect the bedrooms with the new rooms below.

Design approach

Making better use of the loft

Making the bedrooms more comfortable

The homeowners wanted to keep the two bedrooms rather than change the number of rooms. The rear bedroom needed more usable space, while both rooms needed better heating and insulation.

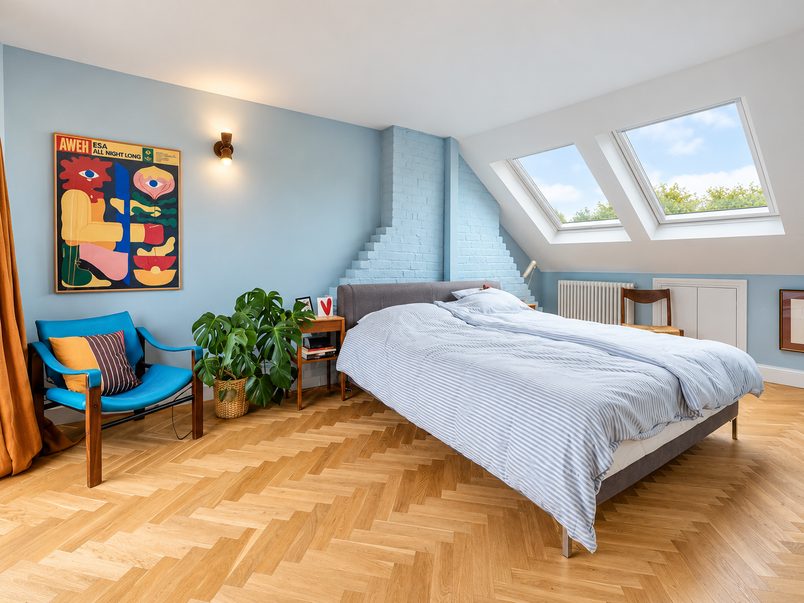
At the front of the house, the bedroom remained beneath the pitched roof. We renewed the roof covering and insulation, rewired the room and built cupboards into the eaves. One of these cupboards also hides the underfloor-heating controls behind an access panel, so they can still be reached when needed.
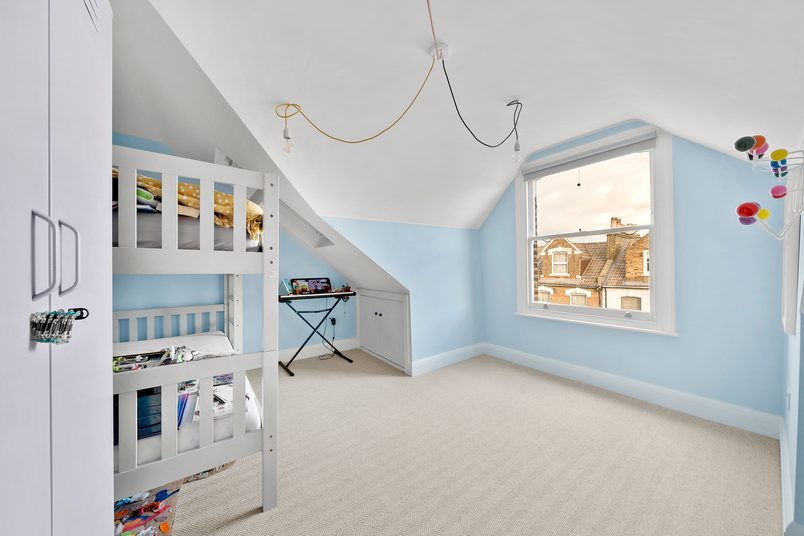
The front bedroom under the pitched roof, with bunk beds, a sash window and a cupboard built beneath the sloping ceiling.

Both bedrooms were fitted with wet underfloor heating, with acoustic insulation added beneath the floors. The rooms could be heated separately, rather than relying on one setting for the whole loft.
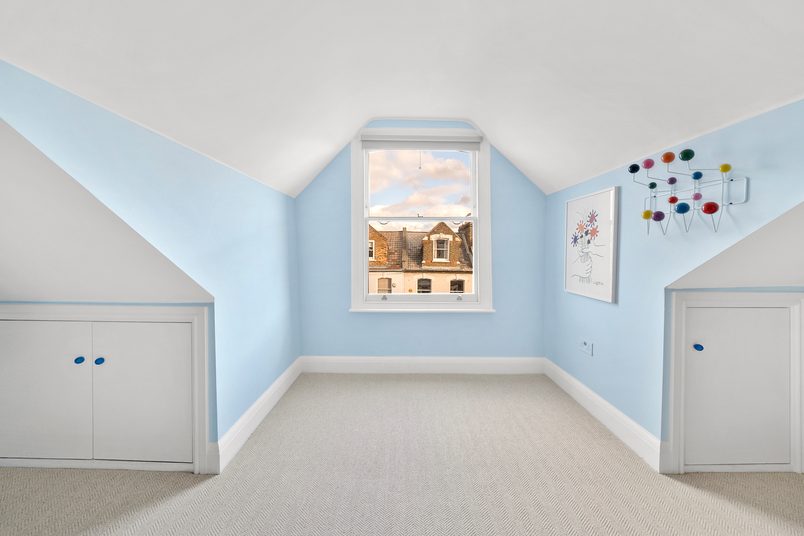
Front bedroom in a loft conversion in Stoke Newington, N16, with a sash window and eaves cupboards on both sides.

A living room above the outrigger

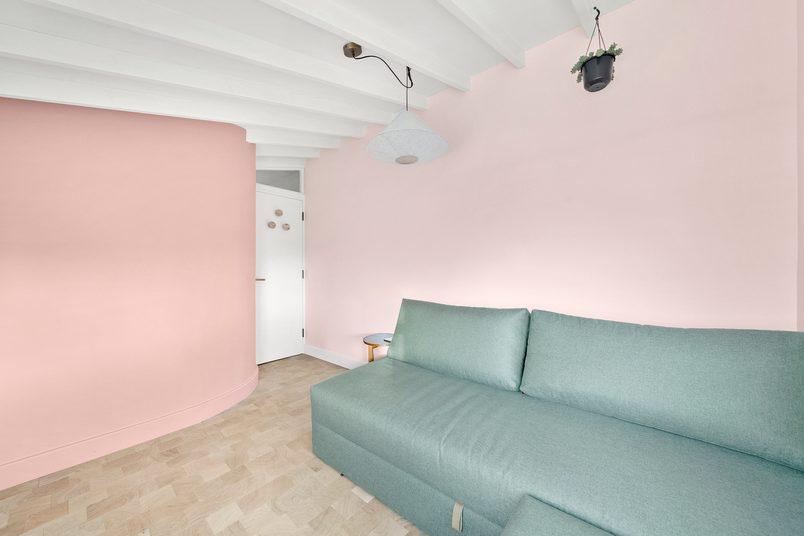
The new living room was built over the roof of the existing rear outrigger. The architect designed a large sliding corner window so the children could look out across the neighbouring rooftops, rather than having a conventional window on one wall.

The ceiling is another feature of the room. Instead of covering the structural roof joists with plasterboard, we left them exposed and painted them white. The roof was built with its insulation above the structural deck, so the joists could remain visible underneath.
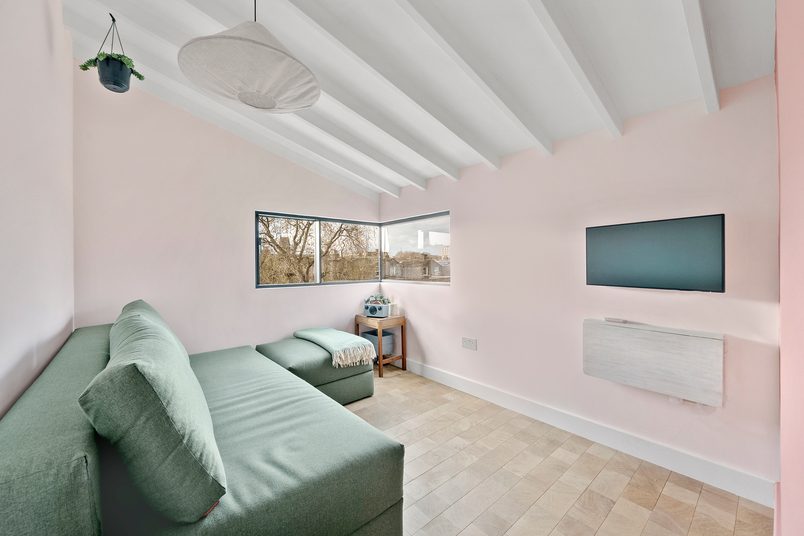
Living room in an L-shaped dormer loft conversion in Stoke Newington, N16, with a green sofa, white joists and corner glazing.

The homeowners supplied the parquet-style timber flooring, which we fitted as part of the finishing work. With the pale timber floor, white ceiling and corner glazing, the room feels quite different from the bedrooms next door.
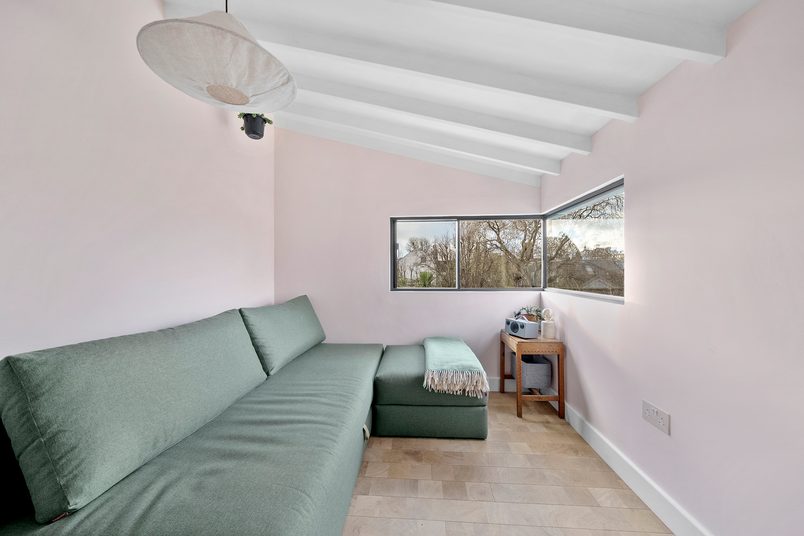
Corner windows looking over trees from the living room of an L-shaped dormer loft conversion in Stoke Newington, N16.

Making the most of the wetroom

The new wetroom sits beside the living room. Rather than dividing off the shower with a conventional square enclosure, the design uses a curved tiled wall and a movable glass screen.
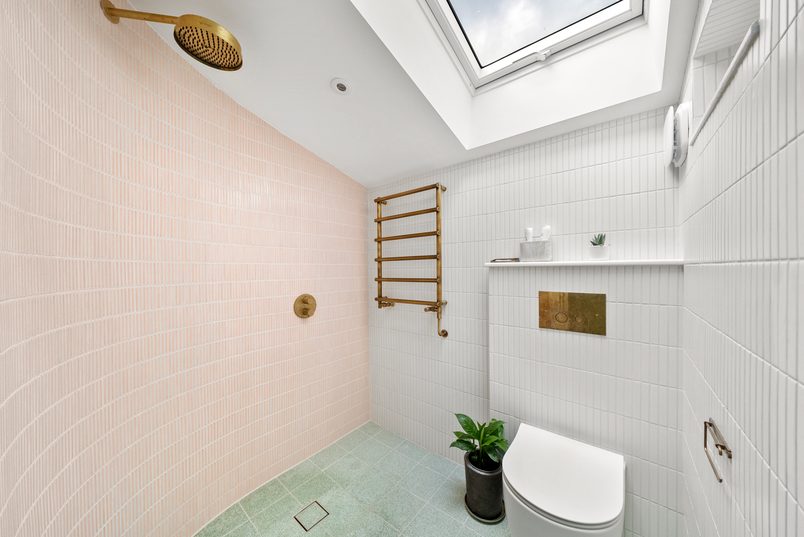
Curved pink-tiled shower in the loft wetroom, with brass fittings, a wall-hung WC and a rooflight.

The homeowners chose narrow tiles, brass fittings and a green basin. We installed the fittings and formed the shower so the floor drains towards a square outlet. An electric rooflight brings daylight into the room, while underfloor heating and a brass heated towel rail provide warmth.
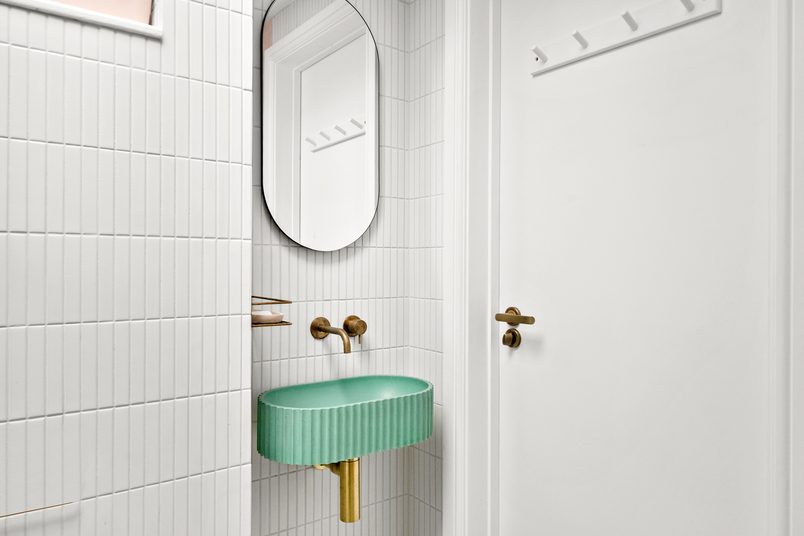
A green fluted basin and brass wall tap beneath an oval mirror in the wetroom.

The curved wall and the way the tiles meet at the corners needed particularly careful work. We’ll explain how they were built in the next section.

The build

Rebuilding the loft

Living at home while the roof was rebuilt

The family stayed in the house throughout the project, but the children couldn’t use their bedrooms while the work was happening. They moved into other rooms, leaving the whole top floor available for construction.

We put scaffolding at both the front and rear of the house, with a temporary roof to keep the property protected while the existing roof was opened up. For much of the structural work, materials came in through the large front sash window. Later, when that access was no longer available, materials had to be carried through the house.

The rear dormer was largely taken down and rebuilt. At the front, we stripped the existing pitched roof, fitted a new membrane, renewed the leadwork and installed new tiles. Both bedrooms were rewired, insulated and fitted with underfloor heating before the floors and finishes went back in.

The room directly beneath the new outrigger also formed part of the works. It needed structural supports for the new room above, along with a rebuilt floor, heating, electrical work and two new windows. The family had been using it as a temporary bedroom, so they had to move out of that room too when we reached this stage.

When the structural drawings needed changing

One of the most important decisions came while we were building the new roof structure.

The engineer’s original drawings showed substantial supports running diagonally down either side of the rear dormer. They were made from thick timbers with a steel plate between them. Although they were part of the approved structural design, their position would have taken up a noticeable amount of the bedroom.

That was particularly frustrating because the old dormer already had supports restricting the space. Rebuilding it was supposed to improve that.

We were working from the drawings supplied by the homeowner’s architect and engineer, so we couldn’t simply move the supports ourselves. The issue was raised during a progress meeting, and the homeowner asked the design team to look at another way of supporting the roof.

The engineer revised the arrangement. On one side, the support was moved into the corridor so the bedroom wall could remain flush. On the other, a horizontal timber arrangement replaced the original diagonal support.

Some of the work already completed had to be undone, and the team stopped while the revised details were prepared. This coincided with the summer holidays and the homeowner being away, so there was a one-month pause before work resumed.

The construction itself took 14 weeks. The design pause added another month to the overall calendar period.

This is a useful example of why it’s worth understanding where structural supports will sit inside a finished room, not just whether the engineering works on paper.

Changing the outside from timber to zinc

The original design called for timber cladding on the new extension.

During the build, the homeowner and architect became concerned about demonstrating that the proposed timber build-up would meet the required fire standards. They decided to change the external finish to zinc instead.

The final specification was RHEINZINK Graphite, fitted using a traditional standing-seam system. The specialist package covered 70 sqm of roof and wall cladding. The zinc sections were made at the specialist’s workshop before being brought to the house and installed.
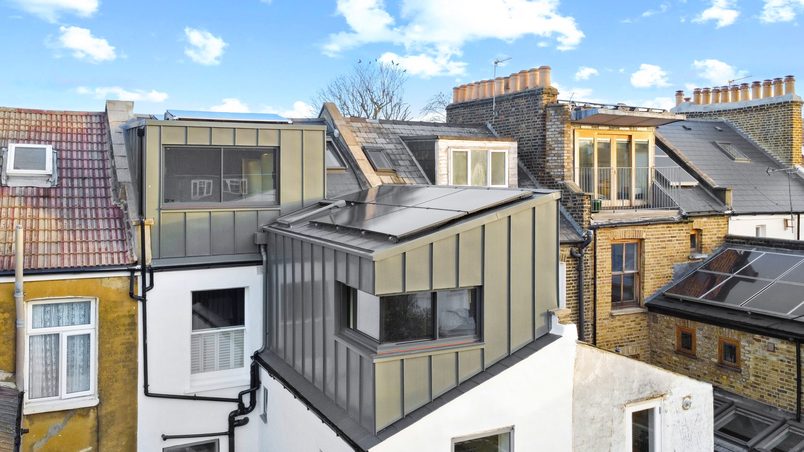
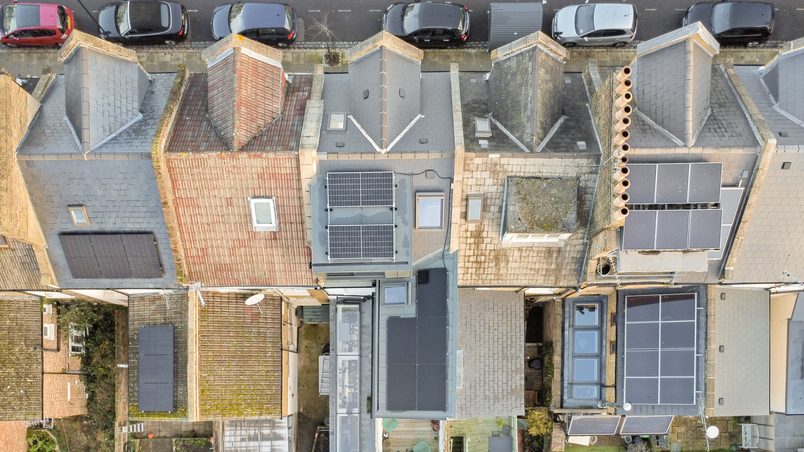
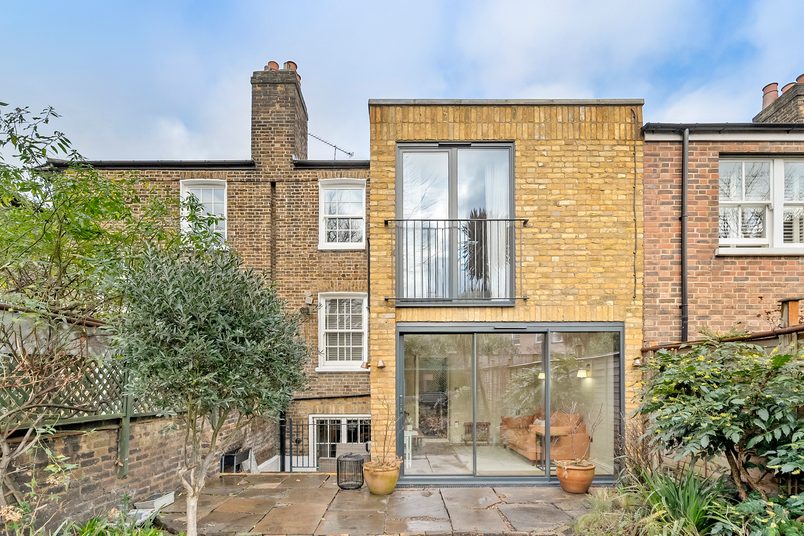
Rear view of a Victorian terrace in Stoke Newington, N16, showing the rebuilt dormer and zinc-clad outrigger extension.

The homeowner considered continuing the zinc over the lower parts of the outrigger, but decided the extra cost wasn’t worthwhile. Those sections were finished in slate instead.
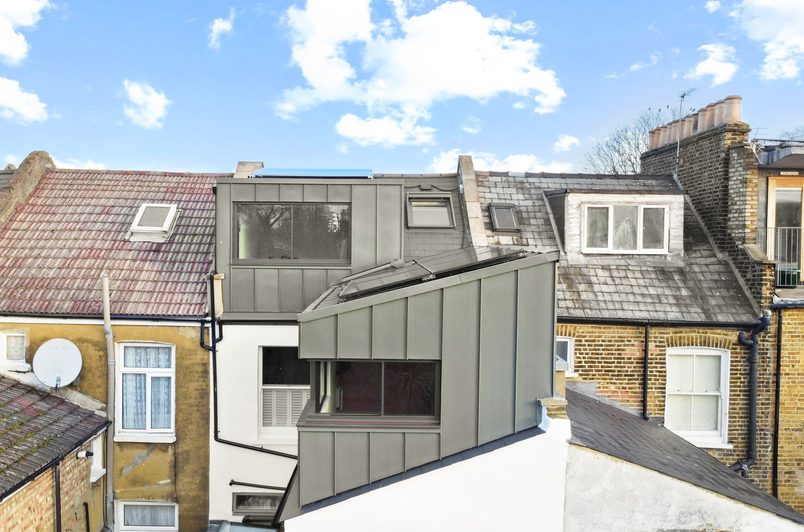
The rebuilt rear dormer and the zinc-clad extension over the outrigger, seen from behind the terrace.

The large external windows were supplied through a specialist chosen by the homeowner. We formed the openings, prepared the surrounding structure, coordinated the installation and made good afterwards.

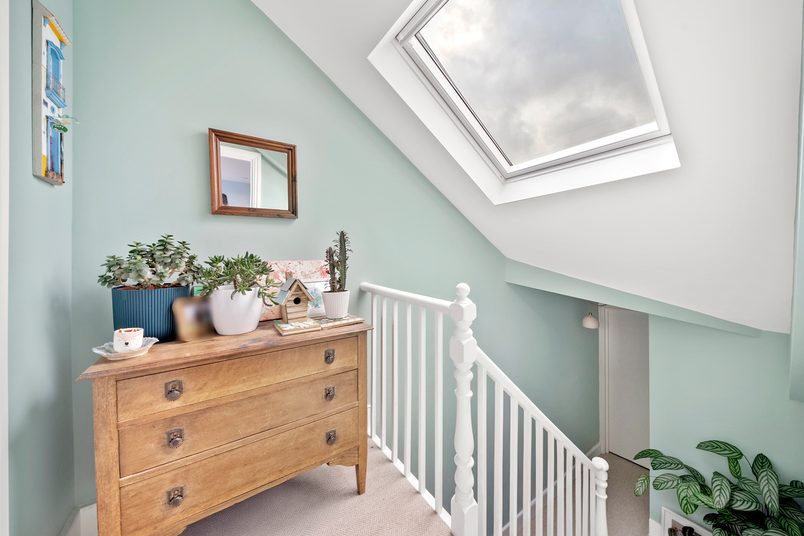
We also installed three electric VELUX rooflights, one in the front bedroom, one above the stairs and one in the wetroom.

The finished roof carries four solar panels. The solar installation was arranged separately by the homeowner, but we worked with the specialist and prepared the necessary cabling while the roof was being rebuilt.

Building the curved shower

The wetroom’s curved shower wall took more work than a conventional straight partition.

We formed the curve using flexible plywood, added reinforcing mesh and applied render until the surface was smooth enough for the narrow tiles. The room was then fully waterproofed before tiling began.

The tiles had to follow the curve without leaving uneven gaps. At the exposed corners, the tiler cut the edges at angles so they met neatly without separate tile trims.

Curved pink-tiled shower in the loft wetroom, with brass fittings, a wall-hung WC and a rooflight.

We also formed the floor with a slope towards a square drain, installed the concealed plumbing and fitted the movable glass screen. The original drawings had shown a different drain arrangement, but the square outlet was used in the finished room.

Underfloor heating across the upper rooms

The homeowners chose wet underfloor heating for the two existing bedrooms, the new living room, the wetroom and the room directly underneath the outrigger.

The pipework connects back to the existing boiler in the ground-floor kitchen. Each main room has its own heating control, with the wetroom sharing a heating zone with the adjoining living room.

The controls and pipework connections are housed in the front bedroom’s eaves cupboard. We fitted an access panel so they can be reached for servicing without dismantling the storage.

This meant the homeowners could keep the bedrooms free of wall-mounted radiators while controlling the temperature in the different rooms.

Returning to investigate a leak

A few months after the project was finished, the homeowner contacted us because water was coming through at the neighbour-side edge of the new outrigger during heavy wind-driven rain.

We returned to investigate and found that deteriorated brickwork on the neighbouring side of the shared wall was allowing water through. It hadn’t previously affected an occupied room in the same way, because there hadn’t been a living space beneath that part of the roof.

Although the damaged brickwork wasn’t part of our original work, we carried out the repairs for the homeowner. No further water coming through was reported afterwards.

Planning & approvals

What needed approval

Planning permission

Full householder planning permission approved + lawful development certificate granted

The homeowner’s architect dealt with two applications before we started work.

Hackney Council granted full householder planning permission for the enlargement of the existing rear dormer and proposed solar panels.

A separate Lawful Development Certificate covered the proposed dormer enlargement, the extension above the rear outrigger and associated rooflights and windows.

Party Wall

Handled before construction

The homeowner’s design team prepared Party Wall drawings for the work affecting the neighbouring properties.

The homeowner and their appointed professionals dealt with the neighbour arrangements before we started. We were appointed to carry out the construction and weren’t involved in those discussions.

Building Control

Completion certificate issued

Assure Building Control oversaw the project.

The work included structural alterations, roof insulation, electrical work and fire-safety upgrades, all of which formed part of the Building Control process.

A completion certificate was issued when the work was finished.

What is planning permission?

Planning permission is approval from the local council for certain changes to a home, such as an extension. The council looks at the proposed plans before deciding whether the work can go ahead.

What is party wall consent?

Some building work near or involving a neighbouring property falls under the Party Wall process. Before that work starts, the affected neighbours need to be formally notified and given the opportunity to agree or appoint a surveyor.

Read our party wall guide →

What does building control do?

Building Control checks that the work meets building regulations as the project is built. This is separate from planning permission, which deals with whether the proposed development is allowed.

Costs today

What this project costs

£98,000+

Estimated base cost today · Includes VAT

L-shaped dormer loft conversion

The figure above is the current starting price for an L-shaped dormer loft conversion, rather than the price paid for this particular project. In Stoke Newington, the homeowners already had two bedrooms in the loft. We rebuilt the rear dormer, renewed the front roof and added new living space above the outrigger.

Some of the work shown here goes beyond a standard loft conversion. The homeowners chose wet underfloor heating, specialist zinc cladding and a detailed wetroom finish. They also bought the large external glazing and solar equipment through separate suppliers, with our team preparing for and coordinating those installations.

What this home added

This project involved rebuilding much of the existing loft as well as creating the new rooms. Both bedrooms had their roof insulation, electrics and heating upgraded, while the front room gained new storage beneath the eaves. The existing landing and stairs were also altered to connect with the extension.

The homeowners chose a zinc finish for the new exterior, wet underfloor heating across the affected rooms and a wetroom with a curved tiled shower. We installed the homeowner’s chosen fittings and finishes, while the large exterior glazing and solar system were supplied through separate specialists.

What’s included?

L-Shaped Dormer

Typically £98,000+ including VAT

This price includes a rear dormer plus an additional section built over the rear outrigger, the smaller part of the house that extends into the garden.

That extra space can make room for two bedrooms and a bathroom, or a bedroom, bathroom and office, depending on the house.

What’s included

What isn’t included?

Bathroom fittings and tiles, final flooring, decorating and any additional bathroom are separate.

What can change the price?

Roof height

If there isn’t enough headroom, we may need to lower the ceilings on the floor below. This adds structural work and affects the existing rooms.

House size and access

A wider loft needs more materials, although small differences may not change the price. Some houses also need extra scaffolding or have restricted access.

Structural work

The structural engineer may specify additional steelwork, particularly where existing roof timbers or chimneys affect the design.

Where the staircase goes

If the new staircase can’t fit above the existing one, we may need to change walls or rooms on the floor below to make space.

The existing roof

Rotten timbers or damaged roof coverings may need replacing. You can also choose to renew the existing front roof while the scaffolding and roofing team are already there.

Weather protection

A temporary roof, known as a tin hat, helps protect the house while the existing roof is open. We strongly recommend one in wetter months and for L-shaped dormers. It may be included in your quote or priced separately.

Windows and rooflights

Additional windows, larger openings or specialist glazing can increase the materials and installation work.

Bathrooms and drainage

A second bathroom adds plumbing and installation work. Even one bathroom can cost more if the waste pipes can’t connect easily to the existing drainage.

Existing plumbing, heating and electrics

An existing boiler, water supply or electrical consumer unit may need upgrading to serve the new rooms safely and properly.

Fire safety in the existing house

Depending on the approved fire-safety design, some existing doors on the floors below may need replacing. These aren’t automatically included in the standard loft price.

Key takeaways

Key takeaways

Ask where the structural supports will end up

A beam or roof support might look straightforward on a drawing, but its position can make a big difference to how much of the finished room you can actually use.

On this project, the original structural arrangement would have taken up space inside the rebuilt bedroom. The engineer was able to revise it, but that meant stopping work and changing part of the structure.

Before the build starts, it’s worth asking your architect or engineer to show you where the main supports will sit in the finished rooms.

Think about the stairs when adding over an outrigger

An extension above the rear outrigger doesn’t necessarily sit at the same height as the existing loft.

Here, the new living room and wetroom were lower than the children’s bedrooms, so the landing and stairs had to change.

When looking at plans for a similar extension, pay attention to the floor levels and how you’ll move between rooms, not just the amount of floor space being added.

Agree the external materials early

The original design used timber cladding, but concerns about meeting the required fire standards led to a change to zinc during construction.

That affected the specialist work needed and the final cost.

It’s worth asking your architect to establish the appropriate external materials and fire requirements before the build begins, particularly when extending close to neighbouring properties.

Plan for the rooms you’ll lose during construction

The family could stay in the house because they had other bedrooms available, but the children couldn’t use the loft throughout the work.

They also had to move out of the room beneath the new extension when we needed access to install its structural supports.

If you’re living through a loft rebuild, work out which rooms will be unavailable and where everyone will sleep before construction begins.

Photos and floor plans

Existing loft plan: the narrow rear dormer bedroom, the stairs and the front bedroom, with the outrigger’s pitched roof below.The front loft bedroom before the work, with sloping ceilings on both sides and the window in the front gable.

Ready to get a clear plan for your project?

Get a realistic picture of what’s possible for your home, likely costs, timings, planning requirements and what the project would involve.

You’ll speak with Eddie

Managing Director

Delivered this project

Expert advice · No obligation

Keep exploring

See more transformations

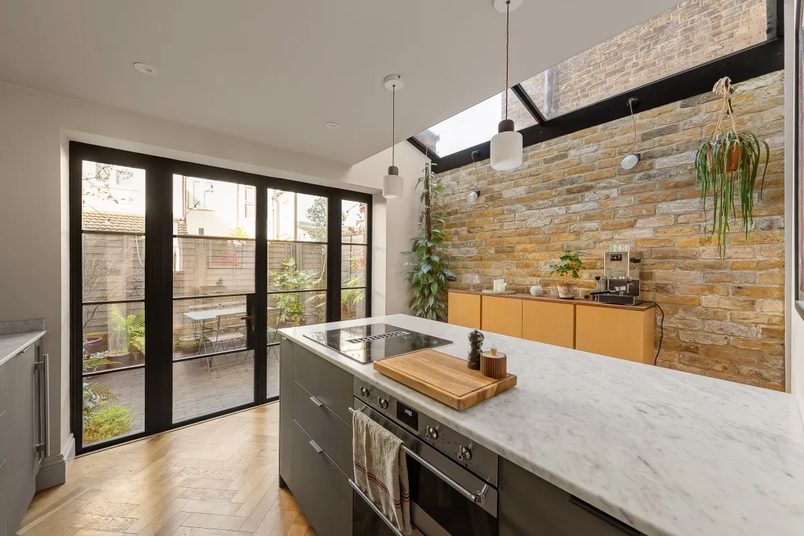
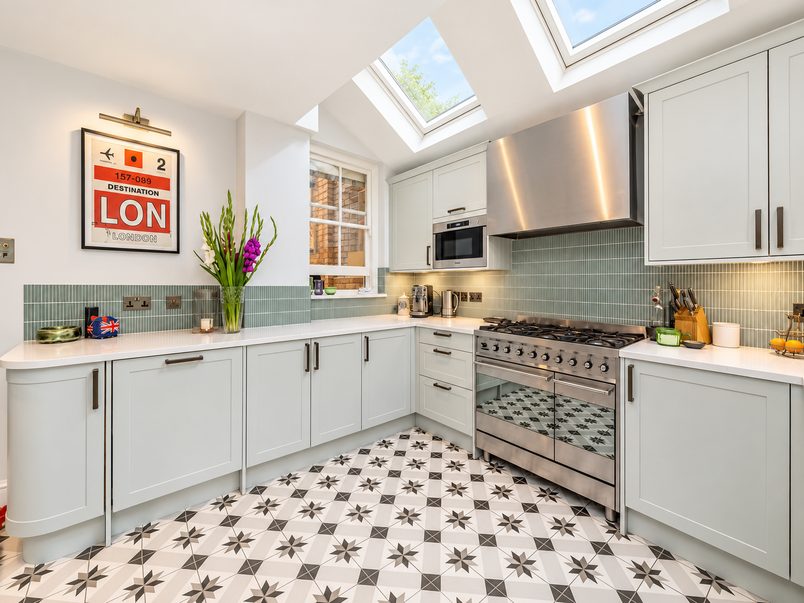
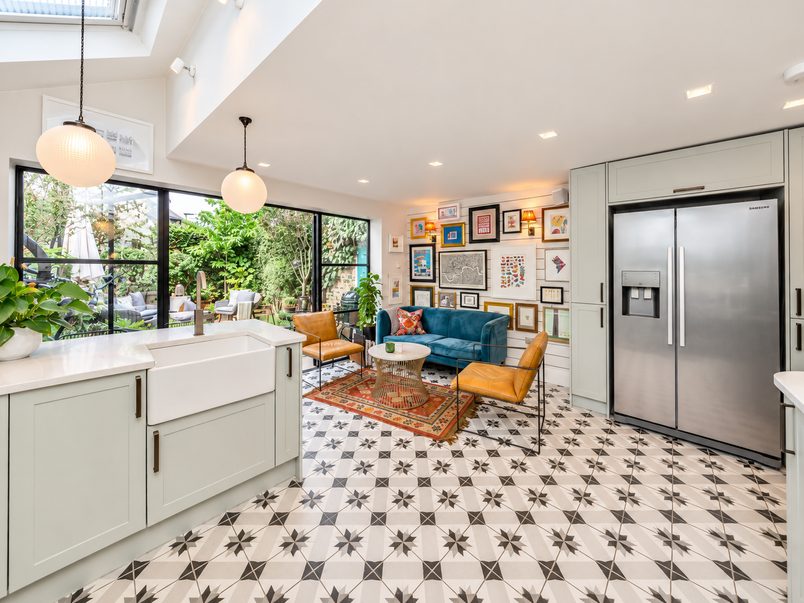
Side-return extension Side-return extension kitchen in Lewisham, SE6, with a grey island, butler sink, brass pendants and roof windows

Lewisham, SE6 · mid-terrace

An open-plan ground floor to reconnect a family.

Whoever was cooking was often cut off from the rest of the family. Opening up the kitchen, dining room and side return brought everyone together.

Est. cost
£74,000+
Time taken
12 weeks
Added area
11 sqm
Read the case study: An open-plan ground floor to reconnect a family.
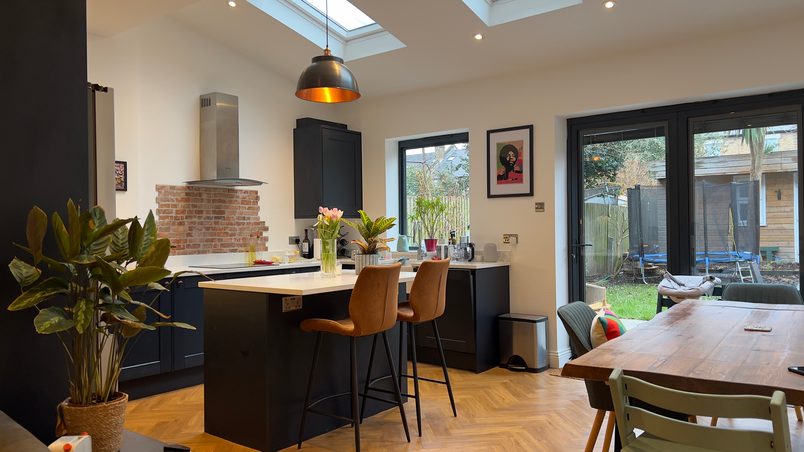
Side-return extension Side-return extension kitchen in Clapton, E5, with dark green units, a wood-topped peninsula with two stools and a yellow splashback.

Clapton, E5 · multi-floor FLAT

Moving a kitchen upstairs to create a family hub.

This family’s flat had limited space to begin with, and they needed their kitchen closer to the main living space and a bigger family bathroom.

Est. cost
£74,000+
TIME TAKEN
12 weeks
ADDED AREA
6 sqm
Read the case study: Moving a kitchen upstairs to create a family hub.
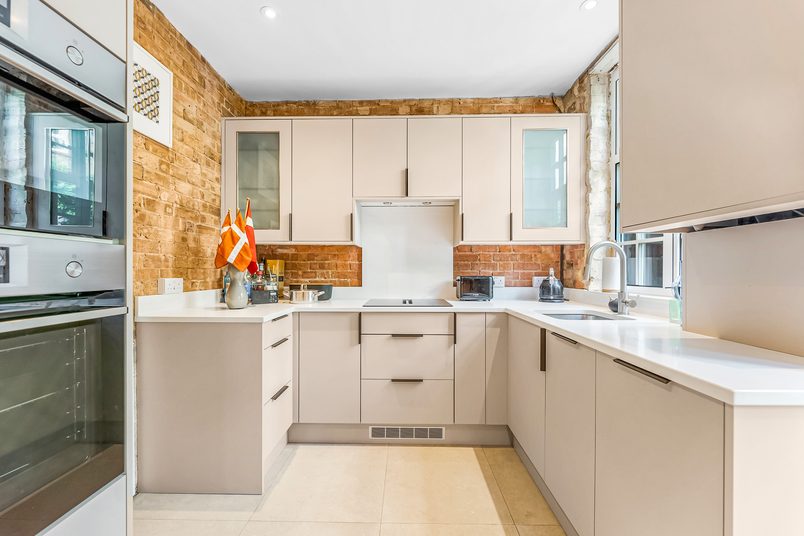
Side-return extension Completed side-return kitchen extension in Greenwich, SE10, with a central island, pitched glass roof and exposed brick wall.

Greenwich, SE10 · mid-terrace

Reworking the ground floor around a wider kitchen.

A side-return extension gave this narrow kitchen enough width for a central island, with a glass roof bringing daylight into the new space.

Est. cost
£74,000+
Time taken
12 weeks
Added area
5 sqm
Read the case study: Reworking the ground floor around a wider kitchen.
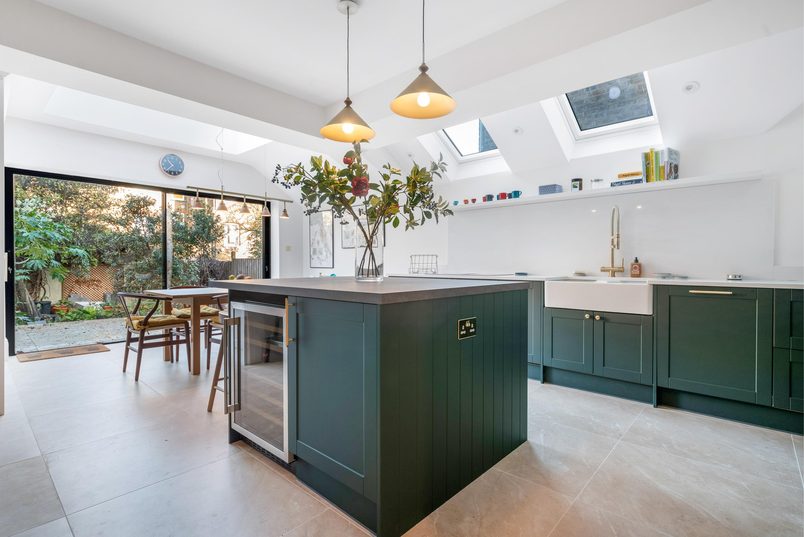
Wraparound extension Wraparound kitchen extension in Haringey, N4 with a dark green island, pendant lights, roof windows and sliding garden doors.
Haringey, N4 · mid-terrace

A kitchen big enough for family and friends.
The separate dining room rarely got used. We made space to eat in the extended kitchen, freeing up the old room for a playroom.

Est. cost
£117,000+
Time taken
16 weeks
Added area
19 sqm
Read the case study: A kitchen big enough for family and friends.
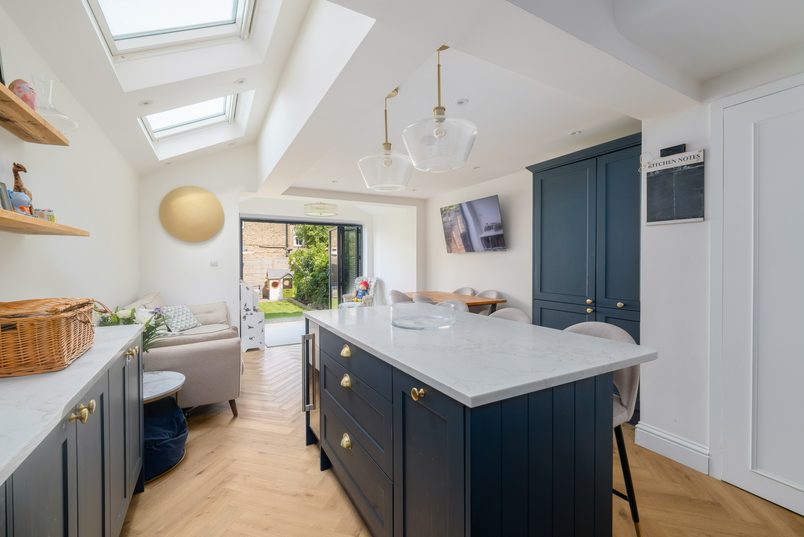
Wraparound extension Navy kitchen island looking towards the living area and garden doors in a wraparound extension in Lewisham, SE13.

Lewisham, SE13 · mid-terrace

Turning a small kitchen into an open-plan family hub.

The homeowners had a young baby and a small kitchen cut off from the rooms around it. This extension gave them a hub to cook, eat, relax & play together.

Est. cost
£117,000+
Time taken
11 weeks
Added area
14 sqm
Read the case study: Turning a small kitchen into an open-plan family hub.
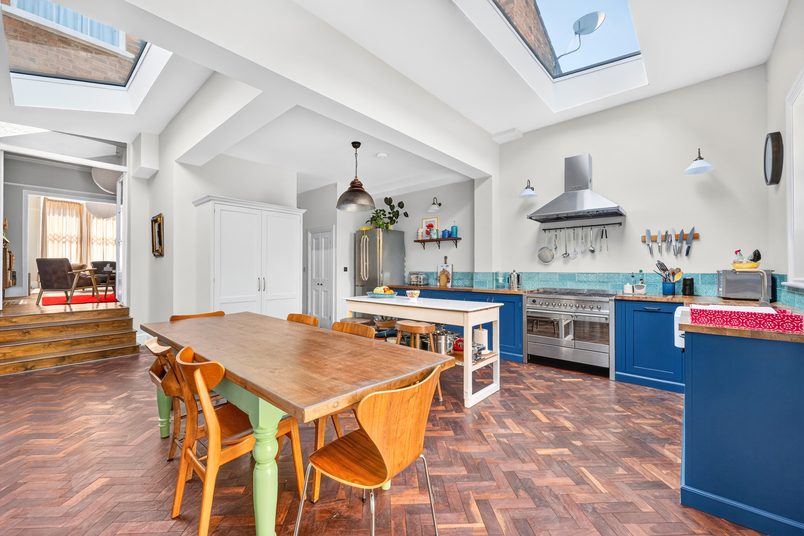
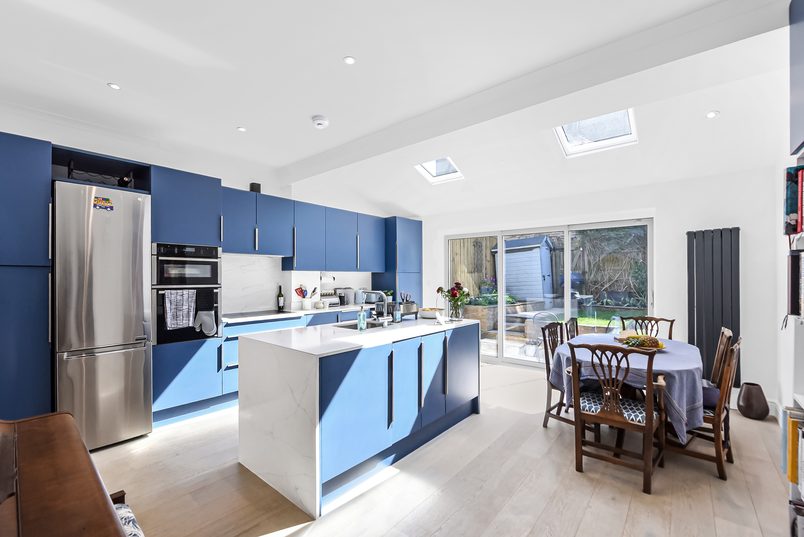
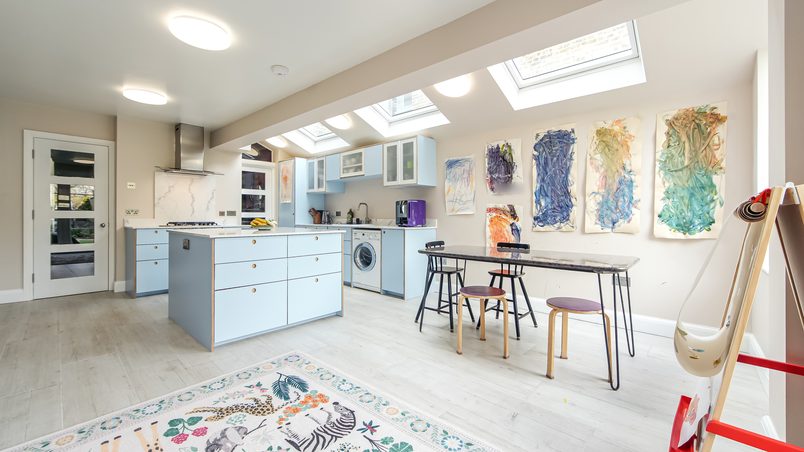
Rear extension Rear extension kitchen-diner in East Finchley, N2, with blue cabinets, a central island, rooflights and sliding garden doors.

East Finchley, N2 · Mid-terrace

An open-plan kitchen-diner to reconnect a family.

Whoever was cooking was often cut off from the rest of the family. We opened up the kitchen to the dining room, bringing everyone together.

Est. cost
£80,000+
Time taken
12 weeks
Added area
12 sqm
Read the case study: An open-plan kitchen-diner to reconnect a family.
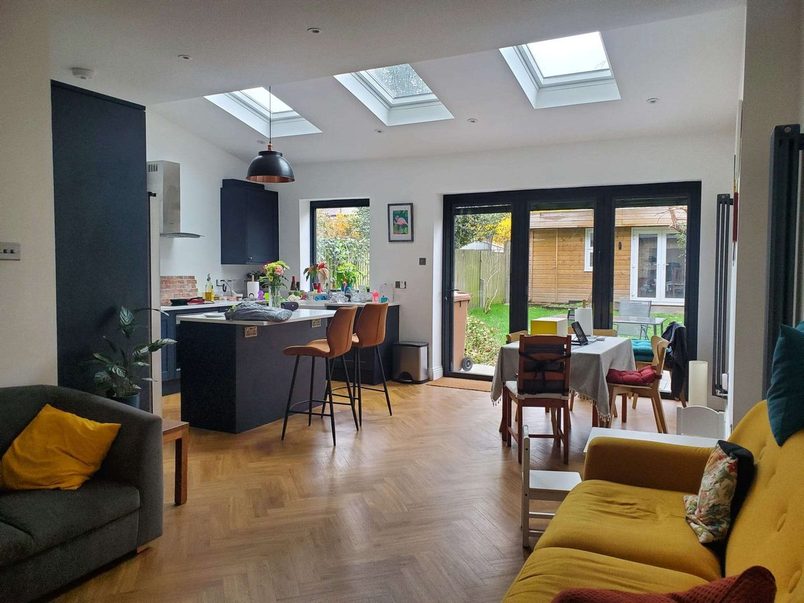
Rear extension Open-plan rear extension kitchen in Lewisham, SE4, with a dark-blue island, a dining table, rooflights and bifold doors.

Lewisham, SE4 · mid-terrace

An open-plan kitchen & living space for a growing family.

The kitchen and dining room were too cramped for family life. We extended the rear and opened them up into one space for cooking, eating and relaxing.

Est. cost
£80,000+
Time taken
13 weeks
Added area
21 sqm
Read the case study: An open-plan kitchen & living space for a growing family.

What is a dormer?

A dormer is a structure built out from a sloping roof to create more usable space inside, usually with a taller wall and a window.

In Stoke Newington, the original rear dormer was narrower than the available roof width. Rebuilding it helped give the bedroom more usable space.

What is an outrigger?

An outrigger is the narrower section of a house that projects out from the main building, usually at the back of older terraced properties.

In Stoke Newington, we built above the existing rear outrigger to add the children’s living room and wetroom.

How does wet underfloor heating work?

Warm water runs through pipes installed beneath the floor, heating the room without needing wall-mounted radiators.

In Stoke Newington, the rooms were divided into heating zones so the temperature could be controlled separately.

What is a warm roof?

A warm roof has its main insulation above the structural roof deck, rather than placing all the insulation between the supporting joists.

In Stoke Newington, that allowed the structural timber joists to remain visible inside the living room.

What is a wetroom?

A wetroom is a bathroom where the shower area is waterproofed as part of the room rather than relying on a conventional shower tray and enclosure.

The floor is formed to direct water towards a drain, and the surfaces beneath the tiles need careful waterproofing.

What is a rooflight?

A rooflight is a window fitted into the roof to bring natural daylight into the room below.

Unlike a conventional wall window, it allows light to enter from above.

What is a temporary roof?

A temporary roof, often called a “tin hat”, is a weatherproof covering installed above the scaffolding to protect a house while its existing roof is being opened or rebuilt.

It can reduce interruptions caused by rain and help protect the rooms below.

It adds to the scaffolding cost, so whether it’s worthwhile depends on the project, the season and how much of the existing roof needs to be removed.

What is standing-seam zinc?

Standing-seam cladding uses metal sheets joined by raised folded edges, called seams.

Zinc can be used on both roofs and external walls. On this project, a specialist made the zinc sections off site before fitting them to the new extension.

What does tanking a bathroom mean?

Tanking means applying a waterproof layer beneath the tiles so water cannot reach the floor and wall structure.

It’s particularly important in a wetroom, where water isn’t confined to a conventional shower tray.

What are mitred tile edges?

Mitred edges are tiles cut at an angle so they meet neatly at a corner without a separate plastic or metal trim.

They require careful cutting, particularly where the tiles follow a curved wall.

What is a Lawful Development Certificate?

A Lawful Development Certificate confirms that particular proposed works meet the rules allowing them to be carried out without a separate planning permission.

It isn’t the same as householder planning permission.

In Stoke Newington, the homeowner’s architect obtained both a Lawful Development Certificate and householder planning approval for different elements of the roof works.