Construct X Group

Greenwich, SE10 · semi-detached

A new snug and third bedroom for a growing family.

The homeowners wanted to stay in their semi-detached Greenwich home as their family grew. But the living room was two sets of stairs from the kitchen, and the house only had two bedrooms. We built a two-storey extension with a snug closer to the kitchen, a third bedroom, a shower room beside the existing bedrooms and a more useful entrance.

Space created
Family snug, third bedroom and upstairs shower room
Est. cost (inc. VAT)
£161,000+
Time taken
13 weeks
Added area
28 sqm
Project type
Two-storey wraparound extension
Planning route
Full householder planning permission

The transformation

How the home changed

The kitchen and dining area were on the lowest level of this Greenwich home. The main living room was two sets of stairs higher, so although the family had somewhere to sit together, it wasn’t a room they naturally used during the day.

There were also only two bedrooms, with no bathroom on the same level. The homeowners had a young child and wanted to stay in the house as their family grew, but the layout was becoming less convenient.

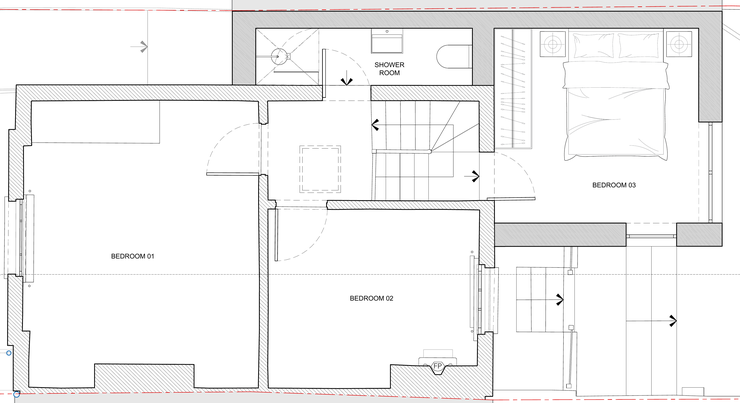
The extension added a snug just a short flight of stairs from the kitchen, a third bedroom and a shower room beside the two original bedrooms. Moving the entrance into the new side extension also made room for a hall and boot room, with storage for the things that would otherwise end up around the house.

The new rooms sit at different heights to meet the existing floors. That is what makes this extension different from a conventional two-storey addition, and why the layout is easier to understand when you look at the drawings.

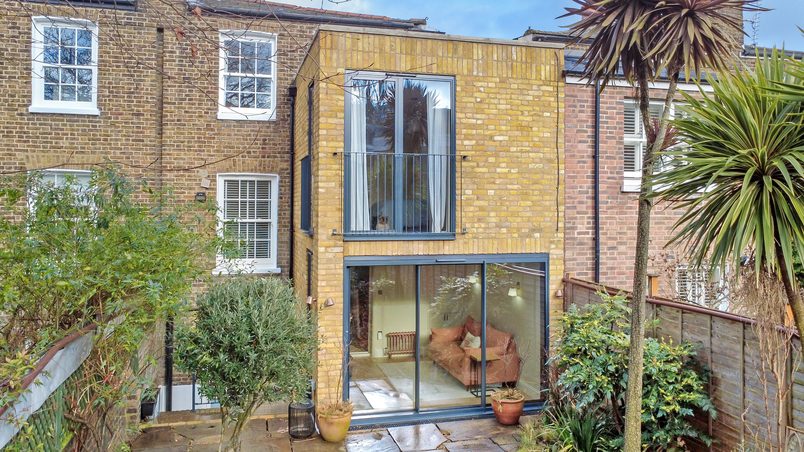
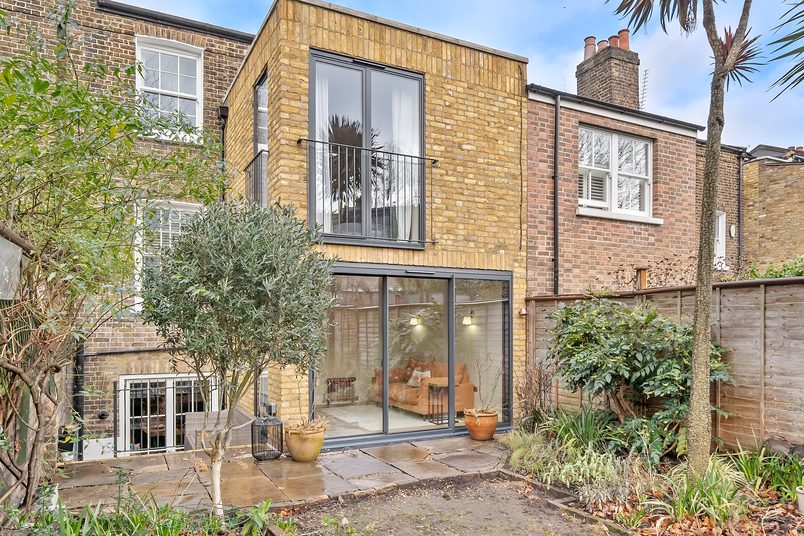
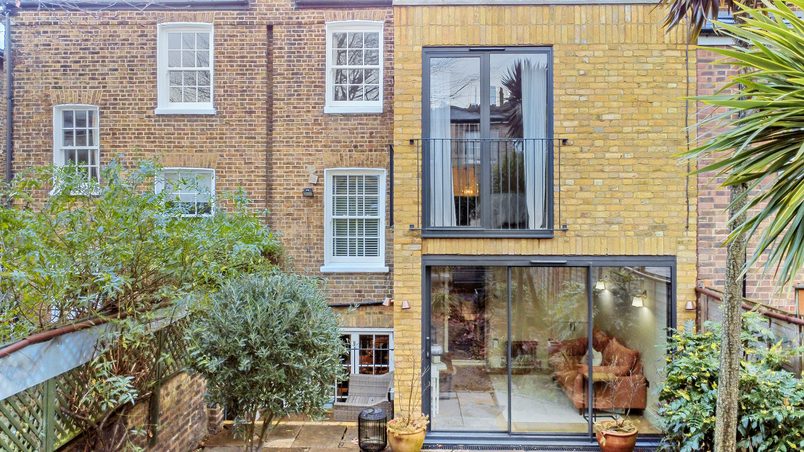
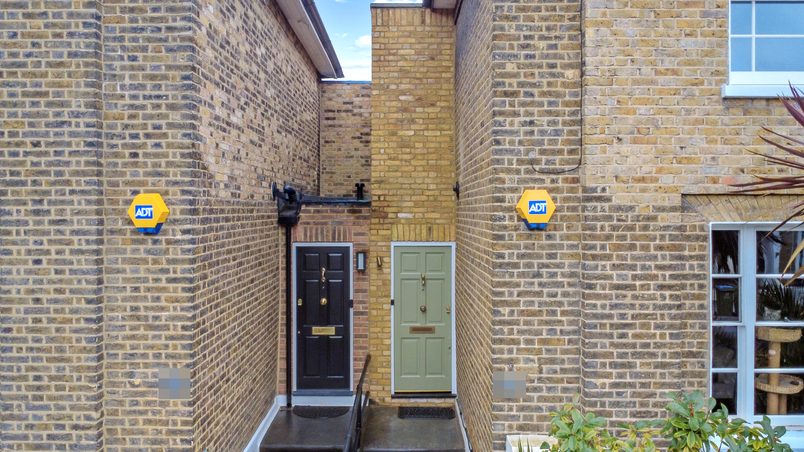
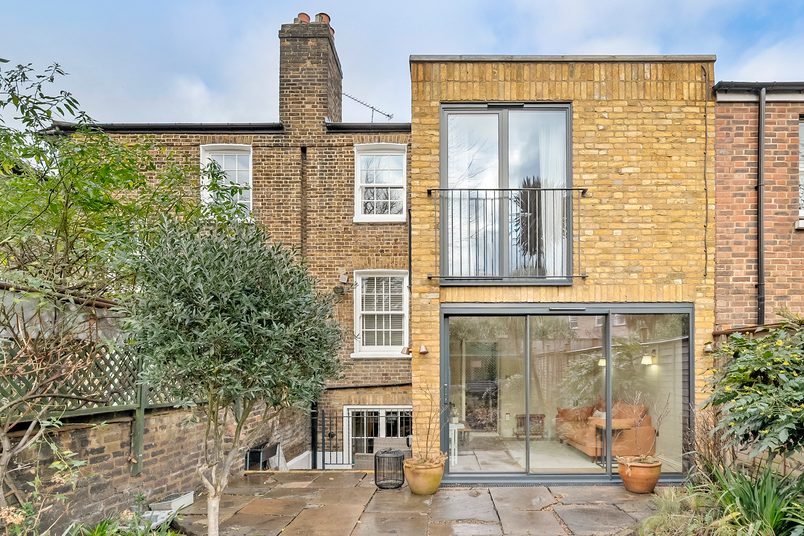
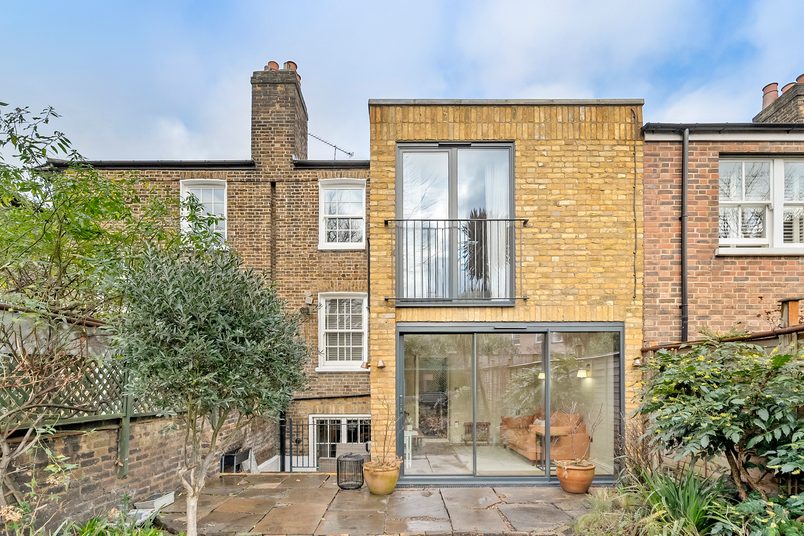
Two-storey wraparound extension in Greenwich, SE10, in pale brick, with a Juliet balcony above sliding doors to the garden.
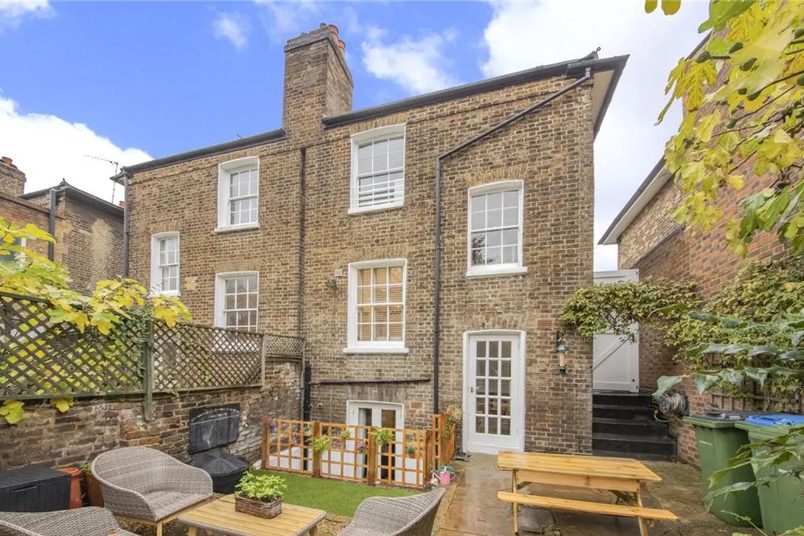
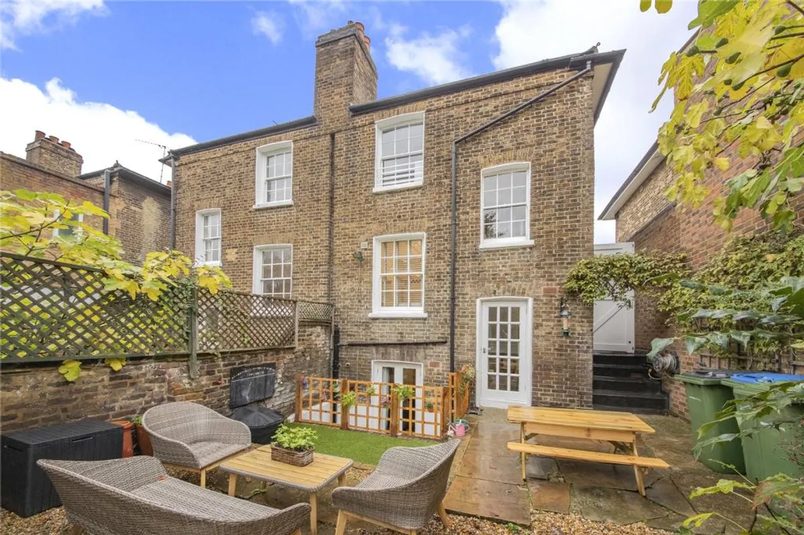
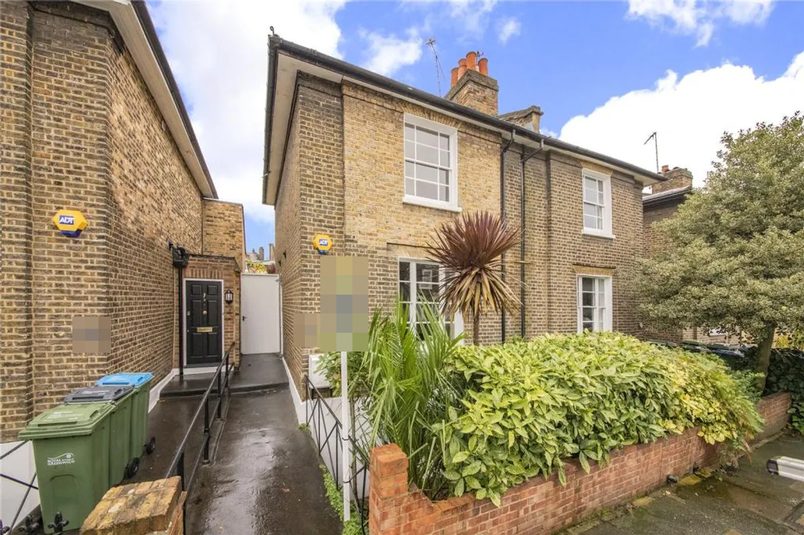
The rear of the house before the extension, with the original back door and the side access on the right.

Before

Original rooms and passage

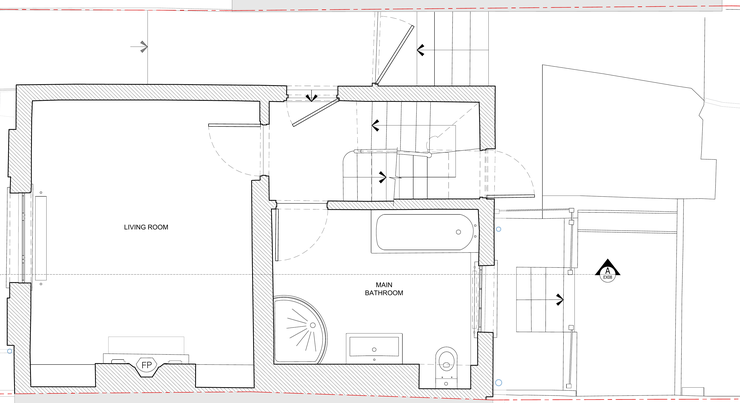
Existing ground floor plan: the living room at the front, the bathroom and stairs behind it, and the open side passage beside the house.
  1. Separate living room: The existing living room was two sets of stairs above the kitchen and dining area.
  2. Side passage: The space beside the house was outside the main living accommodation.
  3. Original rear wall: The back of the house had no additional family sitting room opening onto the garden.

After

New snug and entrance

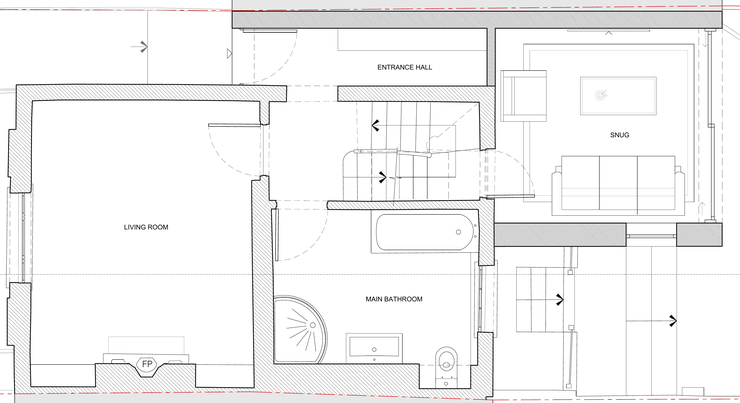
Proposed ground floor plan: a new entrance hall in the side passage and a snug at the rear, reached from the stairs, with sliding doors to the garden.
  1. New family snug: The extension added a sitting room close to the kitchen level, with sliding doors opening onto the garden.
  2. Entrance and boot room: The entrance was moved into the new side extension, with room for everyday storage.
  3. Different floor levels: The new snug and entrance meet the original house at their respective floor heights.

Design approach

Making the most of a house on several levels

Working with the different floor levels

The unusual thing about this house is how many times the floor level changes as you move through it.

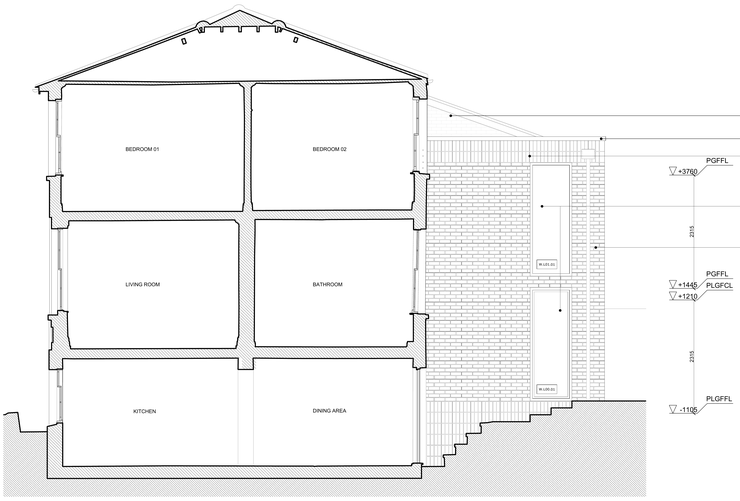
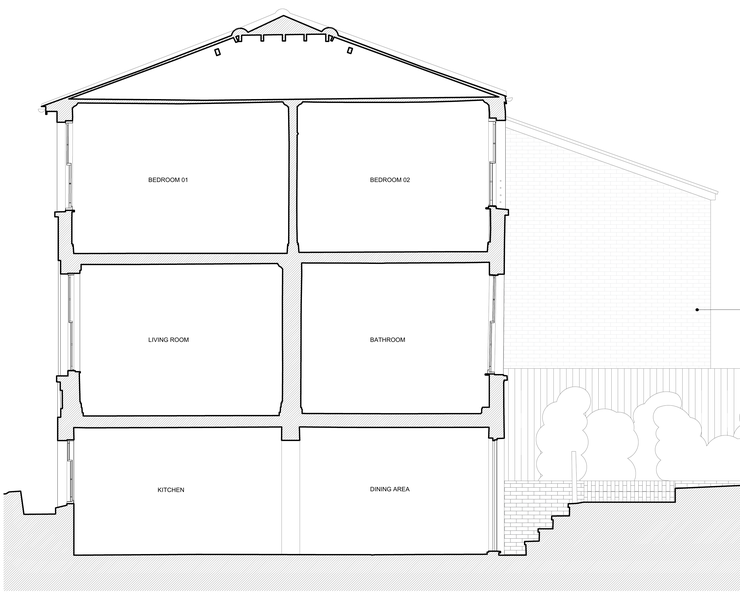
The kitchen and dining room are at the bottom. A short flight of stairs leads to the new snug, then another takes you to the entrance level and the original living room. The new bedroom sits farther up, followed by the two original bedrooms and their new shower room.

The architect designed the extension to follow these existing levels rather than trying to make the whole house sit on one or two flat floors. It meant the new rooms could connect to the house without having to rebuild the original floors.

For our team, the important part was making sure those connections ended up at exactly the right heights during construction.

Proposed section: kitchen and dining, living room and bathroom, and two bedrooms on three floors, with the extension’s snug and bedroom at half-levels.

Putting the family room closer to the kitchen

The homeowners wanted somewhere to sit and watch TV without having to go all the way up to the original living room.

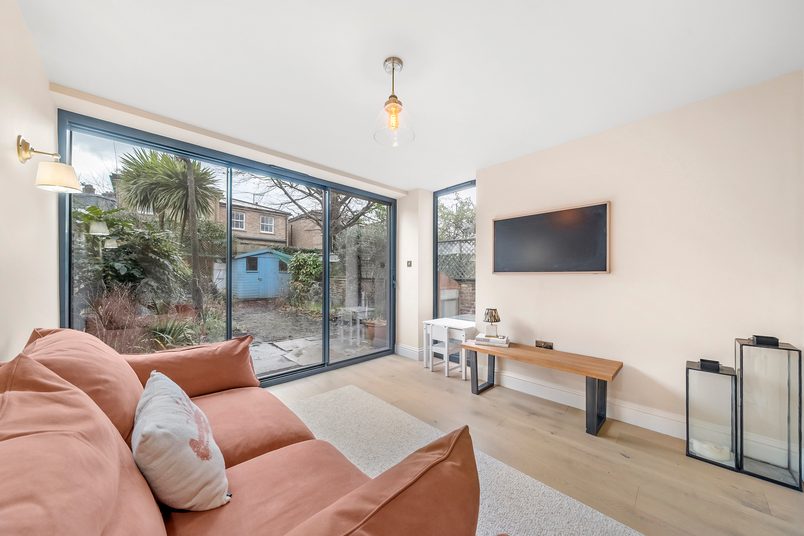
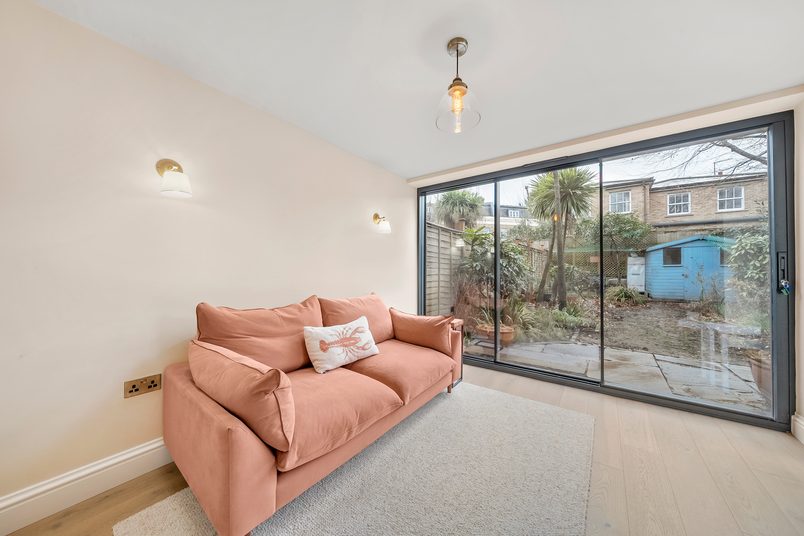
The new snug is just a short flight of stairs from the kitchen and dining area. Large sliding doors open onto the garden, with another full-height window bringing light in from the side.

The new snug, with aluminium sliding doors onto the garden, a separate full-height side window and a TV on the wall.

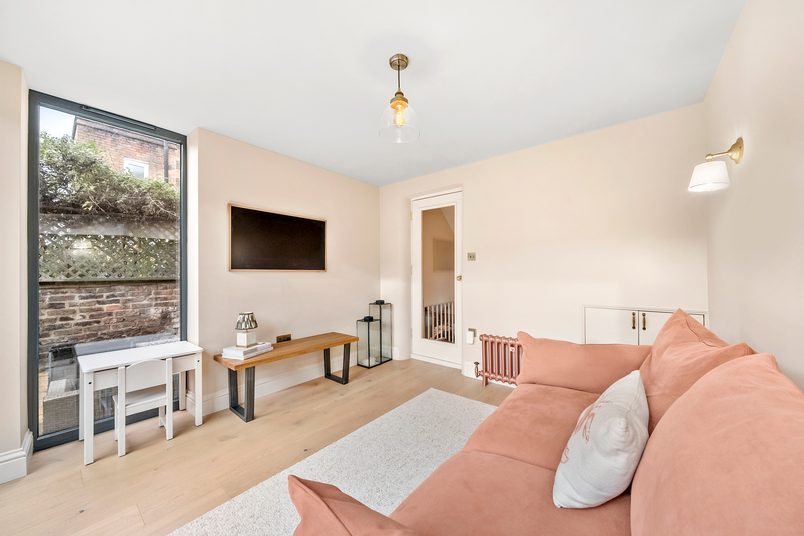
There was also an awkward low space beneath part of the new entrance floor above. Rather than close it off, we built storage behind small cupboard doors, giving the family somewhere to keep things without taking up more of the snug.

The snug’s TV wall and side window, with a column radiator, low built-in storage doors and the glazed door to the stairs.

Adding a bedroom without darkening the landing

The new third bedroom sits between the entrance level and the two original bedrooms.

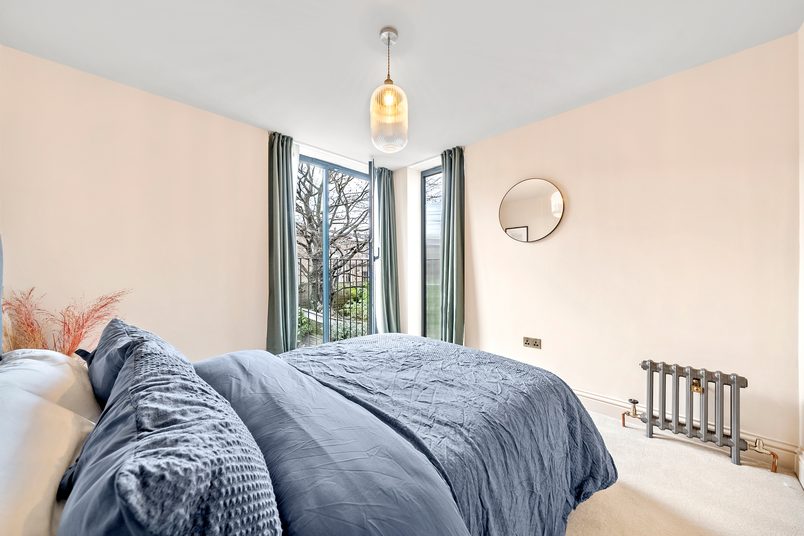
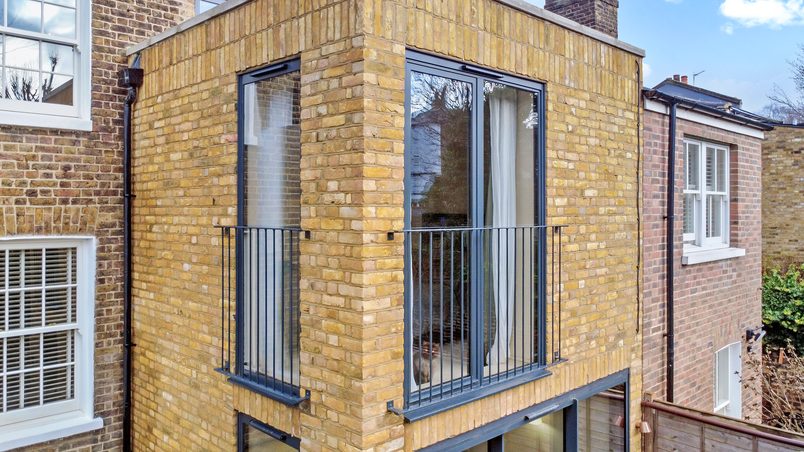
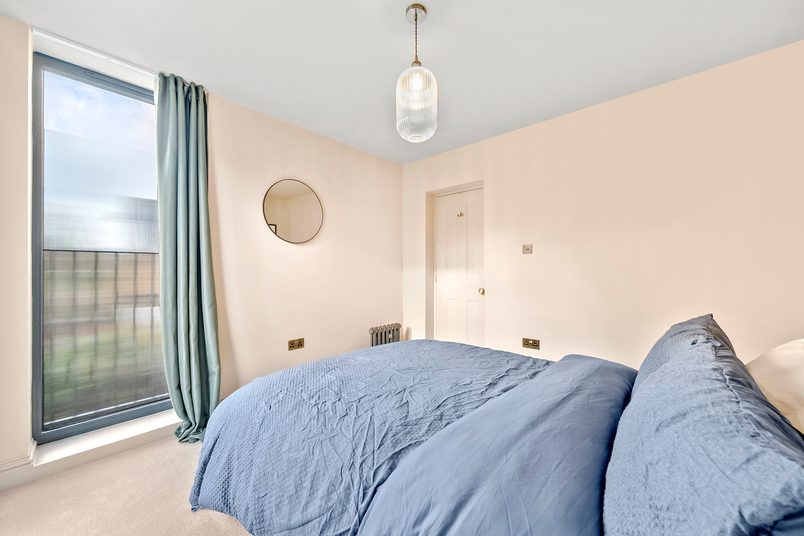
It has full-height glazing on two sides: a fixed window to the side and an opening rear window with a Juliet balcony. The two openings are separated by brickwork rather than forming one continuous glass corner.

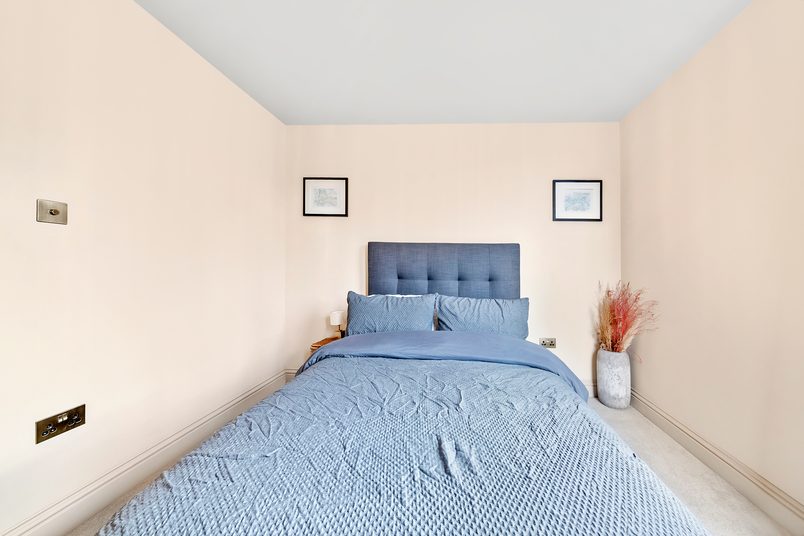
The new third bedroom, with two full-height windows separated by brickwork; the rear one opens onto a Juliet balcony.

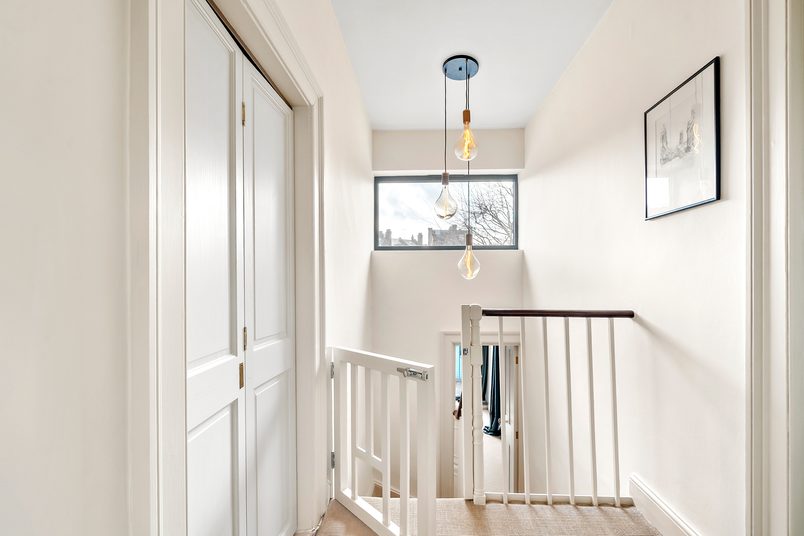
But creating the doorway into the bedroom meant removing the window that had previously brought daylight onto the upper landing.

The design solved this by adding another window higher up, above the rear extension. That way, the family gained a bedroom without leaving the stairwell dark.

The upstairs landing, lit by the new high-level window above the rear extension.

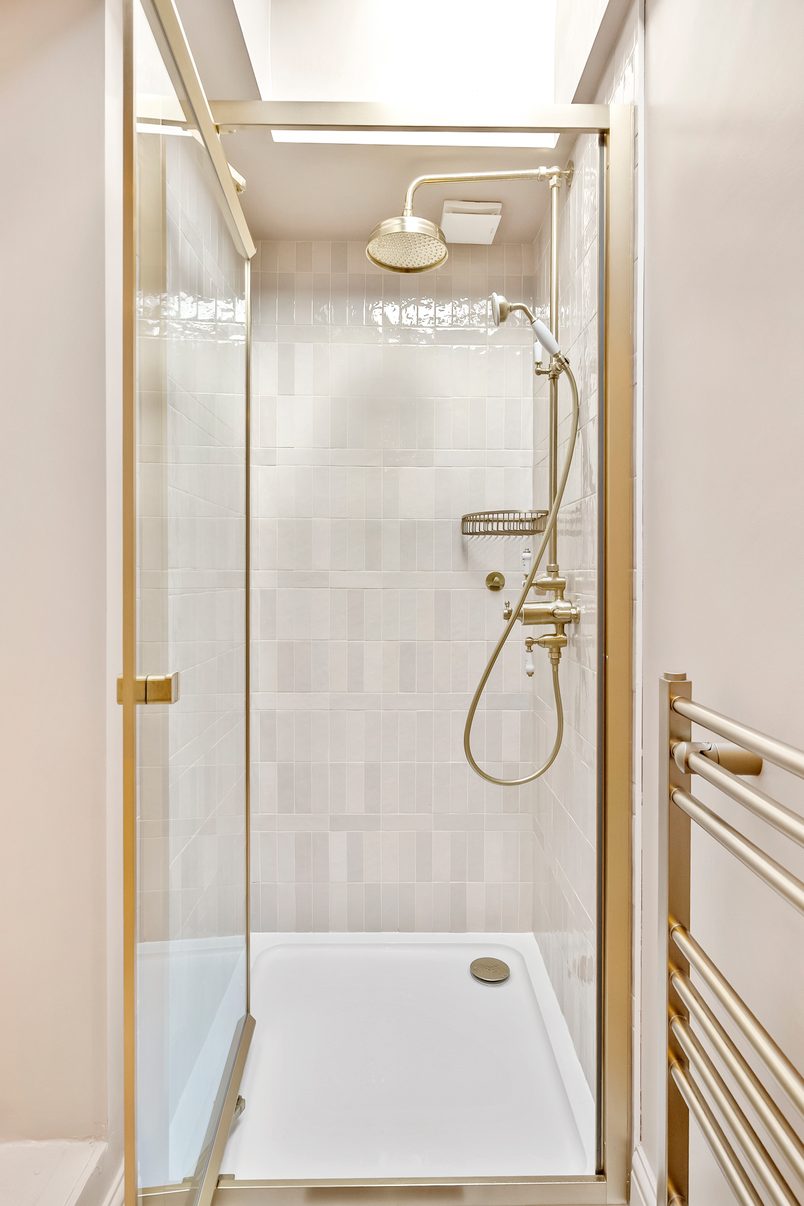
A shower room on the bedroom floor

Before the extension, the family had to go downstairs to use the bathroom.

The new shower room sits on the same level as the two original bedrooms. Its drainage was arranged to connect into the existing system without having to reroute the pipework through large parts of the house.

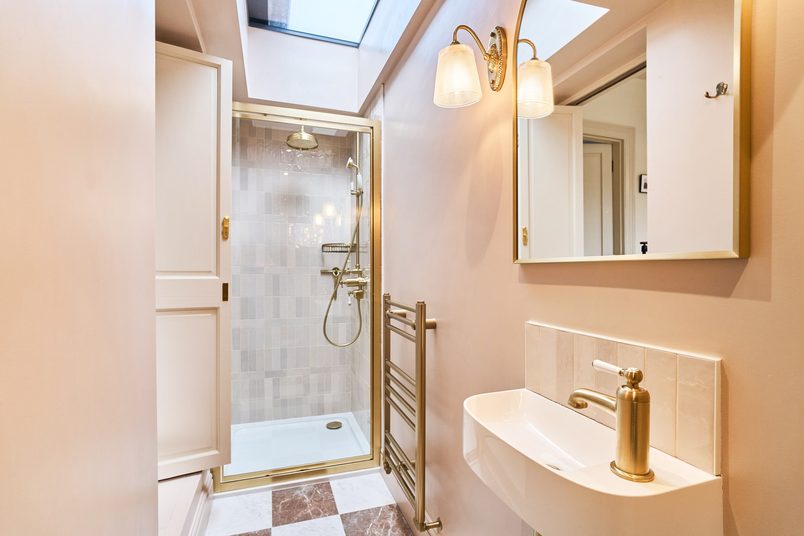
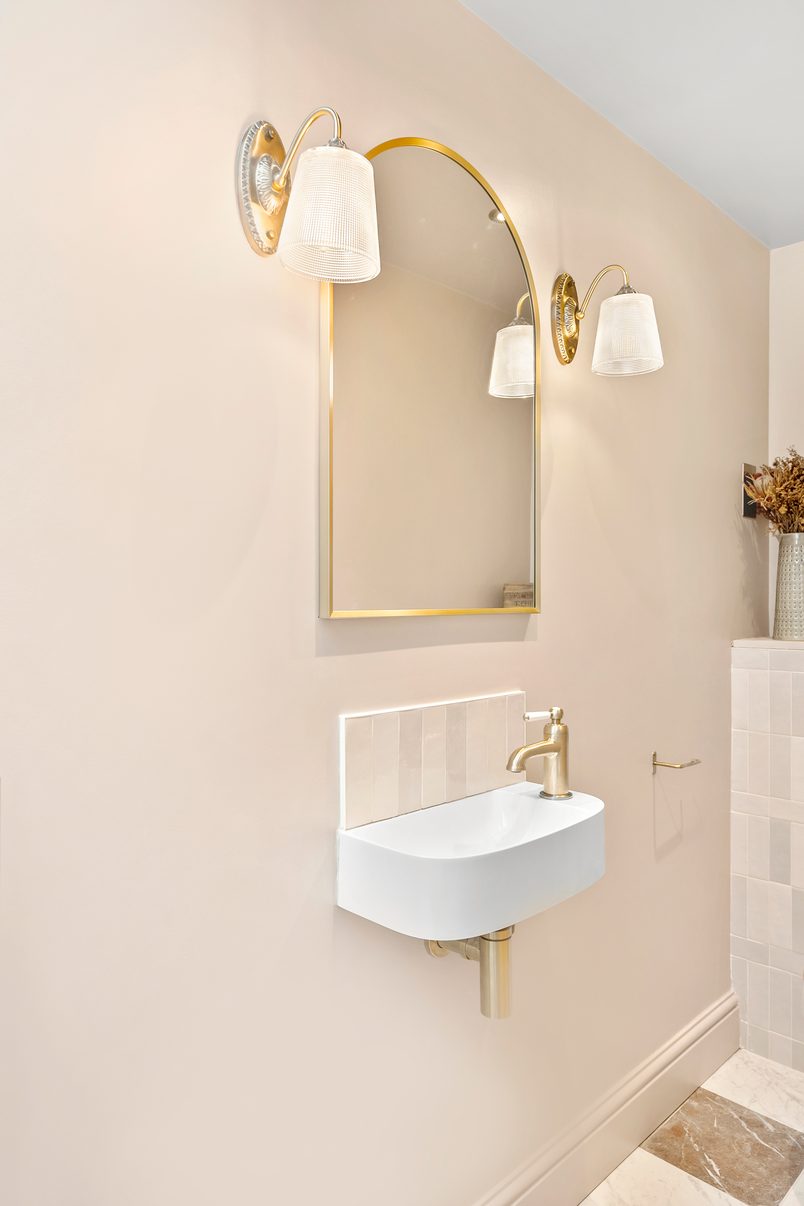
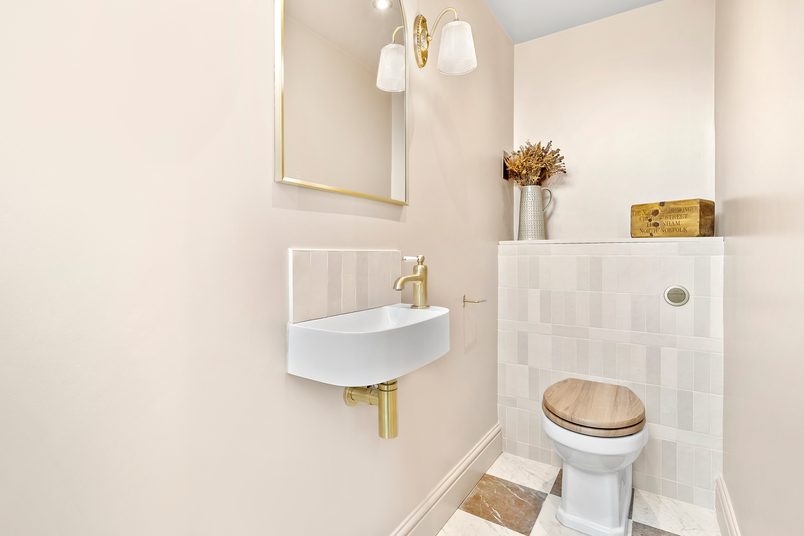
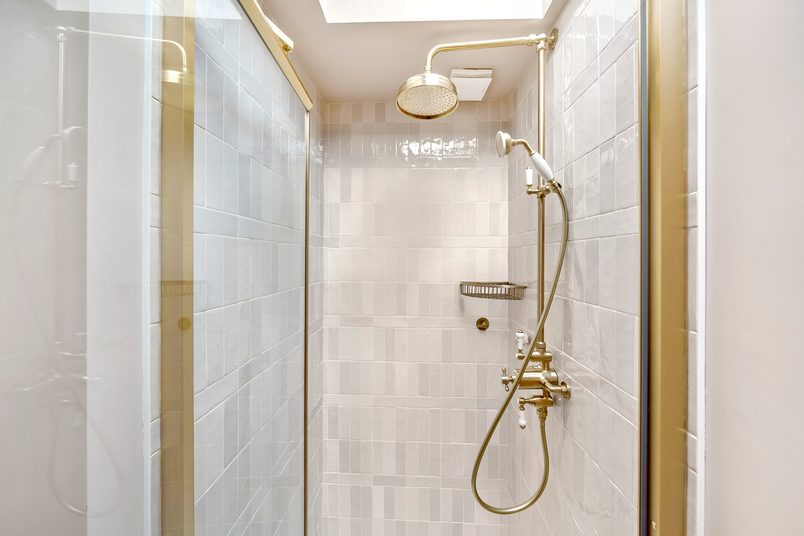
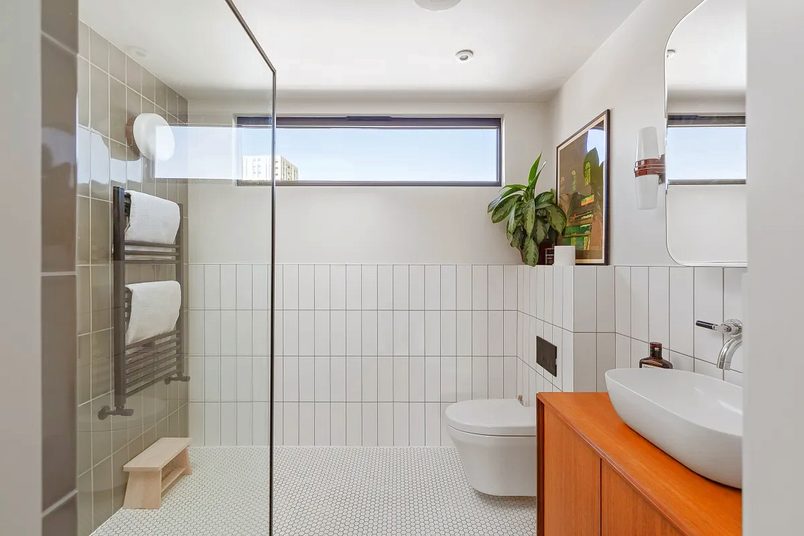
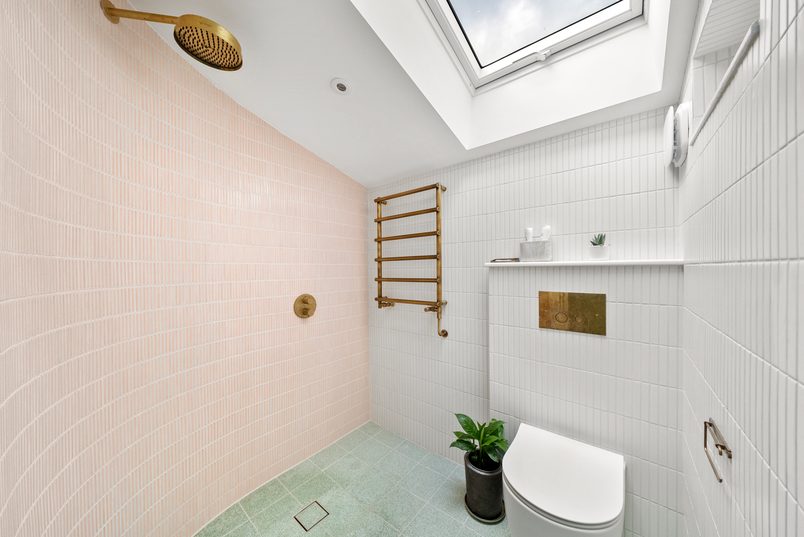
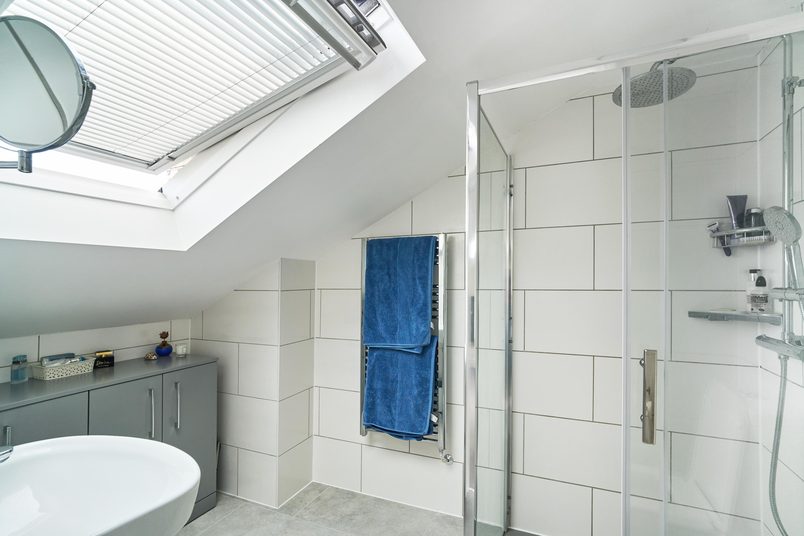
The homeowners chose the tiles and brass fittings, while we carried out the installation. A rooflight above the shower brings natural light into the room, and a heated towel rail connects to the existing central heating.

The new upstairs shower room, with a rooflight above the shower, brass fittings, a heated towel rail and a wall-hung basin.

Why the new brickwork is different

The original rear wall had weathered over many years, and the homeowners didn’t want the extension to look like an artificial copy of it.

We showed them several brick options, and they chose the lighter brick used on the finished extension. They also upgraded to weathered pointing, which gives the mortar joints a more traditional appearance.

The new bricks stand apart from the older house, but the colour and detailing were chosen to sit alongside the original brickwork rather than imitate its age.

Close view of the extension’s pale brick beside the original weathered brick, with the bedroom’s two full-height windows and railings.

The build

Building across different floor levels

Getting the new floors to meet the old ones

One of the more demanding parts of this job was making sure each new floor met the existing house at the correct height.

The new bedroom floor needed to line up with the landing, while the shower room had to meet the original upper floor. On a house with so many changes in level, a small mistake when setting out one floor could cause problems farther up.

We took measurements directly from the existing building and, where necessary, drilled small reference holes through the adjoining structure to check the heights from one room to another.

Once those positions were established, the new floors could be built to meet the old ones.

Finding the sewer in a different position

The structural drawings showed a Thames Water sewer running beneath part of the proposed extension.

The foundations had already been designed to avoid loading the pipe. Instead of building directly on top of it, the design included a bridge over the sewer, with the foundations stopping clear of the pipe on either side.

When we excavated, we found that the actual sewer ran along a different line from the one shown on the drawings.

The original engineering approach was still suitable, but the crossing had to be moved to match the pipe’s actual position.

We checked the revised arrangement with the Building Control surveyor and waited for it to be accepted before continuing with the foundations.

There wasn’t a need to redesign the whole extension. It was a matter of adapting the foundation detail to what was actually in the ground.

Building the structure and coordinating the windows

The extension needed a structural steel frame to support the new rooms and the large openings at the rear.

Our team installs steelwork regularly, so this wasn’t one of the difficult parts of the project. The more important issue was making sure the structure was ready for the glazing supplied by the homeowners’ specialist contractor.

The glazing company had been appointed before we joined the project. We coordinated the sizes and positions of the openings with them so their windows and doors would fit once the structure was finished.

That included the sliding doors in the snug, the separate full-height bedroom windows, the new landing window and the rooflight above the shower.

Living in the house with a toddler and two cats

The homeowners stayed in the property throughout the work with their toddler and two cats.

That was possible largely because the existing kitchen and bathrooms were being kept. They could still cook, wash and use the occupied parts of the house while we worked on the extension.

The most disruptive days came when the new rooms had to be connected to the existing house. Before opening up the walls, we let the homeowners know what to expect and separated the work areas to help keep dust away from the rooms they were using.

They could then decide whether to be out of the house while those openings were made and secured.

The homeowners later mentioned how considerate the team had been around their child and pets, and how the site was kept tidy and safe throughout.

Completing the rooms

The new snug and bedroom were connected to the existing heating system, with traditional column radiators fitted in both rooms.

The homeowners supplied their own flooring, tiles and bathroom fittings, which we installed. Decorating and finished flooring were also added to our agreed scope as the project progressed.

Rather than handing over the new rooms with those finishing jobs still outstanding, we completed the additional work so the family could use the spaces straight away.

The main construction work took 13 weeks, with final snagging dealt with afterwards.

Planning & approvals

What needed approval

Planning permission

Full planning permission granted

The homeowners appointed their own architect, and the proposed two-storey side and rear extension received planning permission from the Royal Borough of Greenwich.

Party Wall

A formal Party Wall Award was agreed

The extension involved building alongside the neighbouring property.

A formal Party Wall Award was in place for the affected neighbour, and we carried out the relevant boundary-side work in accordance with its requirements.

Building Control

Final Building Control sign-off achieved

The homeowners appointed Assure Building Control independently.

We worked directly with their surveyor during the build, including when the foundation detail needed adjusting around the Thames Water sewer.

The project received final Building Control sign-off.

What is planning permission?

Planning permission is approval from the local council for certain changes to a home, such as an extension. The council looks at the proposed plans before deciding whether the work can go ahead.

What is a Party Wall Award?

Some building work near a neighbouring property falls under the Party Wall process.

When the relevant notices have been served and an agreement cannot simply proceed through written consent, appointed surveyors may prepare a Party Wall Award.

The award records matters such as the work being undertaken, how it should proceed and measures to protect the neighbouring property.

Read our Party Wall guide →

What does Building Control do?

Building Control checks that construction work complies with the relevant Building Regulations.

For an extension, inspections can cover foundations, structural elements, insulation, drainage and other parts of the work.

It’s separate from planning permission.

Costs today

What would a similar extension cost?

£161,000+

Two-storey wraparound extension · Includes VAT

What the base price covers

The starting price covers the core building work for this type of extension, including the standard groundworks, structure, roof, insulation, services and plastering set out in our base-build specification.

It doesn’t include every finish you see in the photographs. The homeowners chose their own glazing, flooring and bathroom fittings, and some of the finishing work was added to our scope once construction was underway.

What this home added

The extension included a new snug, third bedroom, upstairs shower room and entrance area, with storage built into the space beneath the entrance floor.

The homeowners also chose full-height aluminium glazing, a Juliet balcony, a rooflight and a lighter brick finish with upgraded pointing. They supplied their own flooring, tiles and sanitaryware, while decorating and finished flooring were agreed as additional work during the project.

What’s included?

Two-storey wraparound extension

Typically £161,000+ including VAT

This starting price is based on a full double-storey wraparound, adding approximately 28m² at ground-floor level and another 28m² upstairs.

It includes the construction and finishing work on both floors, with a flat roof above the new first-floor space.

What’s included

What isn’t included?

An upstairs bathroom or shower room isn’t included as standard. Its plumbing, drainage, fittings, tiling and installation are priced separately.

A new staircase, additional doors or windows, rooflights, finished flooring and decorating are also separate unless included in your quotation.

Kitchen units, appliances, kitchen fitting, specialist sliding or bifold doors and underfloor heating aren’t automatically included.

Architectural drawings, structural engineering, planning, Building Control and Party Wall fees aren’t automatically included in the headline construction price.

What can change the price?

Access

No rear access or a narrow side passage means materials and waste move by hand.

Ground

Clay soil, nearby trees or poor ground can need deeper foundations.

Drains

Building over or near a public sewer may need diverting or an agreement.

Opening up

Removing load-bearing walls needs larger steels and more structural work.

The existing house

Old wiring, damp or problems found once walls are opened.

Party walls

Surveyor fees and any work needed to protect next door.

Key takeaways

Key takeaways

An extension can solve problems elsewhere in the house

The family already had a living room, but it was too far from the kitchen to be useful during much of the day.

The extension didn’t need to replace that room. It gave them a smaller sitting room closer to the kitchen, while the original living room remained where it was.

When you’re deciding what to extend, it’s worth thinking about which rooms you actually use and whether their position in the house is part of the problem.

Think about the light you’re taking away

The doorway into the new bedroom went where the original landing window had been.

Without another source of daylight, the change would have left the upper landing darker.

It’s easy to concentrate on the windows in a new extension, but changing existing walls and doorways can also affect the light in neighbouring rooms.

Underground services can affect the foundations

The Thames Water sewer wasn’t in the position shown on the structural drawings.

The foundation design had allowed for the sewer, but the crossing still needed adjusting once the pipe was exposed.

If you’re extending over or near an existing sewer, it’s worth establishing where it runs as early as possible. The answer can affect the foundation design and the work required on site.

Staying at home depends on what you’re keeping usable

This family could remain in the house because their kitchen and existing bathrooms stayed available during the build.

That won’t be possible on every extension, particularly if the work involves removing the kitchen or rebuilding the only bathroom.

Before construction starts, agree which parts of the house you can keep using, when the new extension will be opened into the existing rooms and what arrangements will be needed on the more disruptive days.

Sam’s full Trustpilot review

Eddie led our two story side and rear extension in Greenwich between May-Nov 2025, comprising a snug bedroom entrance and shower room.

Very happy with the results, the team were considerate whilst on site and were able to agree any out of scope items quickly.

Would certainly recommend

Sam Otterburn Trustpilot review · · October 2026

See the transformation

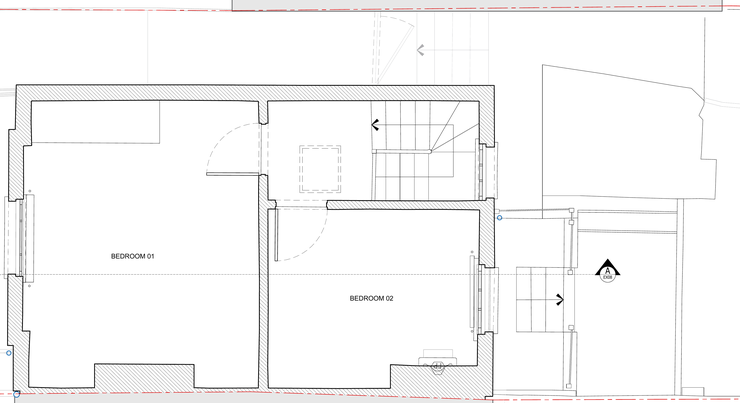
The rear of the house before the extension, with the original back door and the side access on the right.The front of the house before the work, with the gated side access beside the neighbouring house.Existing ground floor plan: the living room at the front, the bathroom and stairs behind it, and the open side passage beside the house.Existing first floor plan: two bedrooms and the stair landing, with no bathroom on this floor.Existing section through the house: the kitchen and dining area at the bottom, the living room and bathroom above, and the two bedrooms at the top.

Ready to get a clear plan for your project?

Get a realistic picture of what’s possible for your home, likely costs, timings, planning requirements and what the project would involve.

You’ll speak with Eddie

Managing Director

Delivered this project

Expert advice · No obligation

Keep exploring

See more transformations

Side-return extension Side-return extension kitchen in Lewisham, SE6, with a grey island, butler sink, brass pendants and roof windows

Lewisham, SE6 · mid-terrace

An open-plan ground floor to reconnect a family.

Whoever was cooking was often cut off from the rest of the family. Opening up the kitchen, dining room and side return brought everyone together.

Est. cost
£74,000+
Time taken
12 weeks
Added area
11 sqm
Read the case study: An open-plan ground floor to reconnect a family.
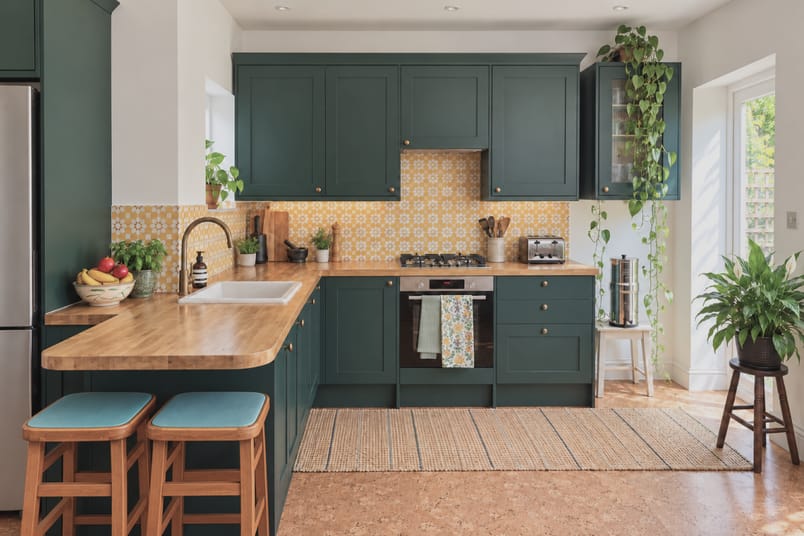
Side-return extension Side-return extension kitchen in Clapton, E5, with dark green units, a wood-topped peninsula with two stools and a yellow splashback.

Clapton, E5 · multi-floor FLAT

Moving a kitchen upstairs to create a family hub.

This family’s flat had limited space to begin with, and they needed their kitchen closer to the main living space and a bigger family bathroom.

Est. cost
£74,000+
TIME TAKEN
12 weeks
ADDED AREA
6 sqm
Read the case study: Moving a kitchen upstairs to create a family hub.
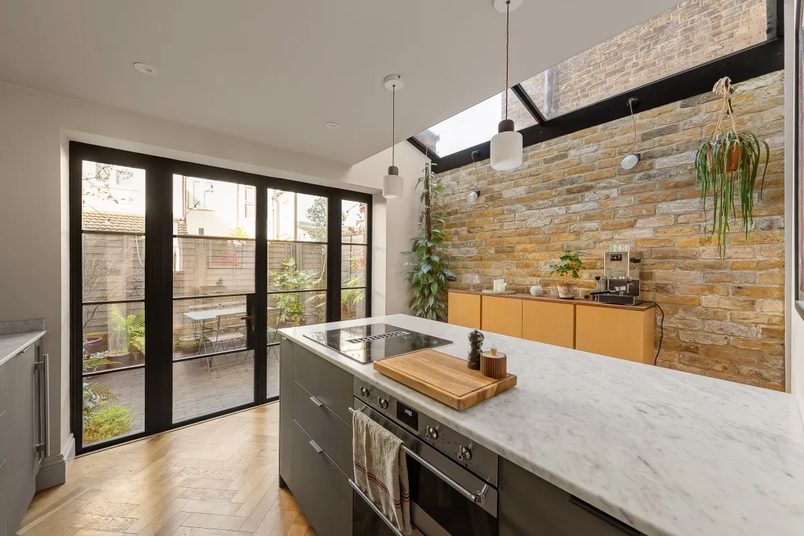
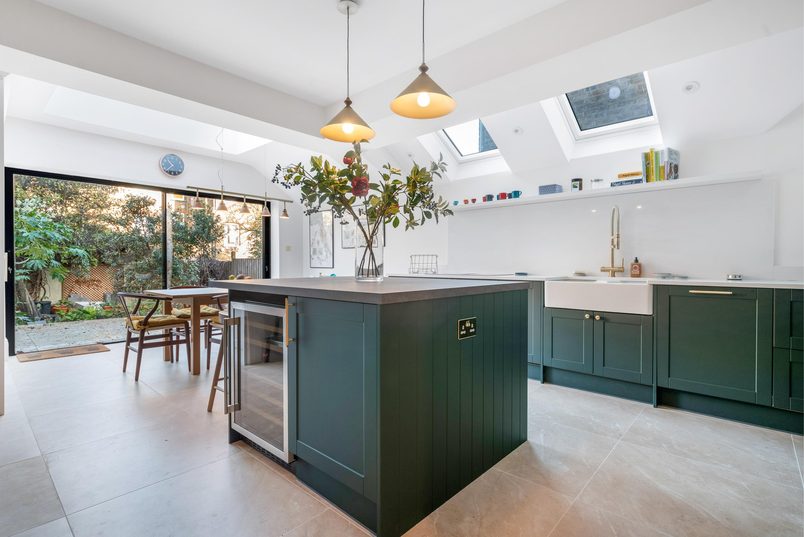
Side-return extension Completed side-return kitchen extension in Greenwich, SE10, with a central island, pitched glass roof and exposed brick wall.

Greenwich, SE10 · mid-terrace

Reworking the ground floor around a wider kitchen.

A side-return extension gave this narrow kitchen enough width for a central island, with a glass roof bringing daylight into the new space.
Est. cost
£74,000+
Time taken
12 weeks
Added area
5 sqm
Read the case study: Reworking the ground floor around a wider kitchen.
Wraparound extension Wraparound kitchen extension in Haringey, N4 with a dark green island, pendant lights, roof windows and sliding garden doors.

Haringey, N4 · mid-terrace

A kitchen big enough for family and friends.

The separate dining room rarely got used. We made space to eat in the extended kitchen, freeing up the old room for a playroom.

Est. cost
£117,000+
Time taken
16 weeks
Added area
19 sqm
Read the case study: A kitchen big enough for family and friends.
Wraparound extension Navy kitchen island looking towards the living area and garden doors in a wraparound extension in Lewisham, SE13.

Lewisham, SE13 · mid-terrace

Turning a small kitchen into an open-plan family hub.

The homeowners had a young baby and a small kitchen cut off from the rooms around it. This extension gave them a hub to cook, eat, relax & play together.

Est. cost
£117,000+
Time taken
11 weeks
Added area
14 sqm
Read the case study: Turning a small kitchen into an open-plan family hub.
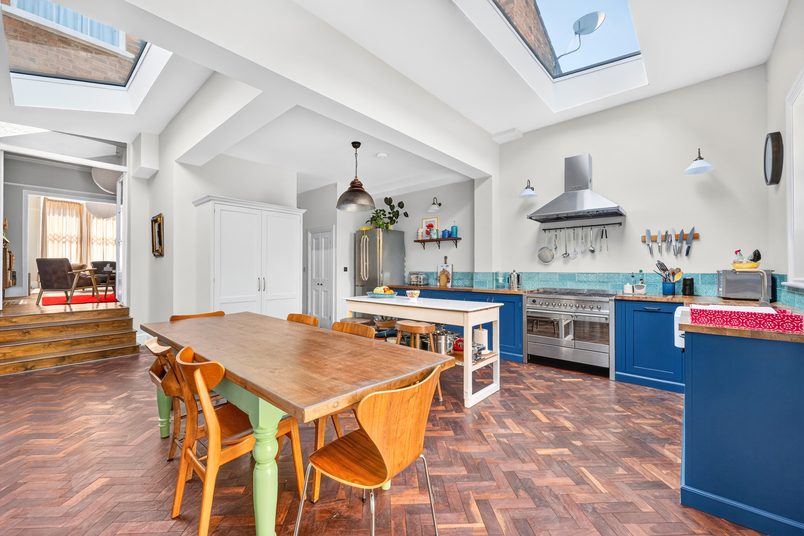
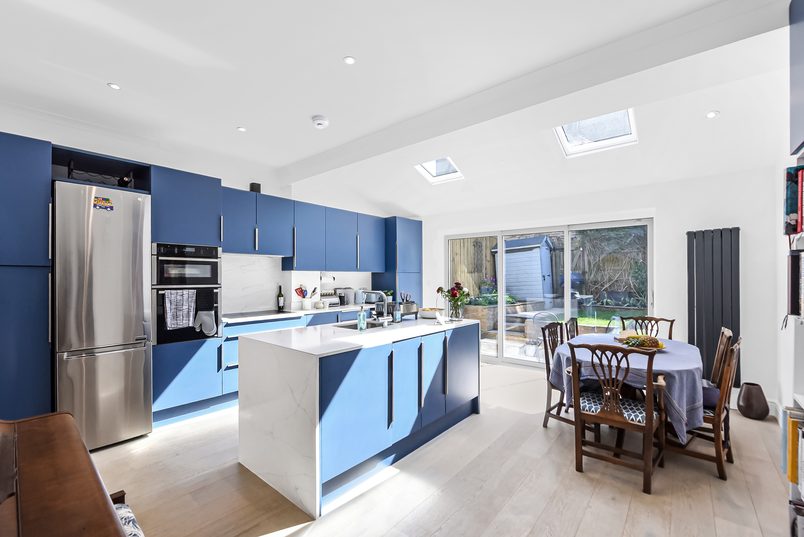
Rear extension Rear extension kitchen-diner in East Finchley, N2, with blue cabinets, a central island, rooflights and sliding garden doors.

East Finchley, N2 · Mid-terrace

An open-plan kitchen-diner to reconnect a family.

Whoever was cooking was often cut off from the rest of the family. We opened up the kitchen to the dining room, bringing everyone together.

Est. cost
£80,000+
Time taken
12 weeks
Added area
12 sqm
Read the case study: An open-plan kitchen-diner to reconnect a family.
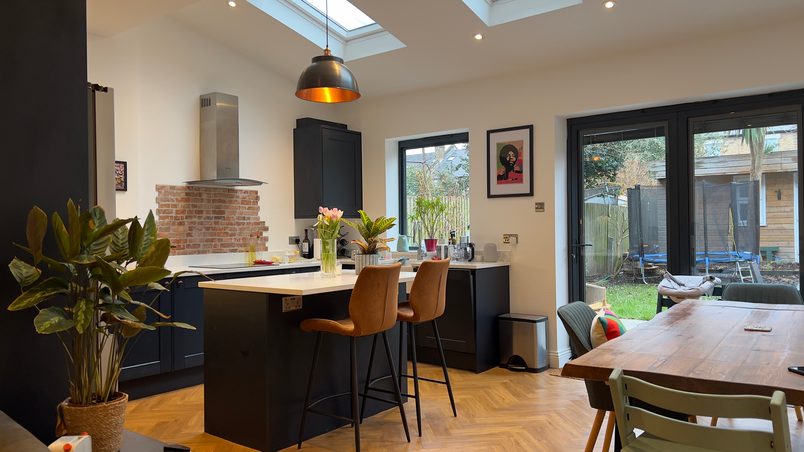
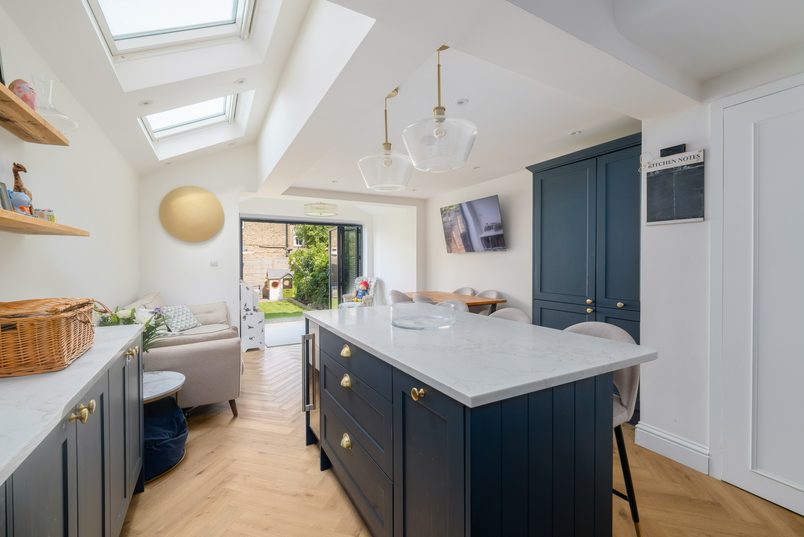
Rear extension Open-plan rear extension kitchen in Lewisham, SE4, with a dark-blue island, a dining table, rooflights and bifold doors.

Lewisham, SE4 · mid-terrace

An open-plan kitchen & living space for a growing family.

The kitchen and dining room were too cramped for family life. We extended the rear and opened them up into one space for cooking, eating and relaxing.
Est. cost
£80,000+
Time taken
13 weeks
Added area
21 sqm
Read the case study: An open-plan kitchen & living space for a growing family.

What is a rooflight?

A rooflight is a window fitted into the roof to bring natural daylight into the room below.

Unlike a conventional wall window, it allows light to enter from above.

Rooflights can be particularly useful in extensions where adjoining buildings limit the number or position of external windows.

What is a Juliet balcony?

A Juliet balcony is a guard rail fitted across a full-height opening on an upper floor. It allows a large window or door to open safely without building a balcony platform you can stand on.

In this home, the Juliet balcony sits outside the new bedroom’s rear-facing glazed opening.

What is weathered pointing?

Pointing is the mortar finish between bricks.

Weathered pointing uses an angled joint, with the upper edge set farther back than the lower edge. It gives the brickwork a more traditional appearance and helps rainwater run away from the joint.

Here, the homeowners chose it instead of our standard mortar finish.

How do foundations cross a sewer?

When a sewer crosses the line of a new wall, the foundations may need to stop clear of the pipe.

A structural bridging detail carries the wall across the gap without placing the building’s weight directly onto the sewer.

On this project, the crossing had to be repositioned after the actual sewer was exposed during excavation.

What is a structural steel frame?

A structural steel frame is a set of steel beams and columns that carries weight from the parts of the building above.

It can allow larger openings for doors and windows without needing a full supporting wall beneath them.

Here, the frame supports the extension around the large rear glazing.