Two loft bedrooms to make space for a growing family.
The homeowners had already renovated much of their house, but one child’s bedroom was still beside the office and dining areas. We built a new floor for the parents and youngest child, with two bedrooms and a shower room, freeing the former main bedroom for their other child.
Space created
Two bedrooms and a shower room
Est. cost (inc. VAT)
£98,000+
Time taken
14 weeks
Added area
34 sqm
Project type
L-shaped dormer loft conversion
Planning route
Permitted development +
lawful development certificate
The transformation
How the home changed
The family had already renovated much of the house, particularly the kitchen and living spaces downstairs. The problem now was where everyone slept. One child was still in a small bedroom beside the office and dining area, where evening noise and movement weren’t ideal for bedtime.
The loft gave us a way to rearrange the bedrooms without changing the spaces they’d already renovated. We built a bedroom for the parents and another for their youngest child, with a shower room on the same floor. Their other child could move into the parents’ former bedroom on the first floor, and the small room downstairs was no longer needed for sleeping.
After
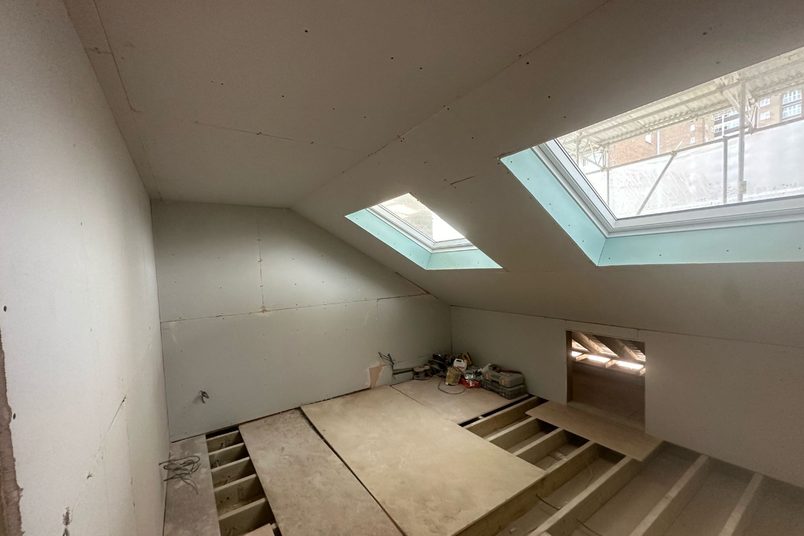
During
Before
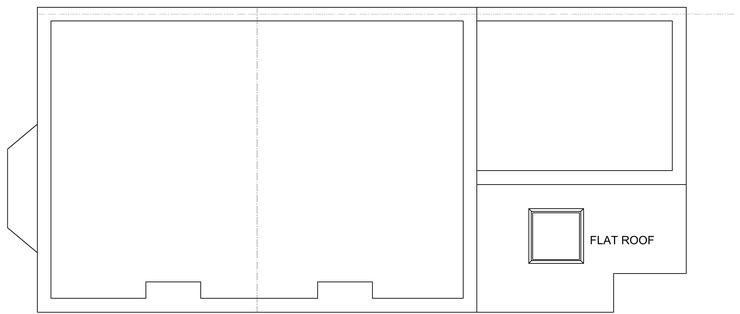
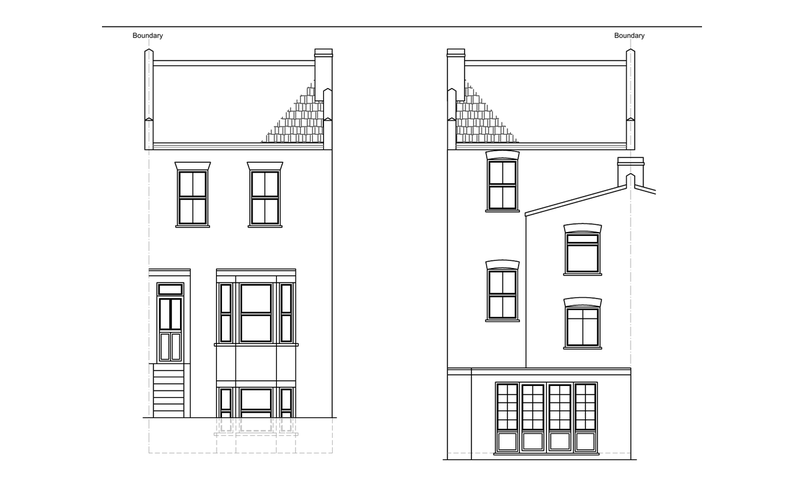
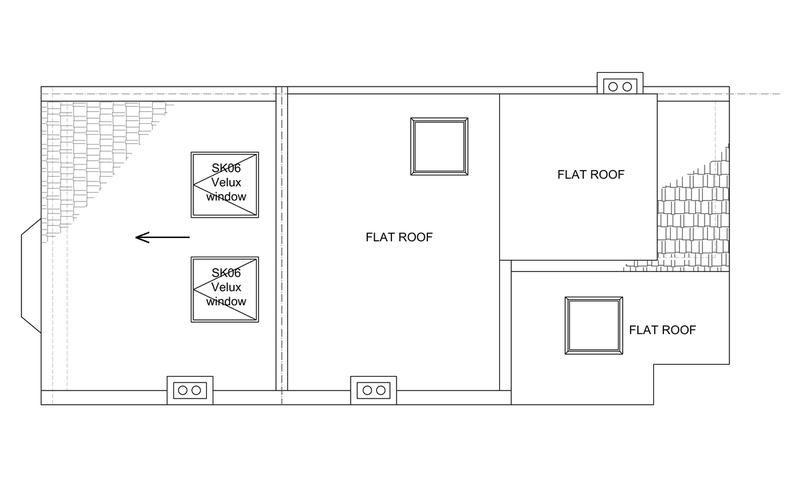
Unconverted roof space
12
1The original loft: The space beneath the main pitched roof had too little standing height to become comfortable bedrooms without changing the floor and ceiling levels.
2Lower rear roof: The rear section of the house had a separate, lower roof. This difference in height would need to be accounted for when connecting the new rooms.
After
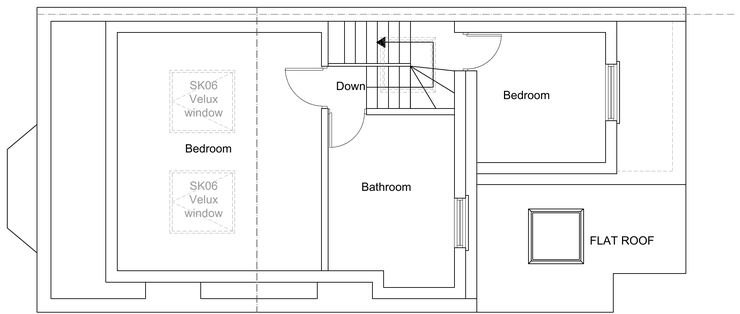
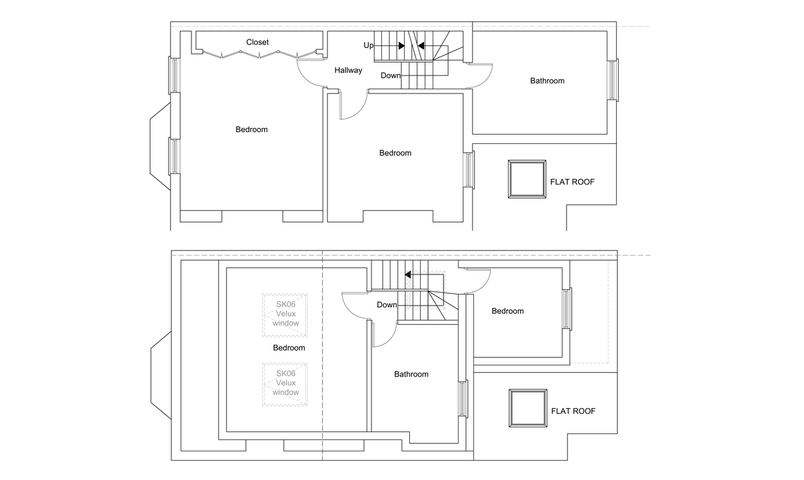
Two bedrooms and shower
1234
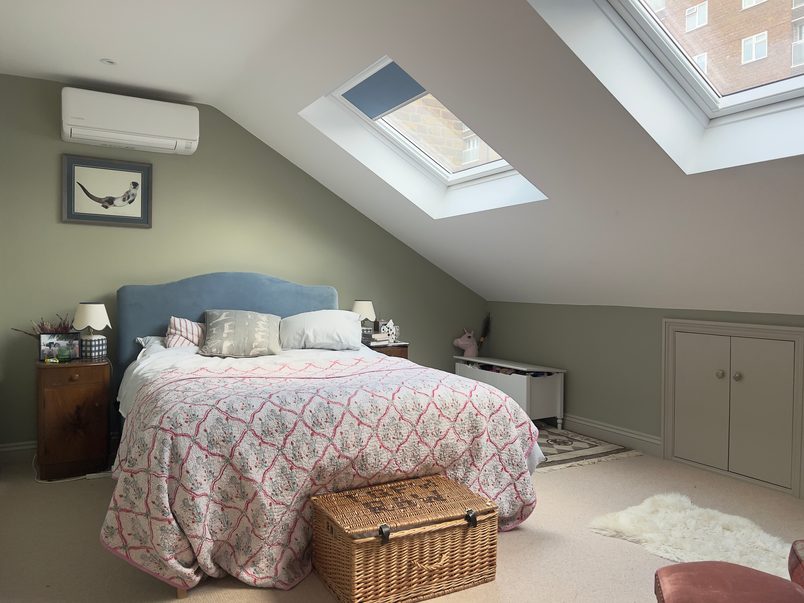
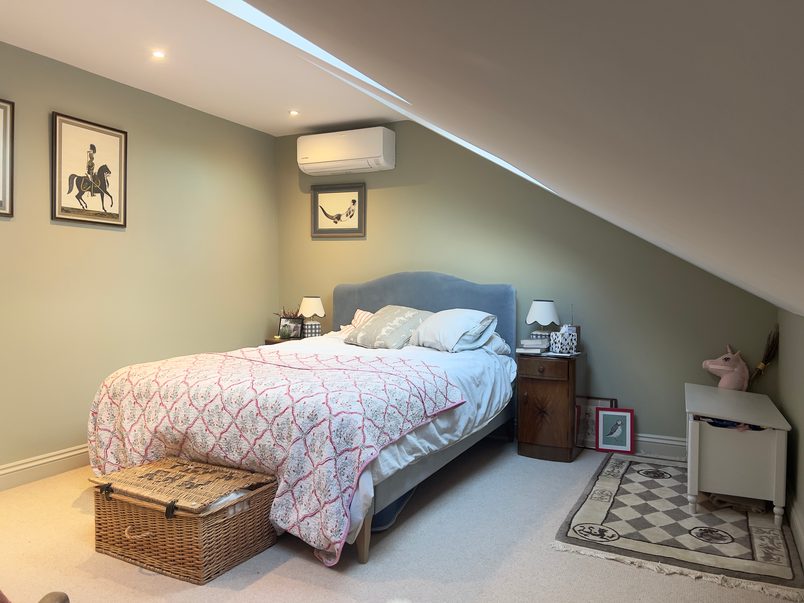
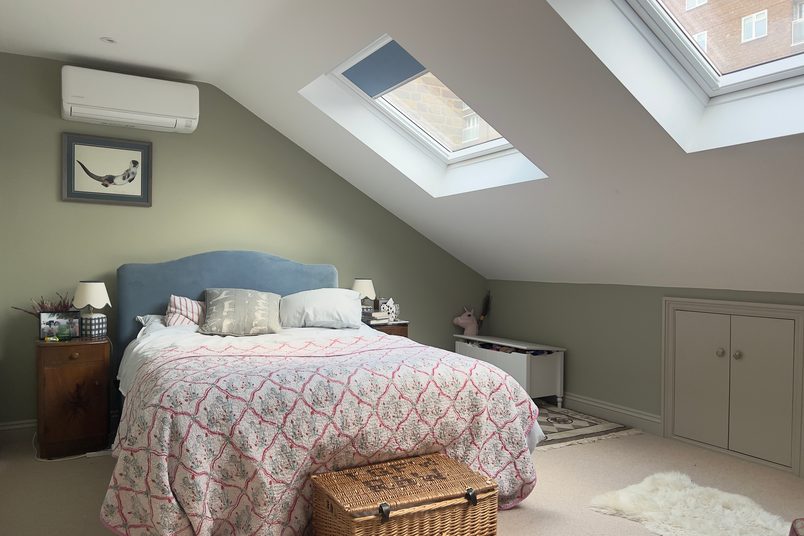
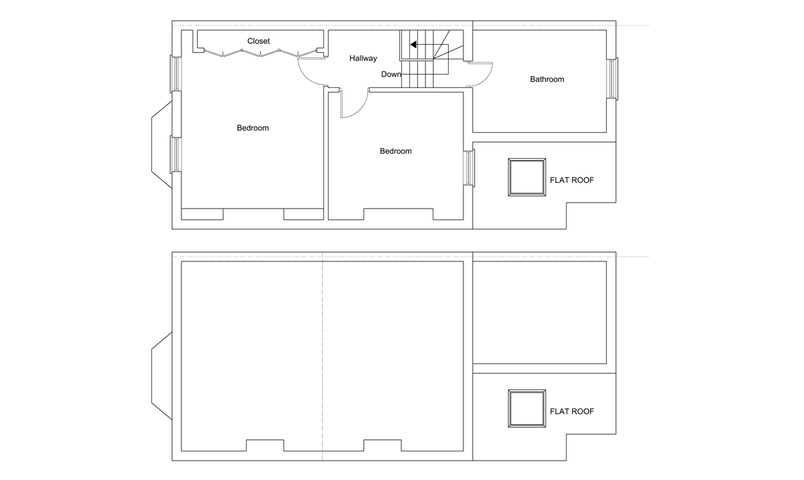
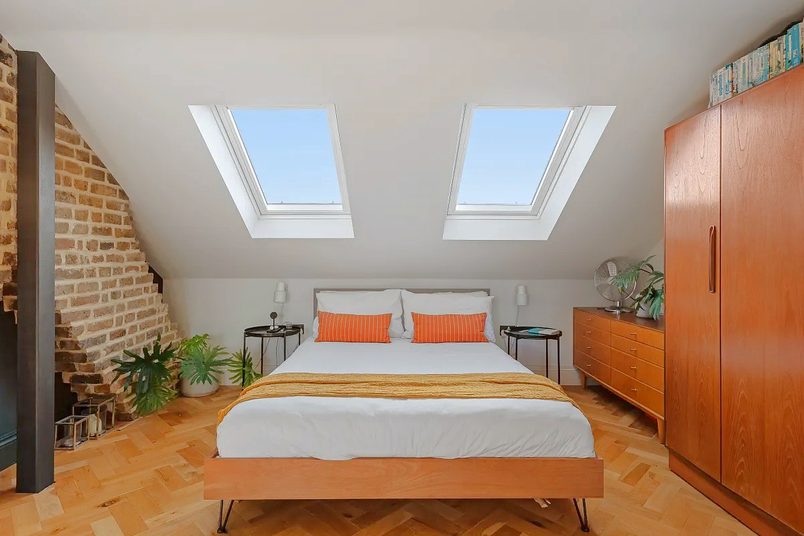
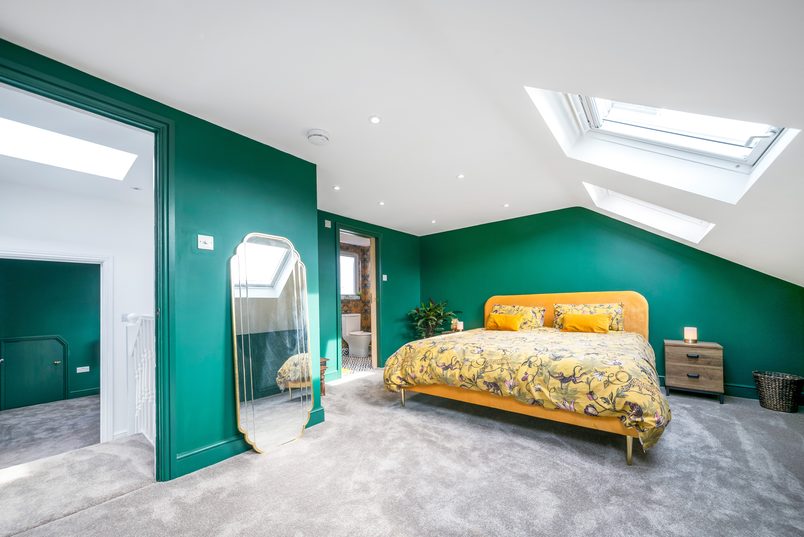
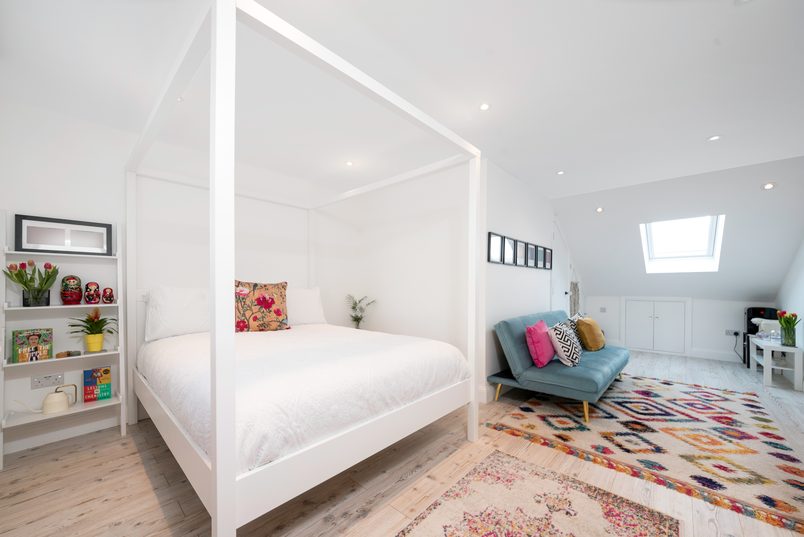
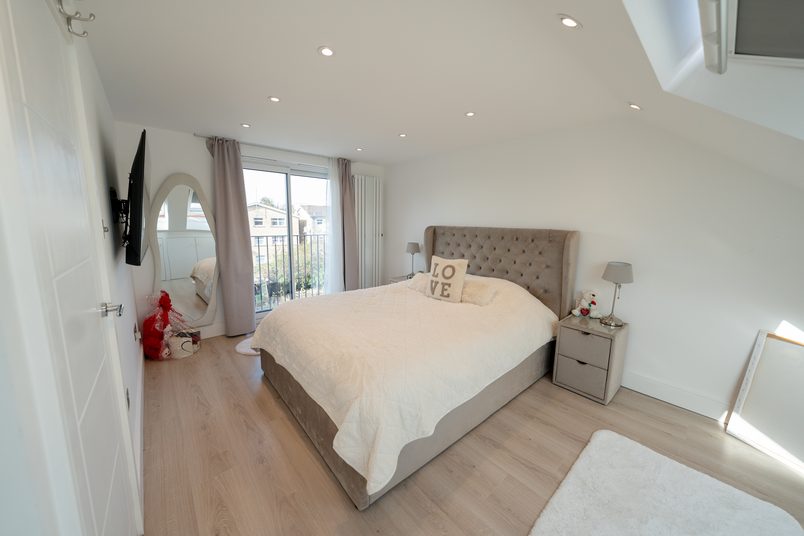
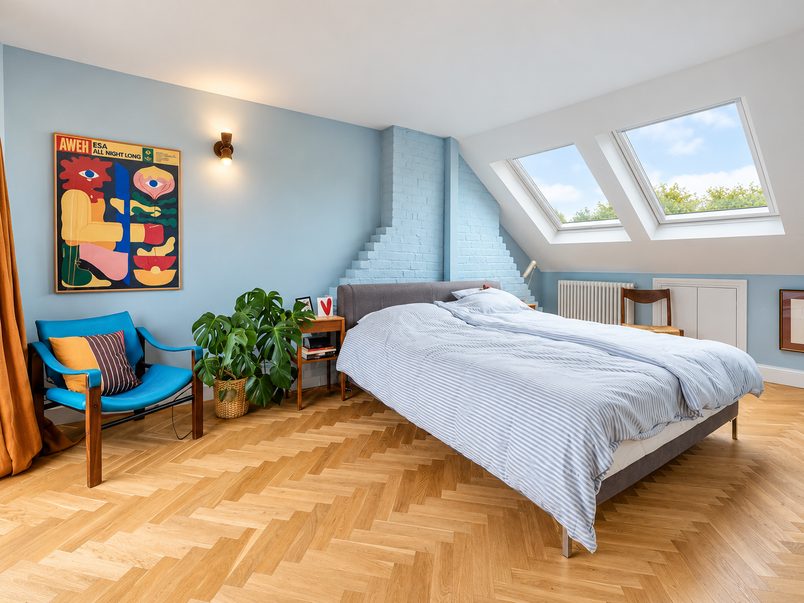
1Parents’ bedroom: A new main bedroom beneath the front roof slope, with two roof windows and storage built into the low spaces beneath the eaves.
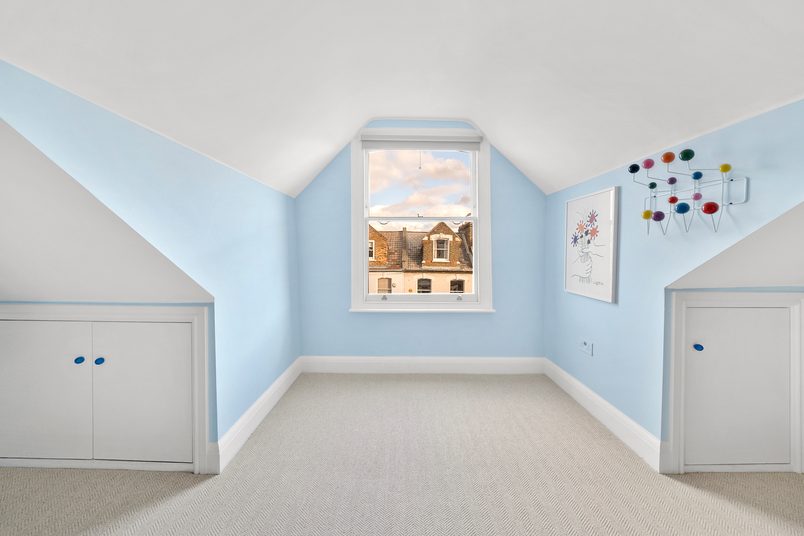
2Youngest child’s bedroom: A separate bedroom in the rear section of the L-shaped dormer, close to the parents’ room.
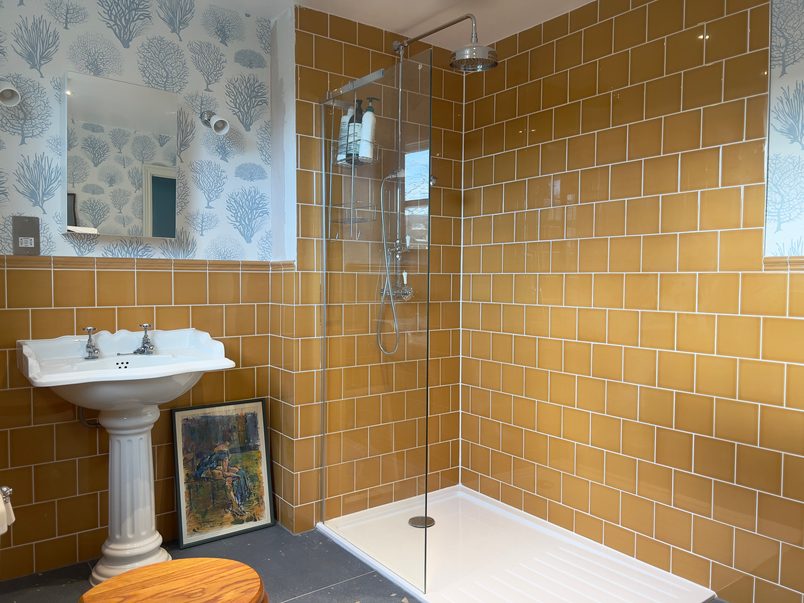
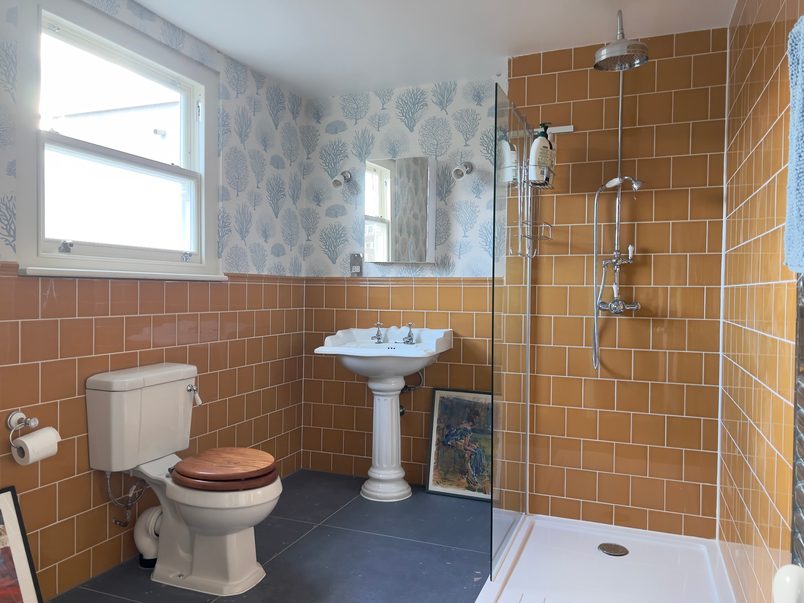
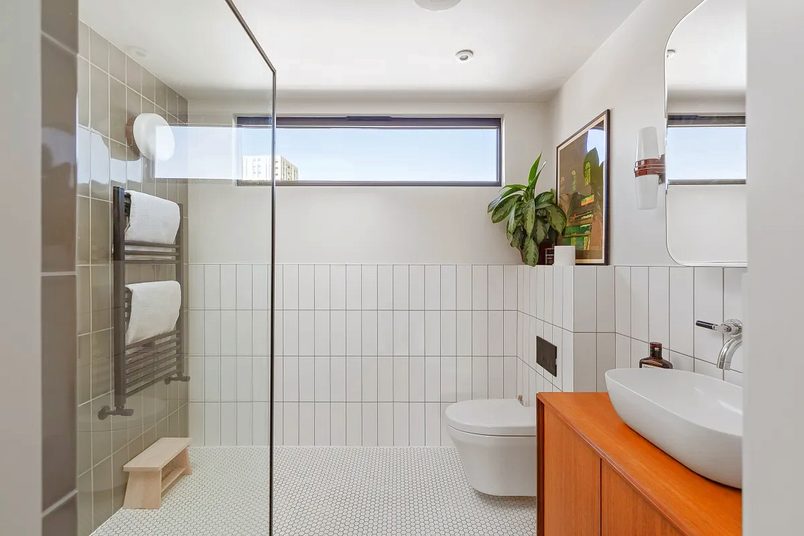
3Shower room: A new shower room with a glazed shower enclosure, WC and basin.
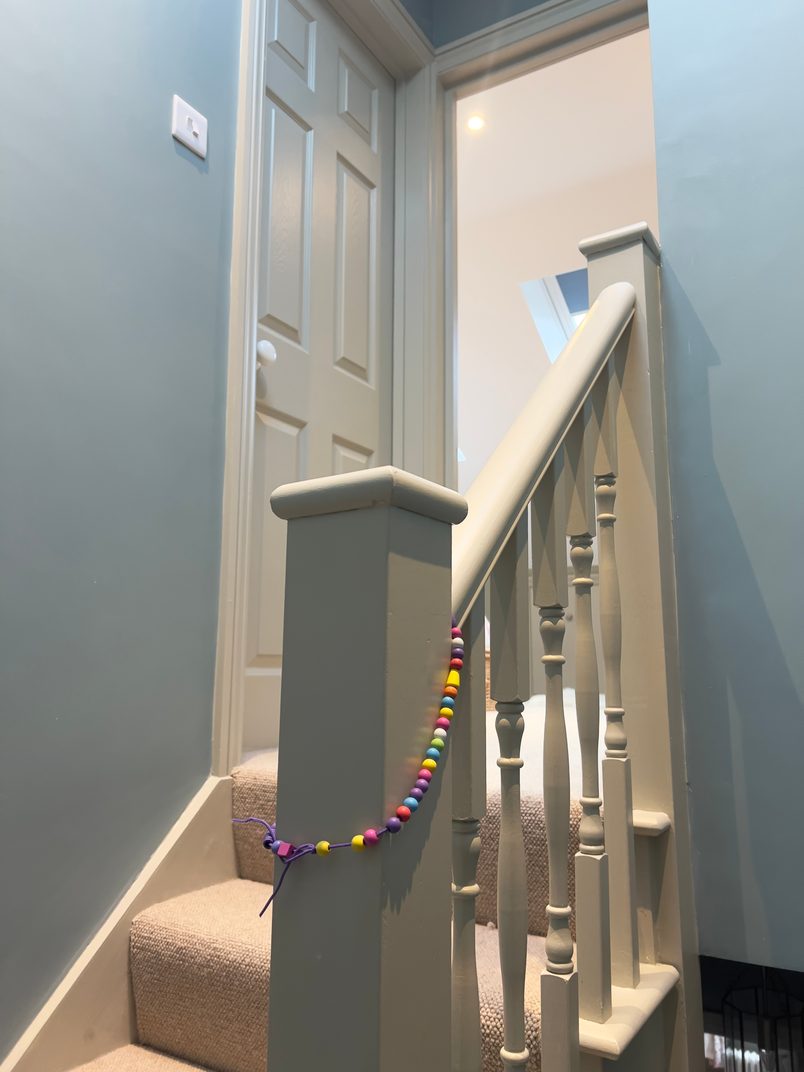
4Connecting stairs: A main staircase from the first floor, with a shorter flight linking the two levels within the loft.
Design approach
Planning the new loft
Using both parts of the roof
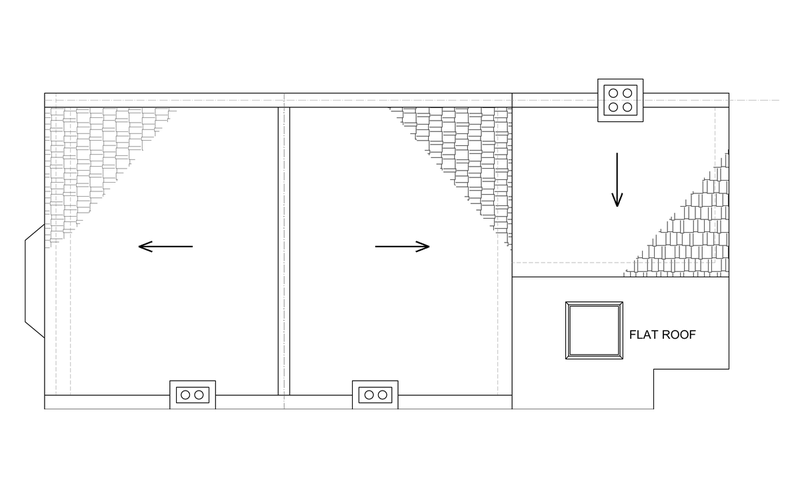
The house has a main pitched roof and a lower section extending out at the back, known as a rear outrigger. By building the dormer across both, we had enough space for two bedrooms and a shower room rather than trying to fit everything beneath the main roof.
The two parts of the house aren’t the same height, so the new loft couldn’t all sit on one level. We used a short additional staircase to connect them. The youngest child’s bedroom sits in the lower rear section, close to the parents’ room but with its own door and sleeping space.
Finding enough headroom
The existing roof was too low for us to build a comfortable loft floor above the original first-floor ceilings.
The rooms below had generous ceiling heights, which gave us another option. We could lower those ceilings by 350mm, leaving the first-floor rooms comfortable while creating enough standing height in the loft.
That decision affected more than the new bedrooms. It meant rebuilding the ceilings throughout the first floor and making changes to fitted wardrobes, bathroom fittings and electrics that were already in place.
Light and storage beneath the roof
We fitted two roof windows above the parents’ bedroom, bringing daylight into the room beneath the sloping front roof.
There was also useful space beneath the lower parts of that slope. We built cupboards into the eaves so those areas could be used for storage rather than left inaccessible.
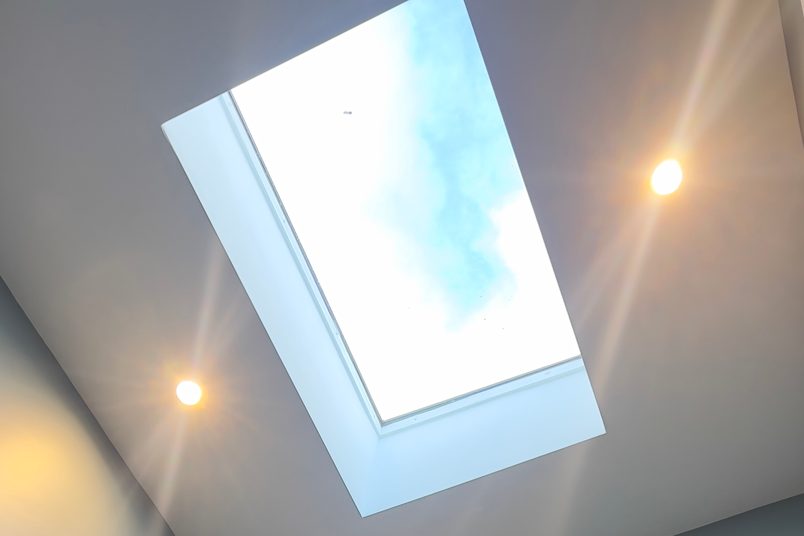
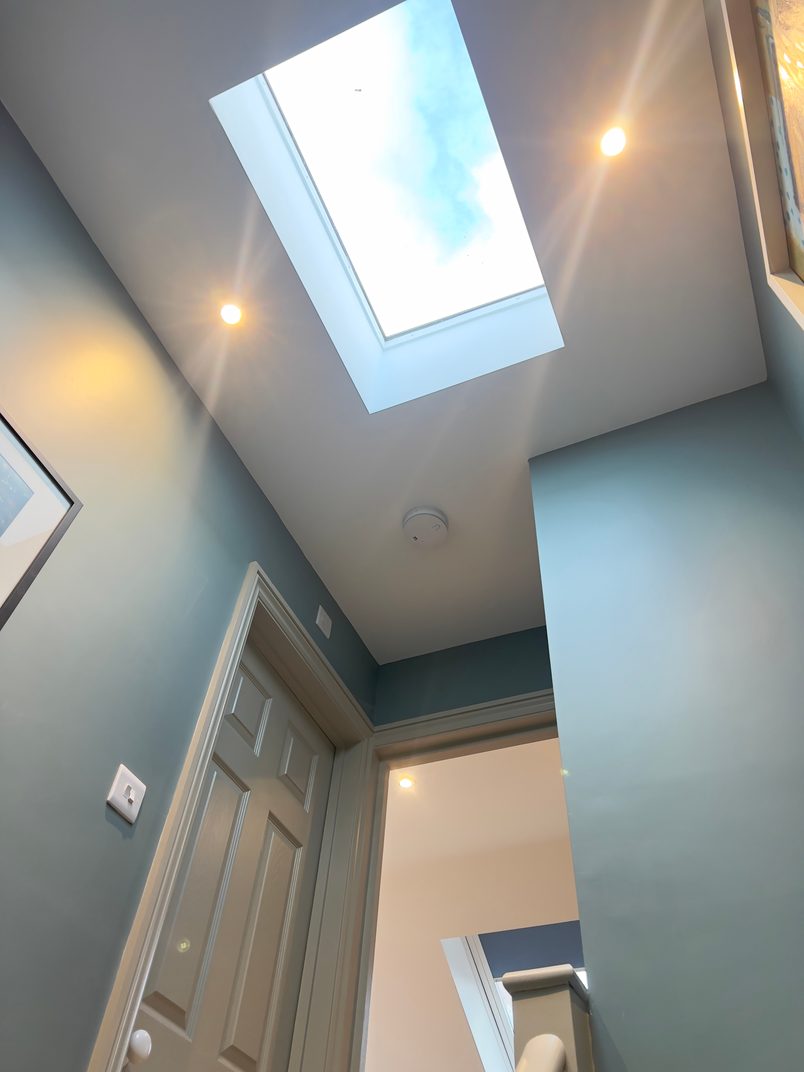
A separate skylight above the main staircase brings natural light into the landing. It means the top of the stairs is lit from above, even though there isn’t a normal window directly beside the staircase.
The build
Building the new floor
Lowering the first-floor ceilings
The biggest part of the structural work happened beneath the new loft.
We removed the existing first-floor ceiling joists and installed steel beams to support the new floor above. Some of the beams were brought into the house in shorter sections and joined in position. That made them easier to manoeuvre without cutting unnecessarily large openings through the existing first-floor walls.
New timber floor joists were fitted into the steel framework. They formed the loft floor above and provided the structure for the rebuilt ceilings below.
Once the structure was in place, we boarded and plastered the ceilings and completed the electrical alterations needed in the affected rooms.
This wasn’t a case of simply adding a dormer above an untouched first floor. The changes to the height of the ceilings meant substantial work inside the house as well.
Working around rooms that were already finished
The homeowners had renovated their first floor before deciding to convert the loft.
Lowering the ceilings meant we had to adapt some of that earlier work. The fitted wardrobes in the parents’ bedroom needed altering to suit the new ceiling height.
In the first-floor bathroom, we removed selected wall tiles and repositioned the shower mixer. The bathroom itself had already been renovated, so the work needed to be done carefully around finishes the homeowners wanted to keep.
There was also a considerable amount of old, dark dust trapped above the existing ceilings. Removing them was a messy job, and the team needed protective equipment while working through that part of the build.
The family moved out for the first three weeks while we removed and rebuilt the ceilings. Once that work was complete, they returned to live in the house.
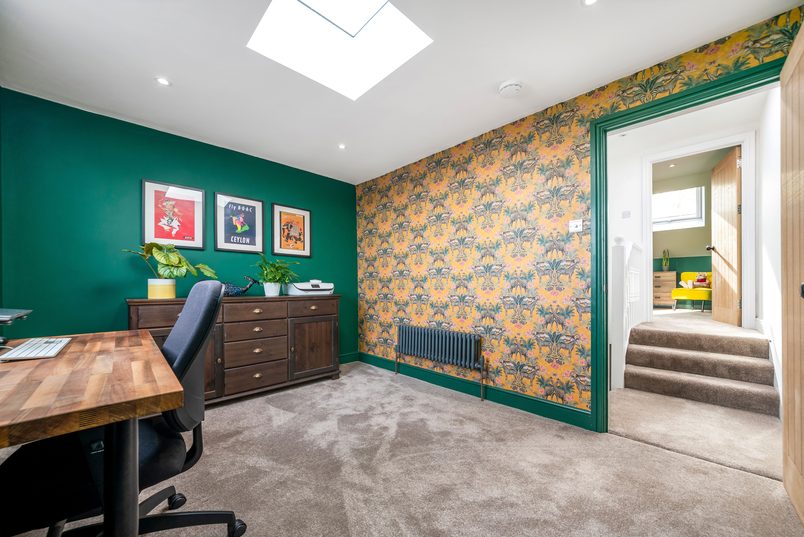
The homeowners arranged for their own decorators to complete the painting and wallpapering afterwards.
Building the dormers and replacing the front roof
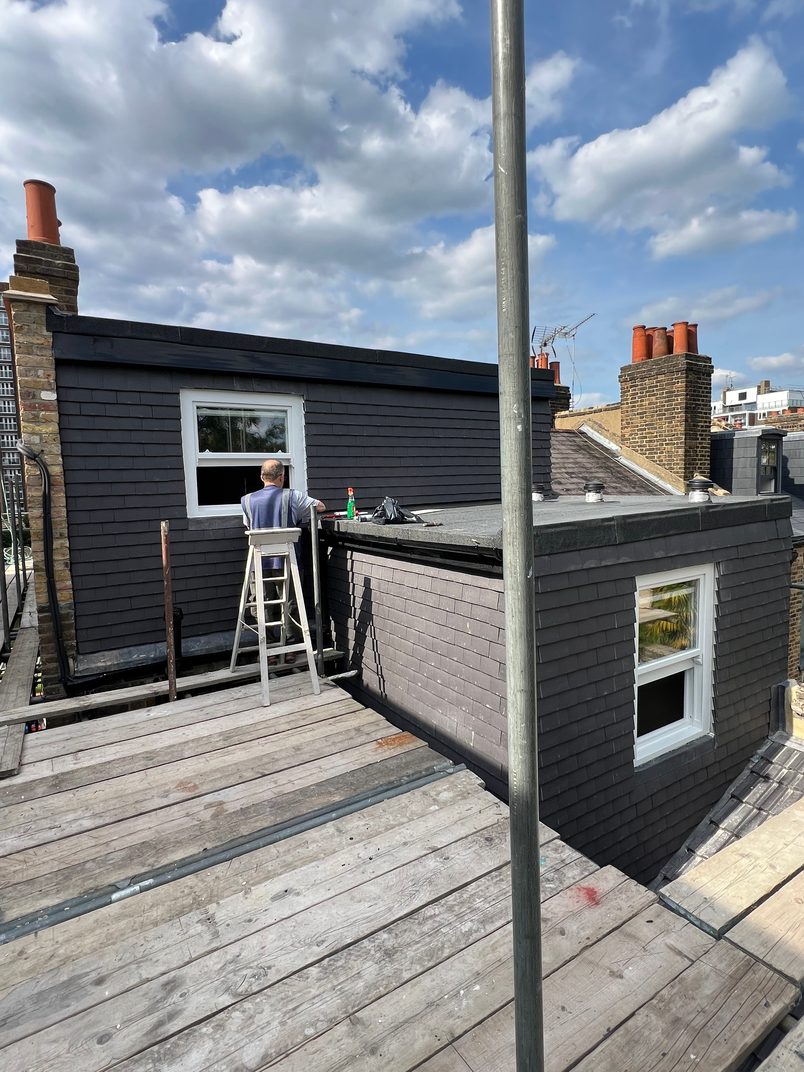
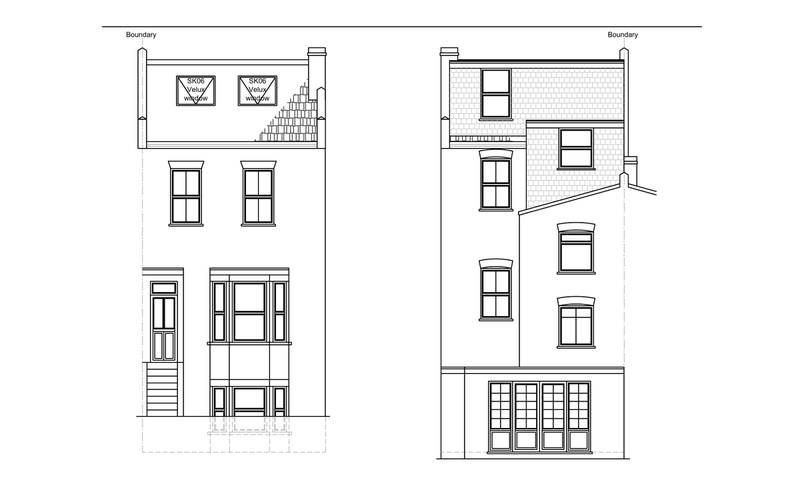
The L-shaped dormer was built across the main roof and lower rear section of the house.
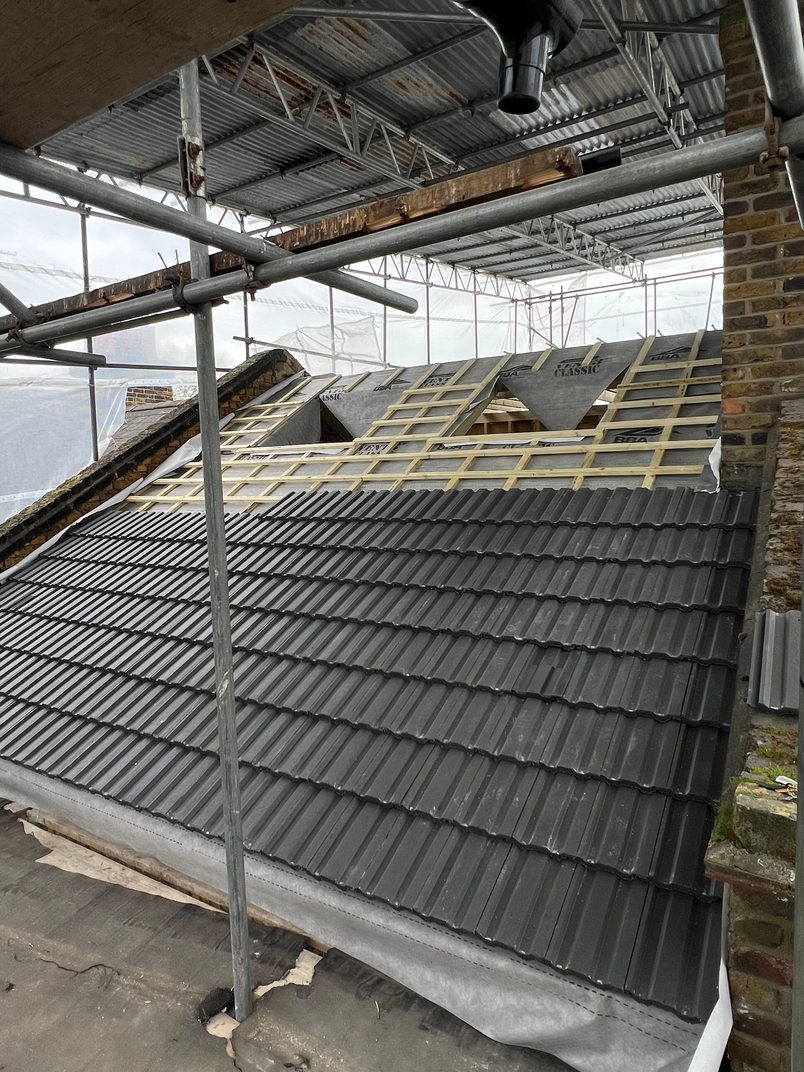
We finished the outside walls in small charcoal-grey concrete hanging tiles. Using the same finish on both dormers gave the two sections a consistent appearance, despite their different heights.
During the work, the homeowner decided to replace the original front roof covering as well.
The existing tiles, membrane and battens were in poor condition. The rafters beneath them were still sound, so we kept those and replaced the roof covering.
We used larger charcoal-grey concrete tiles on the front pitch to complement the smaller tiles on the dormers.
Because the scaffolding and roof access were already in place, this was a more sensible time to do the work than arranging a separate roofing project later.
Completing the rooms
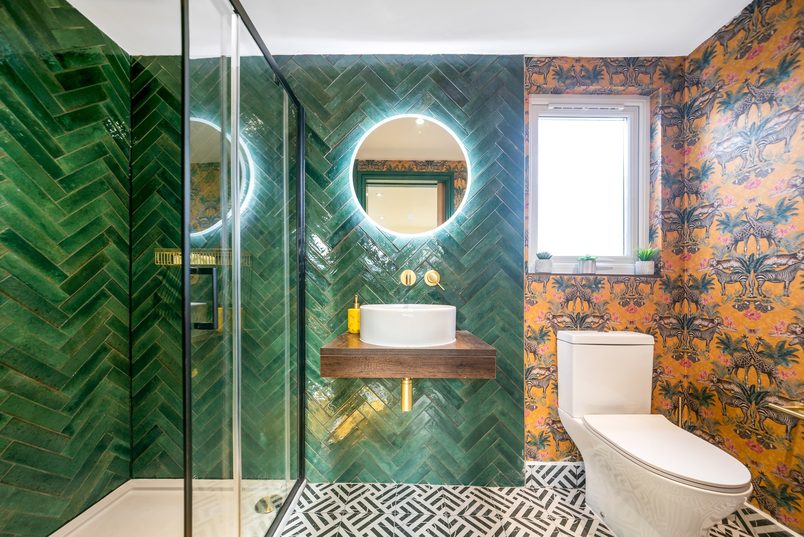
The new shower room has a glazed shower enclosure, WC and pedestal basin.
The homeowners chose the fittings and mustard-coloured wall tiles, which we installed as part of the bathroom work. They used their own decorators for the patterned wallpaper and other decorative finishes.
The homeowners also had their own air-conditioning contractor lined up before our work began.
We coordinated the pipe routes and installation timing with that specialist, and ran the electrical cable needed between the consumer unit and the outdoor unit.
Doing that while the loft was being built meant the connections could be prepared before the new finishes were completed.
The air-conditioning system itself was supplied and installed under the homeowner’s separate arrangement.
Living at home while the loft was finished
After the first three weeks, the family returned to the house while construction continued upstairs.
Much of the structural and roofing work could be carried out from the scaffolding, so materials didn’t need to be taken through the occupied rooms every day.
Once the roof was watertight, we used a designated route through the house for the remaining internal work.
The family’s basement kitchen and living spaces were still available, which made it possible for them to carry on living at home while we finished the loft.
The project took 14 weeks. The original programme had been shorter, but the additional front roof replacement and other agreed changes extended the work.
Planning & approvals
What needed approval
Planning permission
Permitted development + lawful development certificate
Hackney Council issued a Lawful Development Certificate for the rear dormer, extension over the rear outrigger and two front roof windows. This confirmed that the proposed work was lawful under Permitted Development, rather than requiring a separate householder planning permission.
Party Wall
Party Wall Award obtained
A surveyor was appointed and a formal Party Wall Award was obtained for one adjoining neighbour before the relevant work proceeded.
Building Control
Completion certificate received
The loft conversion was inspected through the Building Control process, and a final completion certificate was issued when the work was finished.
Costs today
What this project costs
£98,000+
Estimated base cost today · Includes VAT
What the starting price covers
Our L-shaped dormer starting price covers the standard core build for this type of conversion. It gives homeowners a starting point for the structural work, roof construction and other items included in our shared specification, rather than a price for every possible change elsewhere in the house.
For this project, the existing roof height meant we also had to lower and rebuild the first-floor ceilings. The homeowner chose to replace the original front roof during construction, while arranging the decorating and air-conditioning installation separately.
What this home added
The work here went beyond a standard loft conversion because the existing first-floor ceilings needed to be lowered by 350mm.
That involved rebuilding the ceiling structure, adapting fitted wardrobes, repositioning bathroom fittings and making electrical alterations in rooms that had already been renovated.
The homeowner also added the front roof replacement while scaffolding was available.
Their decorators and air-conditioning specialist were contracted separately. We coordinated with the air-conditioning installer and completed the agreed electrical preparation, but did not supply or install the air-conditioning system.
Advice for homeowners
Key takeaways
A low roof doesn’t always rule out a conversion
The original roof wasn’t tall enough to provide comfortable standing room with a conventional new loft floor.
Lowering the ceilings below made the conversion possible here because those rooms started with enough height to accommodate the change.
It’s worth asking about this early if you’re considering a loft conversion on a house with a low roof. You’ll need to understand both the space you could gain upstairs and the work it would mean downstairs.
Think about how the new staircase will work
The rear part of this house had a lower roof than the main building, so the new bedrooms couldn’t sit at exactly the same level.
A short additional staircase connected the two sections.
When you’re looking at loft drawings, it’s worth paying attention to how you reach each room, not just how much floor space they have. Changes in level and the position of the stairs can make a big difference to the finished layout.
Plan around the messiest part of the build
The family moved out for three weeks while we removed and reconstructed the first-floor ceilings, then returned for the rest of the work.
That arrangement wouldn’t necessarily be needed for every loft conversion. It was the ceiling-lowering work that made this one particularly disruptive at the beginning.
Before construction starts, ask which stages will affect the rooms you’re using and whether you’ll be able to stay in the house comfortably.
Check the rest of your roof while access is available
The homeowners decided to replace the original front roof covering while we were building the dormers.
The existing rafters could stay, but the covering above them needed renewing.
If scaffolding is already being installed for a loft conversion, it’s worth checking the condition of any roof sections you’re planning to leave untouched. Sometimes carrying out that work at the same time avoids paying for access and labour again later.
Tom’s full review
Our experience with this team was so refreshing. They are hard working, great communicators who were able to manage expectations and the quality of their work superb. It’s very rare to find a building team in the UK who are able to tick all 3 of these boxes. We would not hesitate to use them again and would recommend them wholeheartedly.
Tom WalkerTrustpilot review ·· November 2024
Photos and floor plans
1/3
1/9
Ready to get a clear plan for your project?
Get a realistic picture of what’s possible for your home, likely costs, timings, planning requirements and what the project would involve.
Turning a small kitchen into an open-plan family hub.
The homeowners had a young baby and a small kitchen cut off from the rooms around it. This extension gave them a hub to cook, eat, relax & play together.
A new snug and third bedroom for a growing family.
Their living room was two sets of stairs from their kitchen, and they needed another bedroom, so we built a snug next to the kitchen and a third bedroom.
The homeowner’s children were getting older and needed their own space. So we converted the loft into a bedroom for her, giving the children a room each.
A master suite in the loft to make space for a home office.
Their son needed more room to study, and both parents worked from home. We built a loft suite, freeing up space for a bigger bedroom and a separate office.
Adding a fourth bedroom before selling the family home.
The homeowners were planning to sell and move abroad. We built a loft suite, adding a fourth bedroom and freeing up their smallest room for a home office.
Adding a fourth bedroom before selling the family home.
The homeowners were planning to sell and move abroad. We built a loft suite, adding a fourth bedroom and freeing up their smallest room for a home office.
The homeowner’s children were getting older and needed their own space. So we converted the loft into a bedroom for her, giving the children a room each.
A new snug and third bedroom for a growing family.
Their living room was two sets of stairs from their kitchen, and they needed another bedroom, so we built a snug next to the kitchen and a third bedroom.
A master suite in the loft to make space for a home office.
Their son needed more room to study, and both parents worked from home. We built a loft suite, freeing up space for a bigger bedroom and a separate office.
A new snug and third bedroom for a growing family.
Their living room was two sets of stairs from their kitchen, and they needed another bedroom, so we built a snug next to the kitchen and a third bedroom.
Turning a small kitchen into an open-plan family hub.
The homeowners had a young baby and a small kitchen cut off from the rooms around it. This extension gave them a hub to cook, eat, relax & play together.
The homeowner’s children were getting older and needed their own space. So we converted the loft into a bedroom for her, giving the children a room each.
A master suite in the loft to make space for a home office.
Their son needed more room to study, and both parents worked from home. We built a loft suite, freeing up space for a bigger bedroom and a separate office.
Adding a fourth bedroom before selling the family home.
The homeowners were planning to sell and move abroad. We built a loft suite, adding a fourth bedroom and freeing up their smallest room for a home office.
A new snug and third bedroom for a growing family.
Their living room was two sets of stairs from their kitchen, and they needed another bedroom, so we built a snug next to the kitchen and a third bedroom.
Turning a small kitchen into an open-plan family hub.
The homeowners had a young baby and a small kitchen cut off from the rooms around it. This extension gave them a hub to cook, eat, relax & play together.
Turning a small kitchen into an open-plan family hub.
The homeowners had a young baby and a small kitchen cut off from the rooms around it. This extension gave them a hub to cook, eat, relax & play together.
A new snug and third bedroom for a growing family.
Their living room was two sets of stairs from their kitchen, and they needed another bedroom, so we built a snug next to the kitchen and a third bedroom.
The homeowner’s children were getting older and needed their own space. So we converted the loft into a bedroom for her, giving the children a room each.
Turning a small kitchen into an open-plan family hub.
The homeowners had a young baby and a small kitchen cut off from the rooms around it. This extension gave them a hub to cook, eat, relax & play together.
A master suite in the loft to make space for a home office.
Their son needed more room to study, and both parents worked from home. We built a loft suite, freeing up space for a bigger bedroom and a separate office.
Adding a fourth bedroom before selling the family home.
The homeowners were planning to sell and move abroad. We built a loft suite, adding a fourth bedroom and freeing up their smallest room for a home office.




 Call now
 WhatsApp
 Call Eddie
 WhatsApp Eddie


 Save to contacts
 Apple Calendar
 Google Calendar
 Outlook